
SOLDERING TOOLS & TIPS


Enhance Creativity With Circuits & Electronics
Makers of all ages love soldering and exploring electronics! Learning to solder unlocks a world of possibilities for robust engineering and technology investigations. Soldering is a also a great enhancement for any Makerspace. Enjoy resources for setting up a soldering station, learning proper techniques, safety protocols and ordering supplies. Remember, soldering can be dangerous so you must determine if it’s an appropriate activity for your learners.
Adult supervision required.
Soldering Station Set-up
Boost Engineering Skills, Expression & Confidence
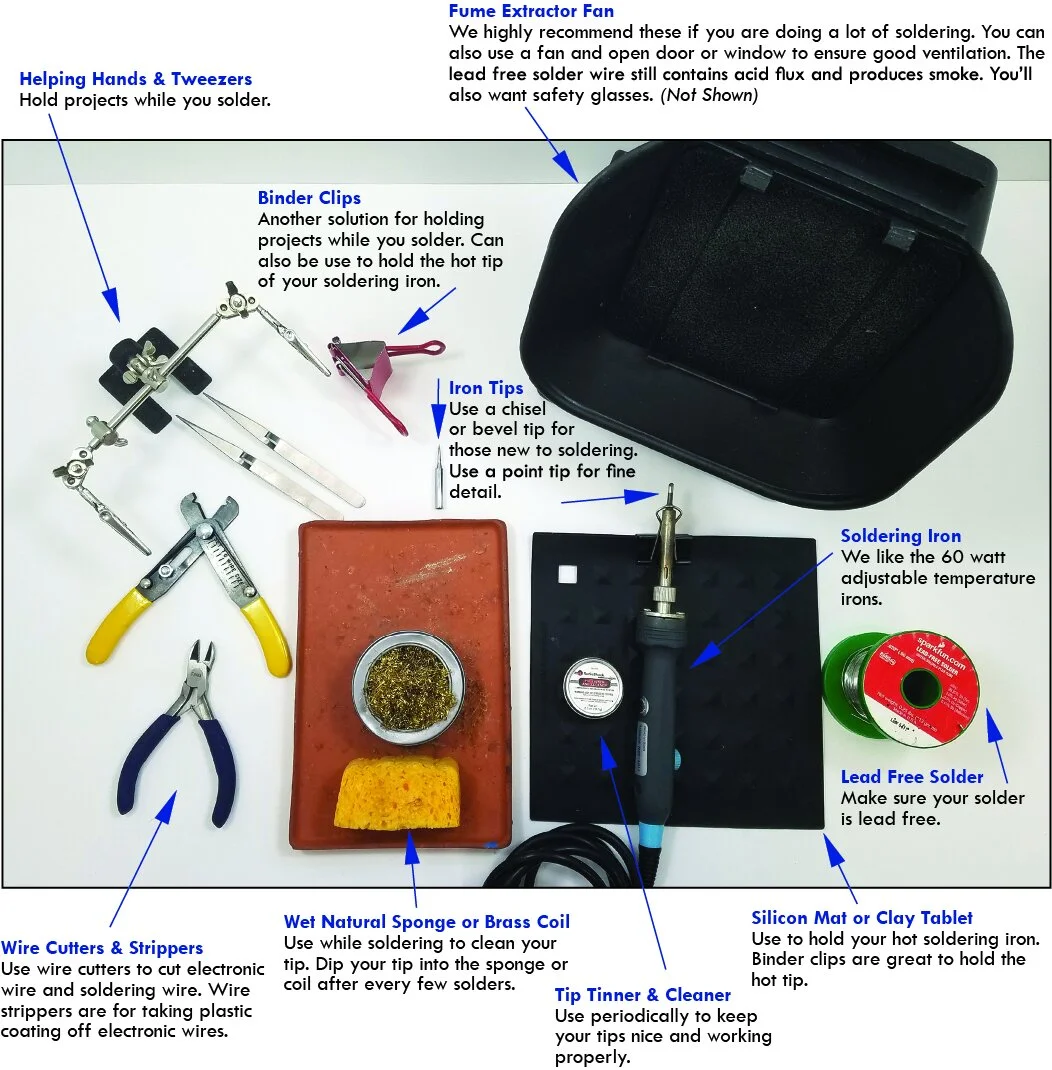
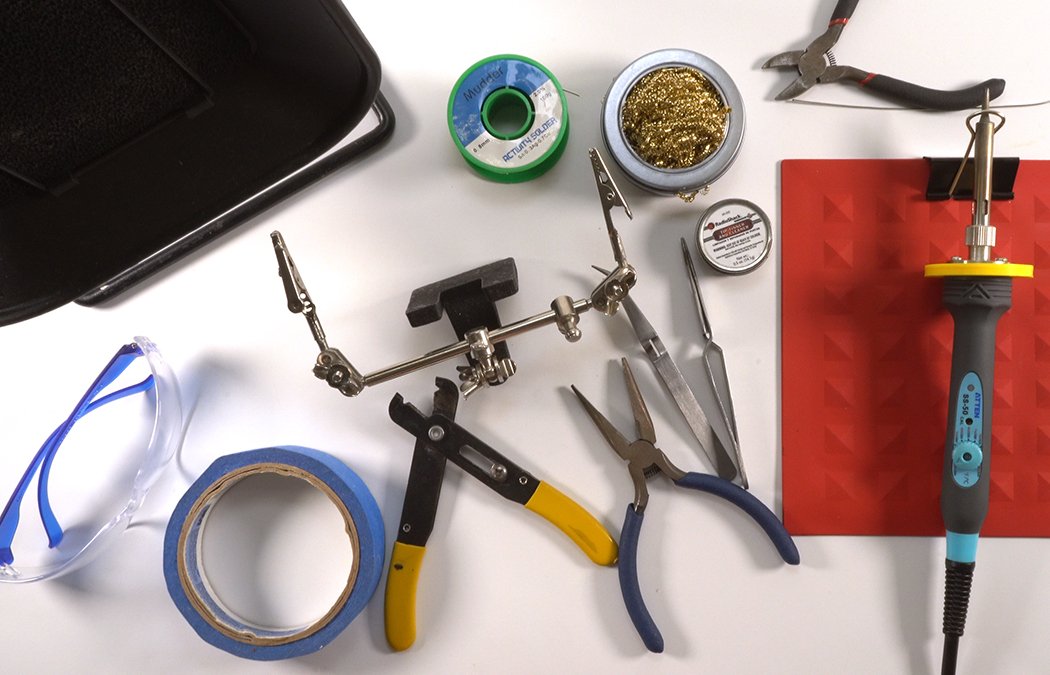
Below is a diagram of what we like to use for our soldering station in classes. You do not need to start with all these supplies. Beginners just need a soldering iron, lead-free solder, tip cleaning sponge, safety glasses and a well ventilated space. Classrooms and those who would like to expand their Makerspace resources should consider ordering the following items. We have provided links for some of our preferred vendors. Plus, there are slideshows and videos below to learn safe and proper soldering techniques.
Ordering Resources
-
Soldering Irons (60 watt adjustable temp): www.amazon.com
Beveled Soldering Iron Tip: www.amazon.com
Beveled Replacement Tips: www.amazon.com
Lead Free Solder: www.amazon.com
Tip Tinner & Cleaner: www.sparkfun.com
Brass Coil Cleaner: www.microcenter.com
Fume Extraction/Smoke Absorbing Fans: www.amazon.com; www.microcenter.com
Carbon Filter Replacements: www.amazon.com
Brass Tip Cleaner Kit: www.amazon.com
Replacement Brass Sponges: www.amazon.com
Silicon Pot Holders: www.amazon.com
Reverse Tweezers: www.sparkfun.com
Helping Hands: www.harborfreight.com
Kids Safety Glasses: www.amazon.com
Slideshow Instructions
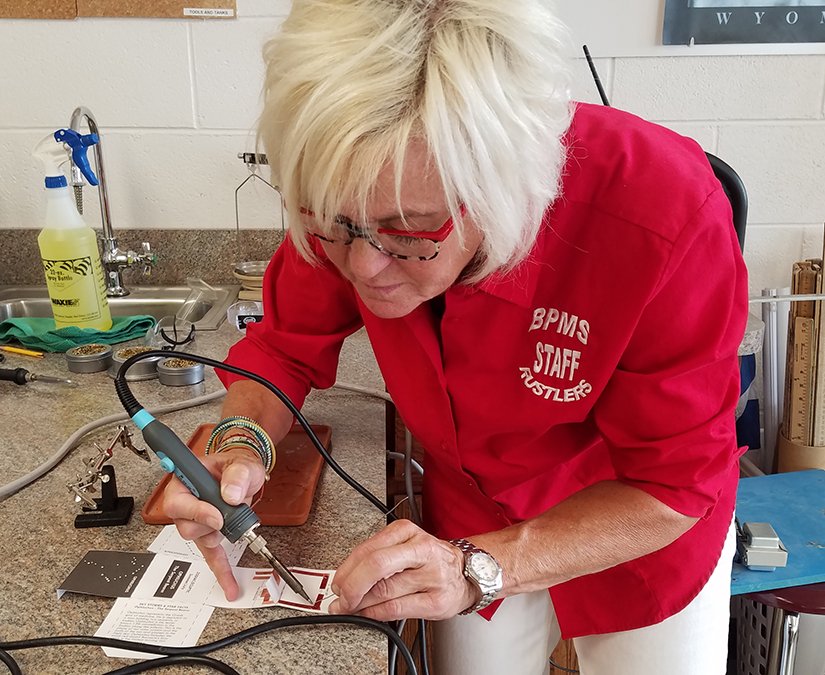
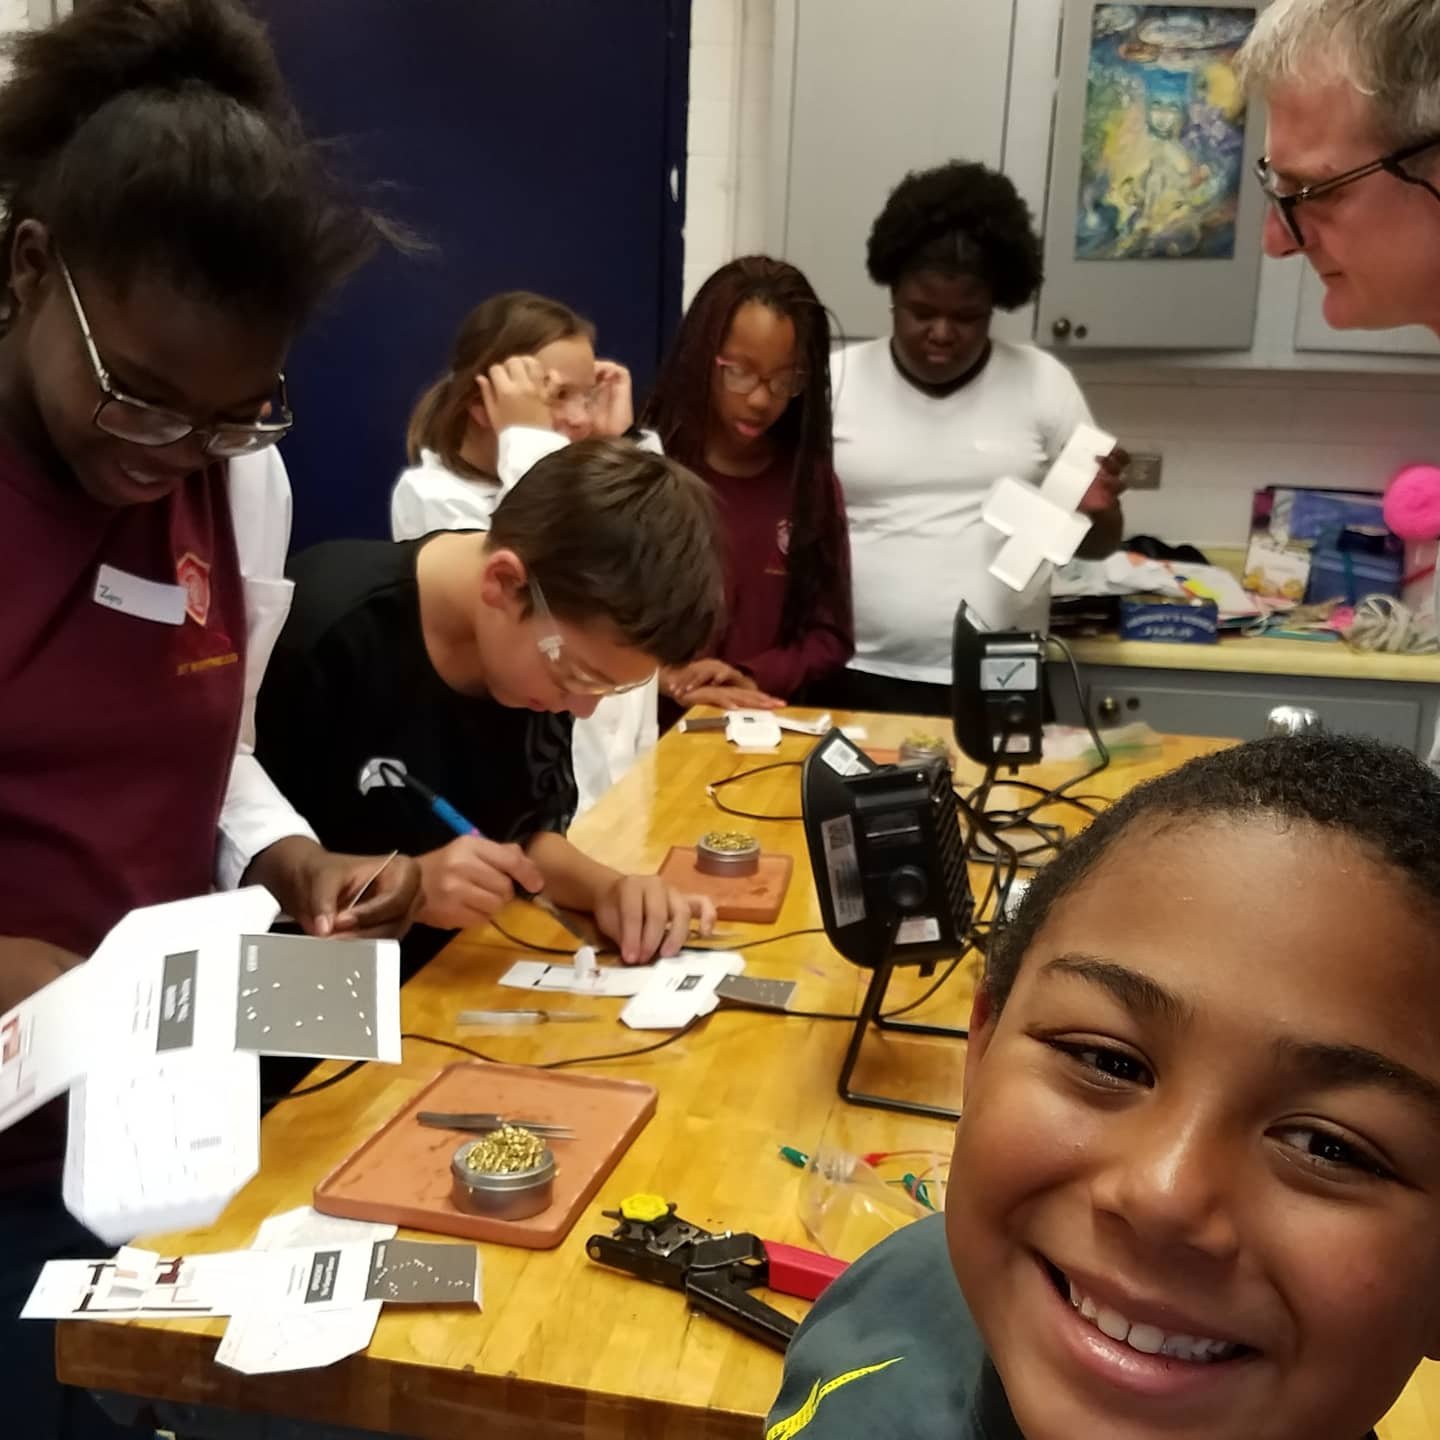
We solder with students as young as Pre-K. You will need to determine your own comfort level with adding soldering to your classroom. You can simply start with students holding the solder and you holding the hot iron. Then, you can have students take more leadership as both of your skills and confidence build. Here are some Tools & Tips for how we like to set up our station.
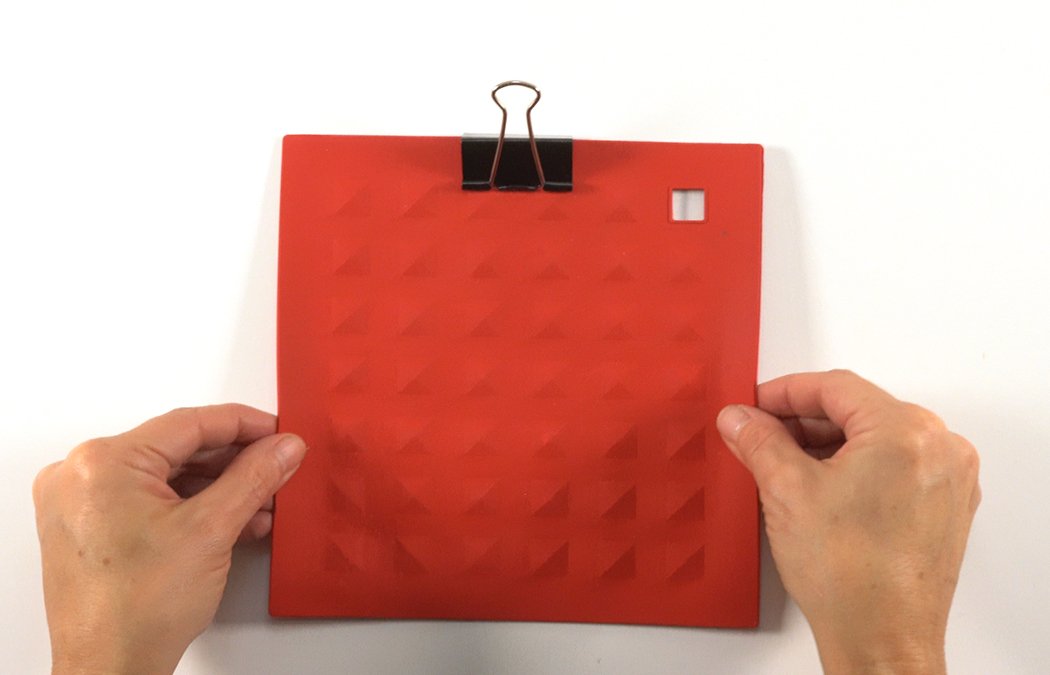
Some soldering irons have a holder, some don’t. We like to use silicon mats and binder clips as an inexpensive and effective holder system.
We like an adjustable temperature soldering iron.
We also prefer a beveled tip as opposed to a pointed tip. This is good for those new to soldering as it gives you more heated surface area.
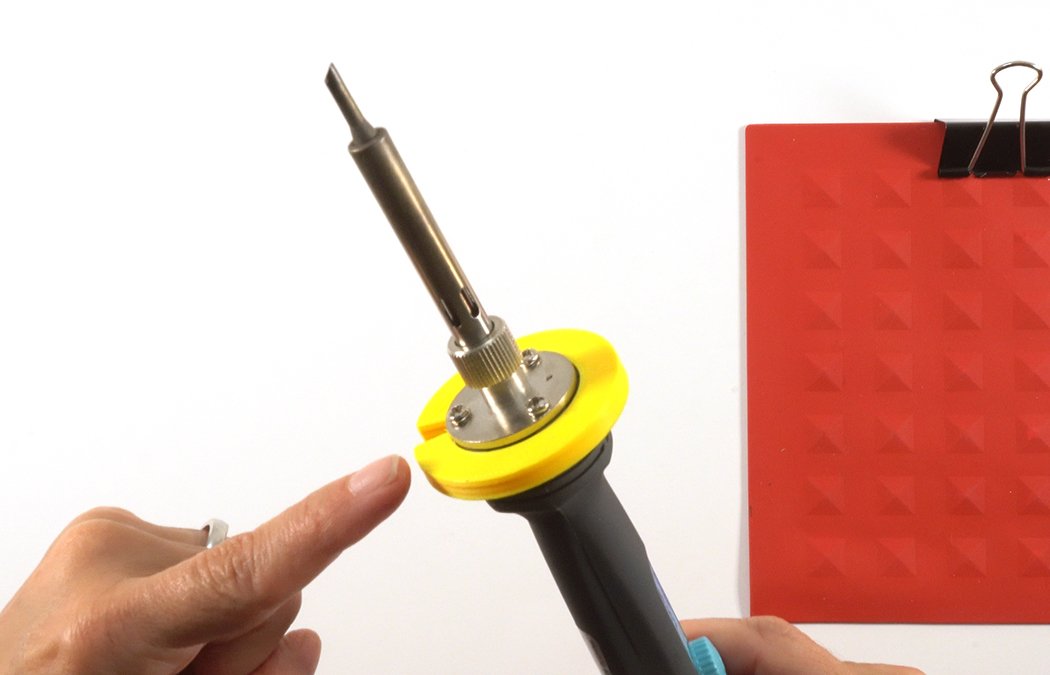
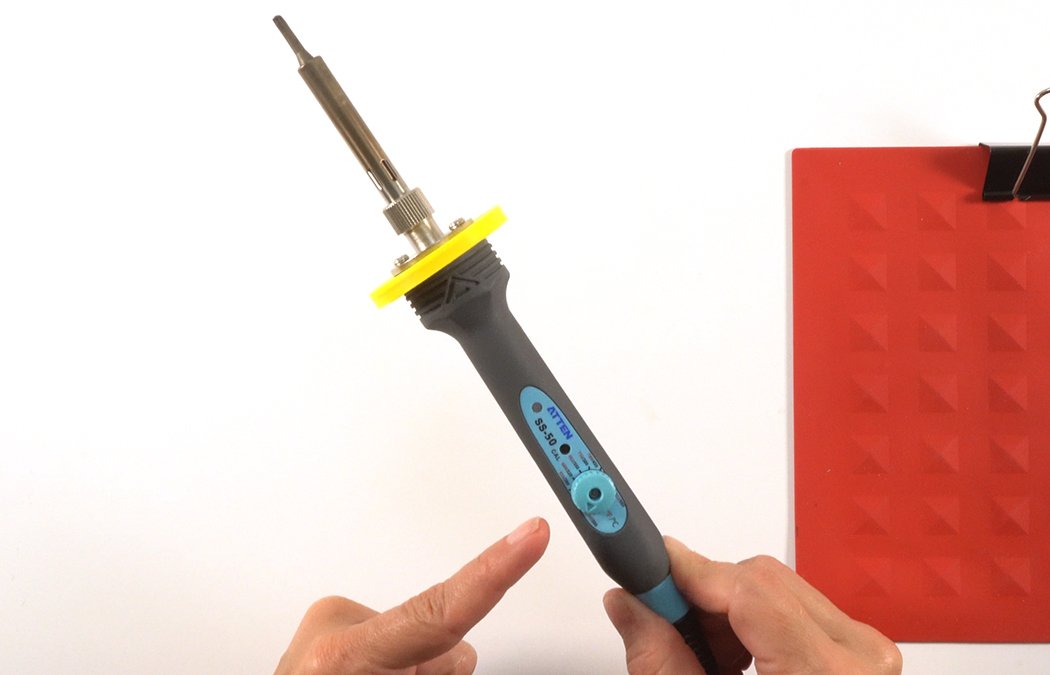
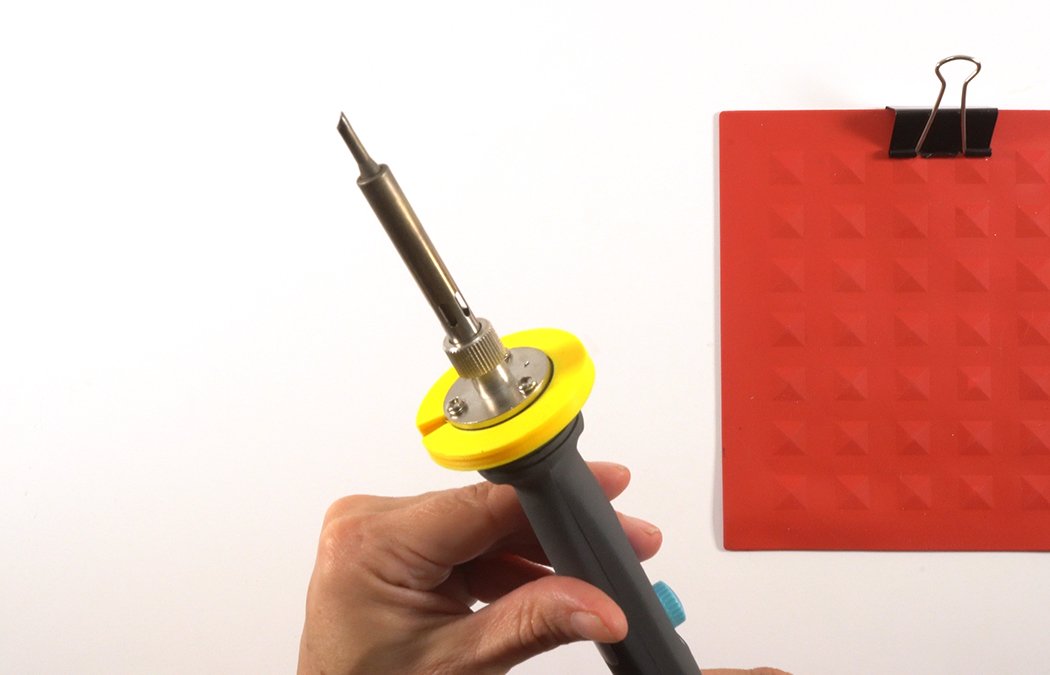
To protect hands, we design these 3D printed soldering rings to use as a hilt. Nice design challenge if you have a Makerspace!
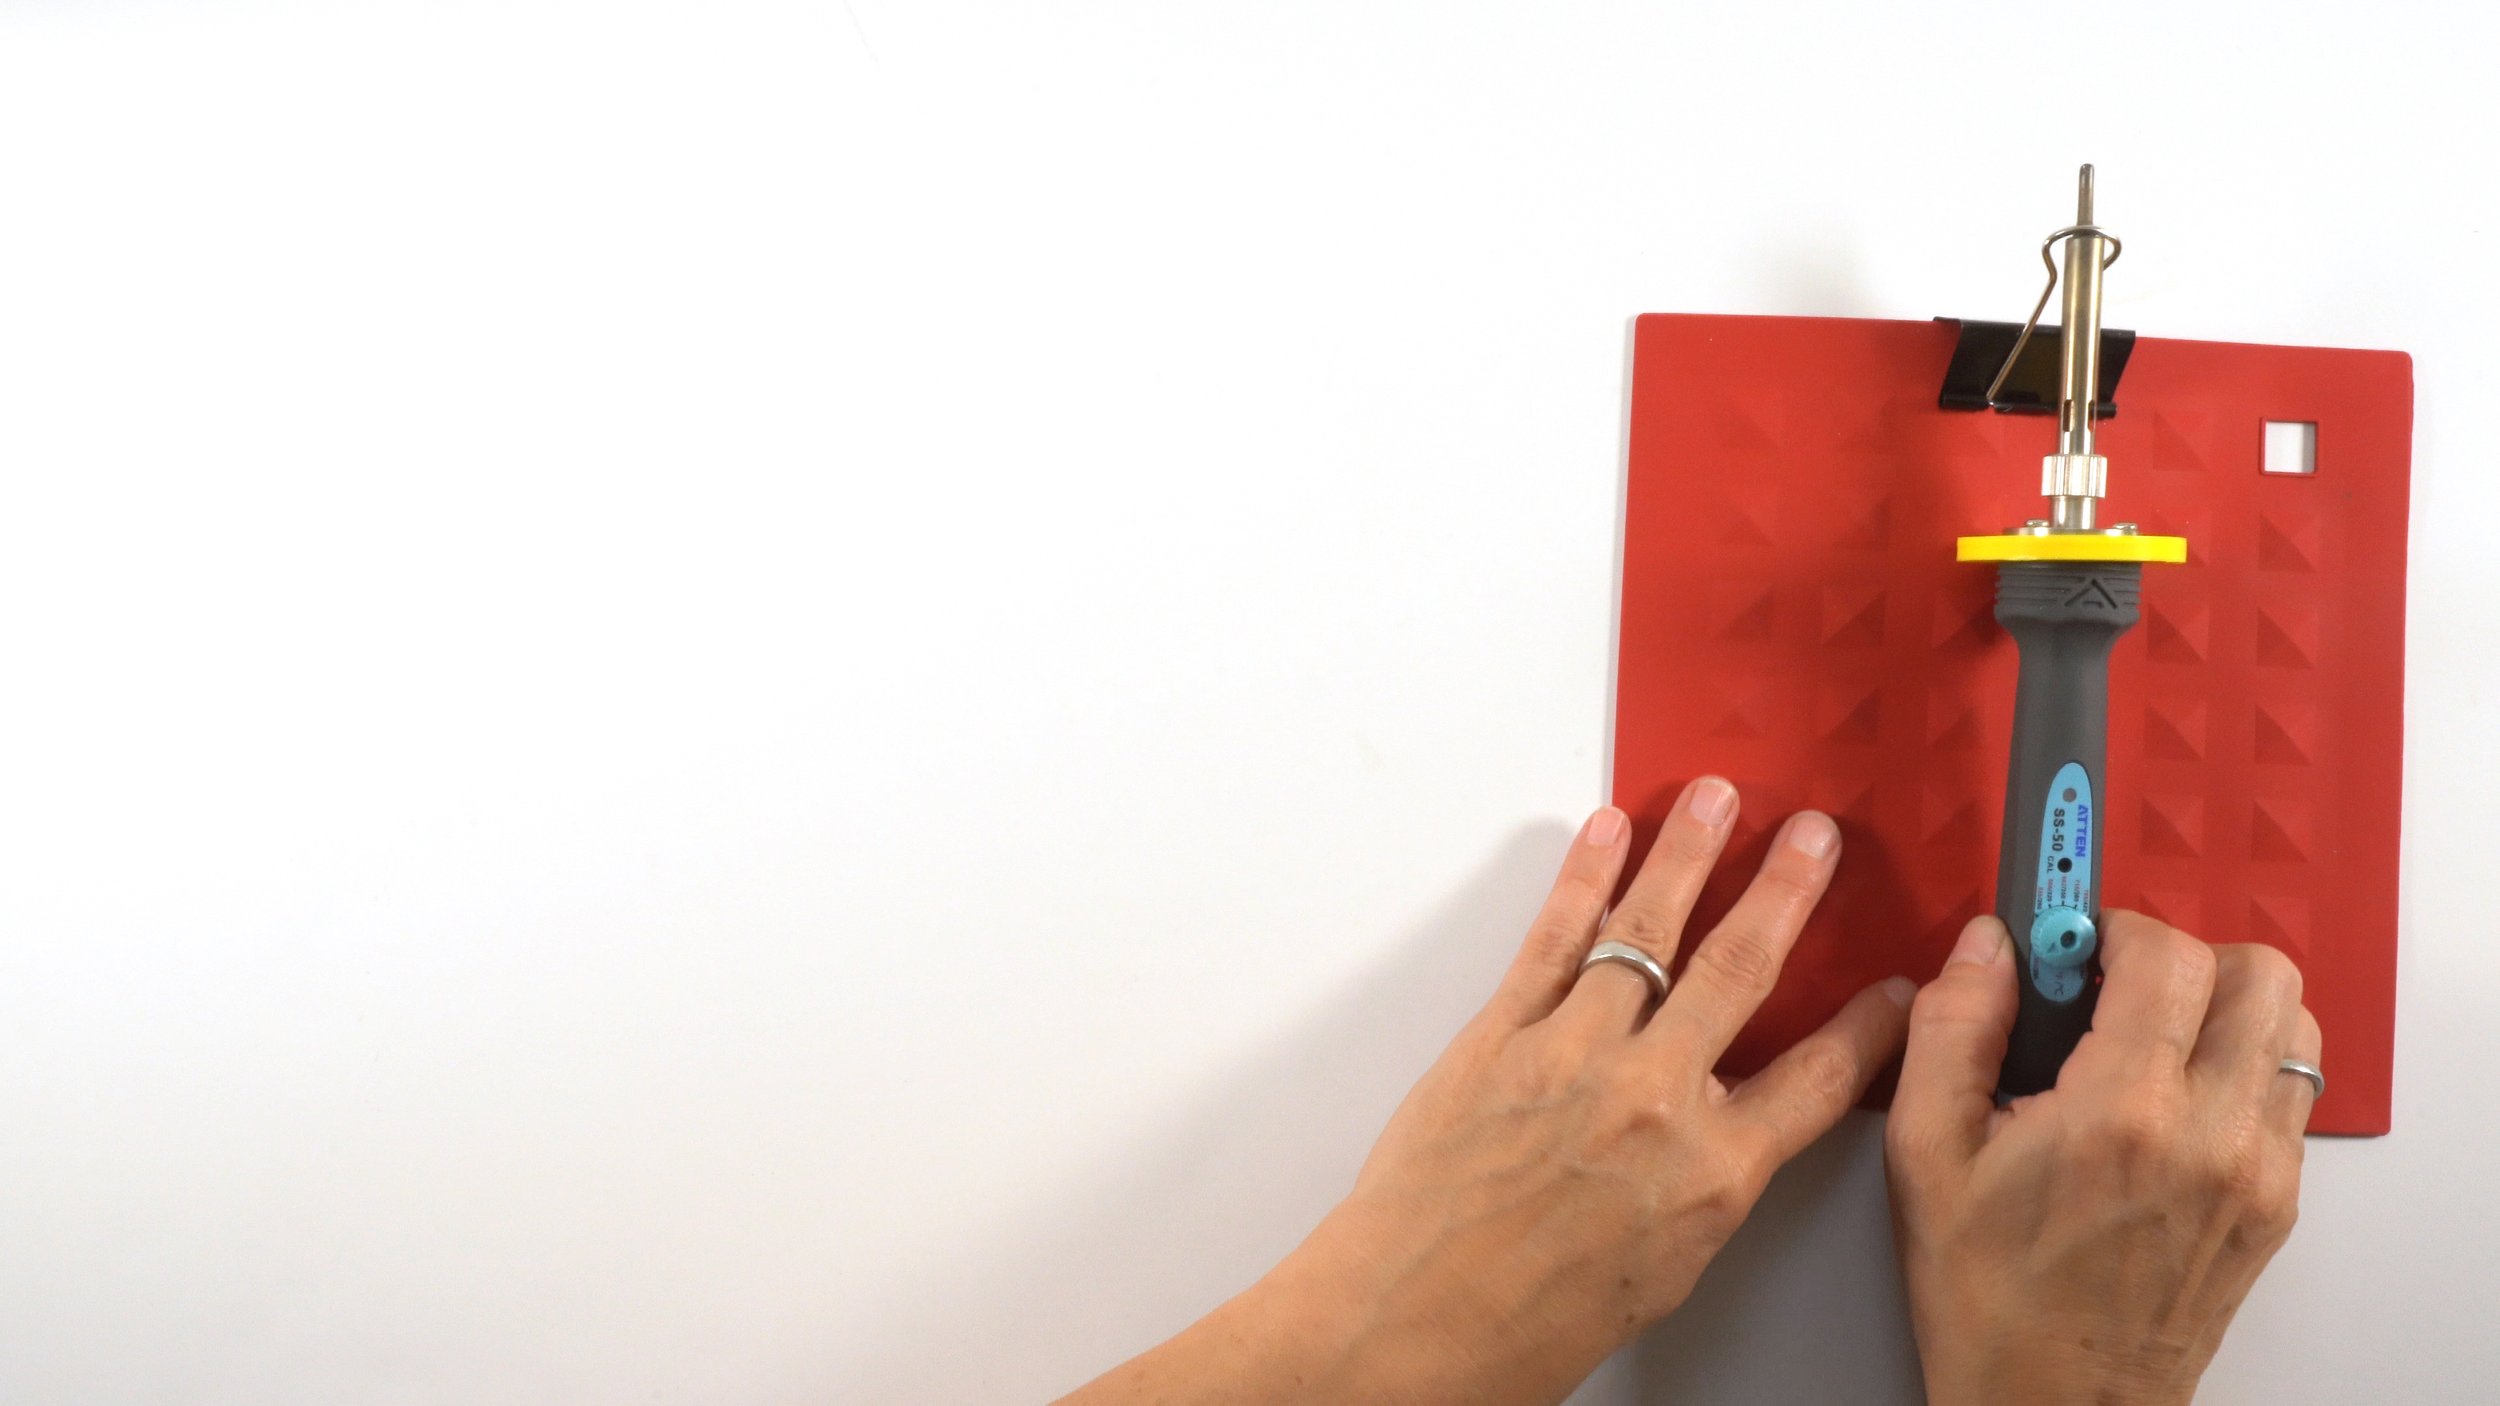
Place your soldering iron in the binder clip when it is not in use. (Be careful, the clip will heat up.)

Make sure you use lead-free solder! We like Mudder’s, but there are many vendors.
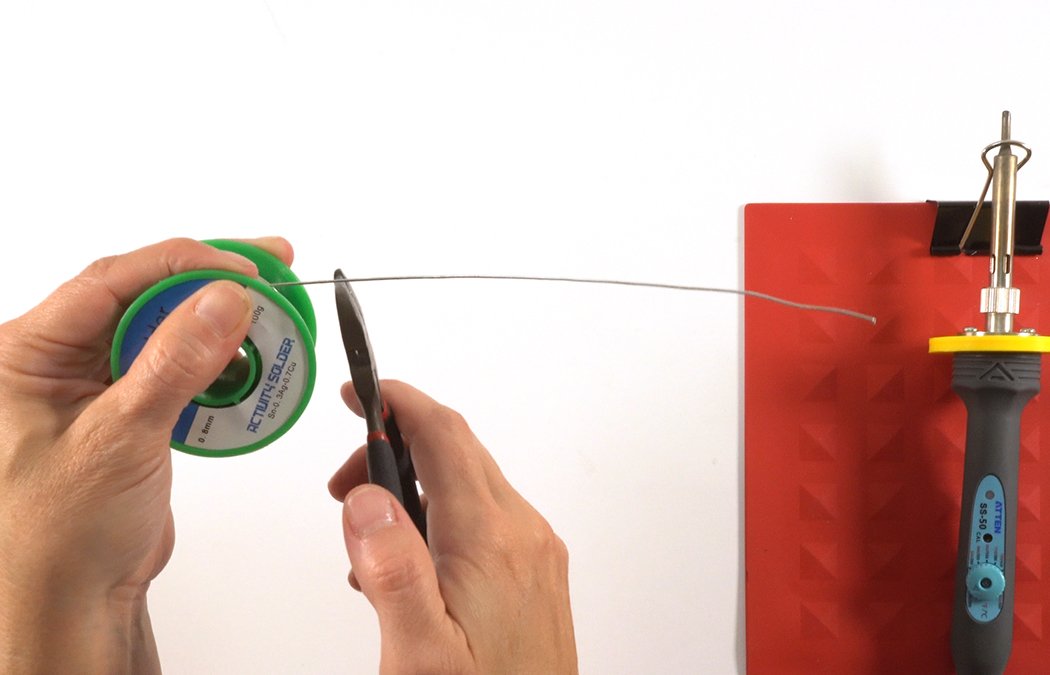
Cut your solder at 8-10” lengths so students have a lot of space to place their hands.
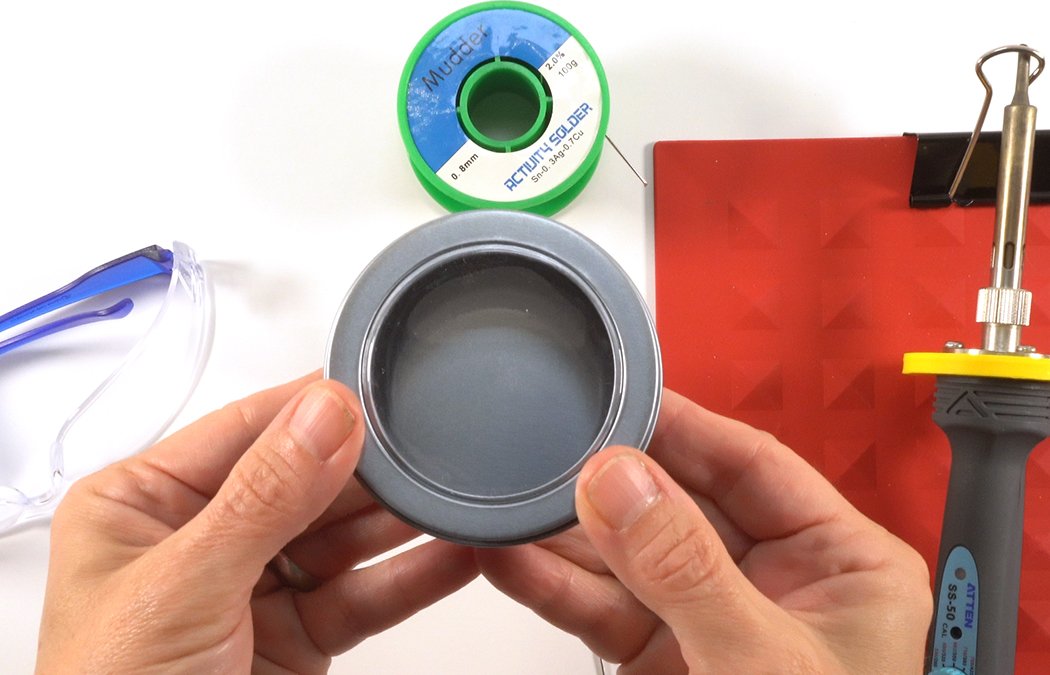
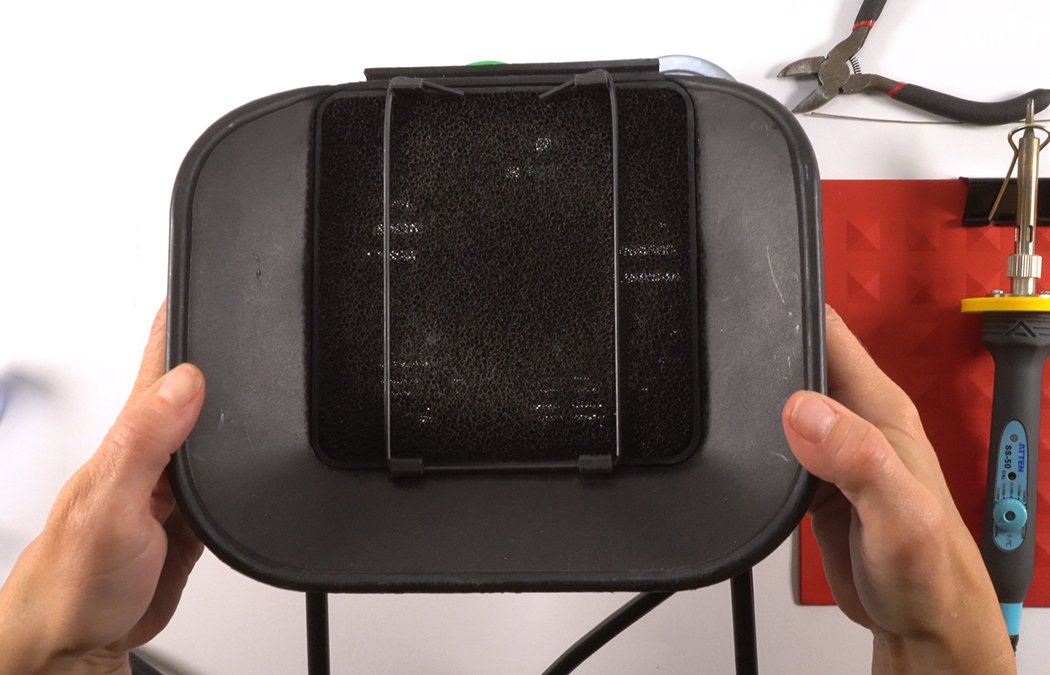
You can use sponges or brass coils to clean your soldering iron tips. We get these magnetic canisters at the Dollar Store to use as sponge holders.
You can cut out the plastic lid using an exacto knife. Remember, adult supervision is required for all soldering activities.

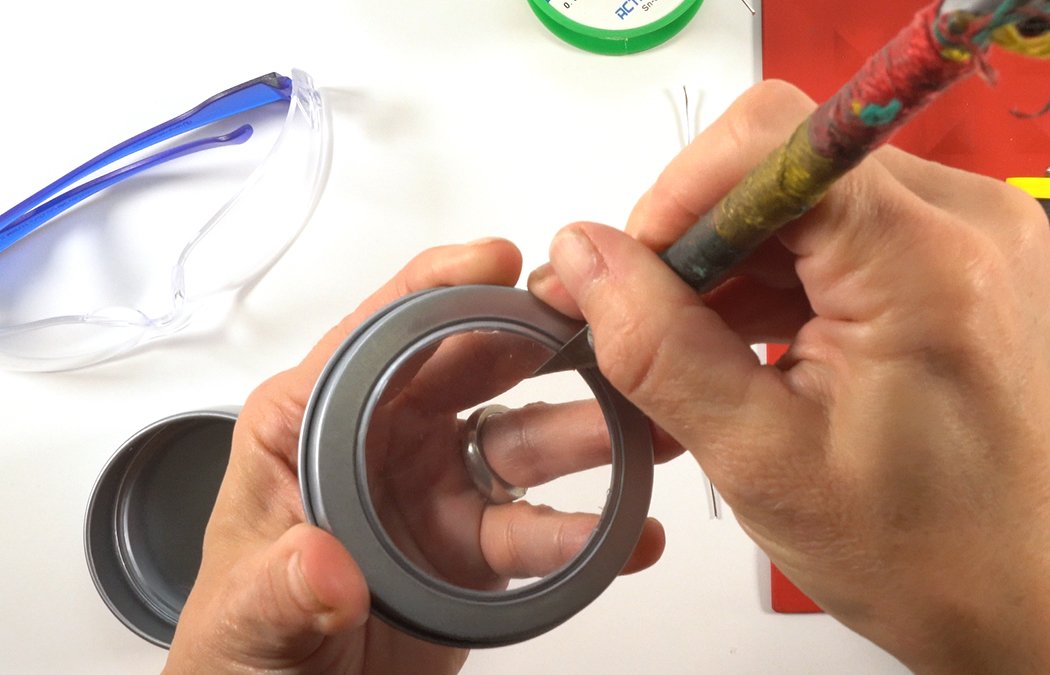
Pull your brass coil apart a bit.
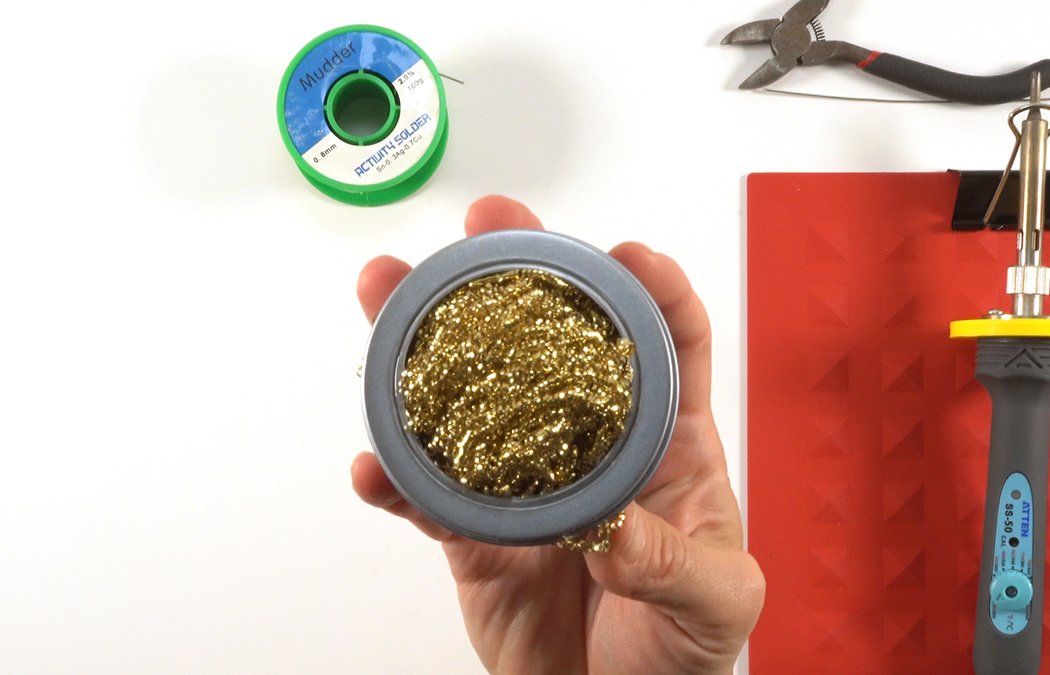
Place the brass coil in the container and add your lid.

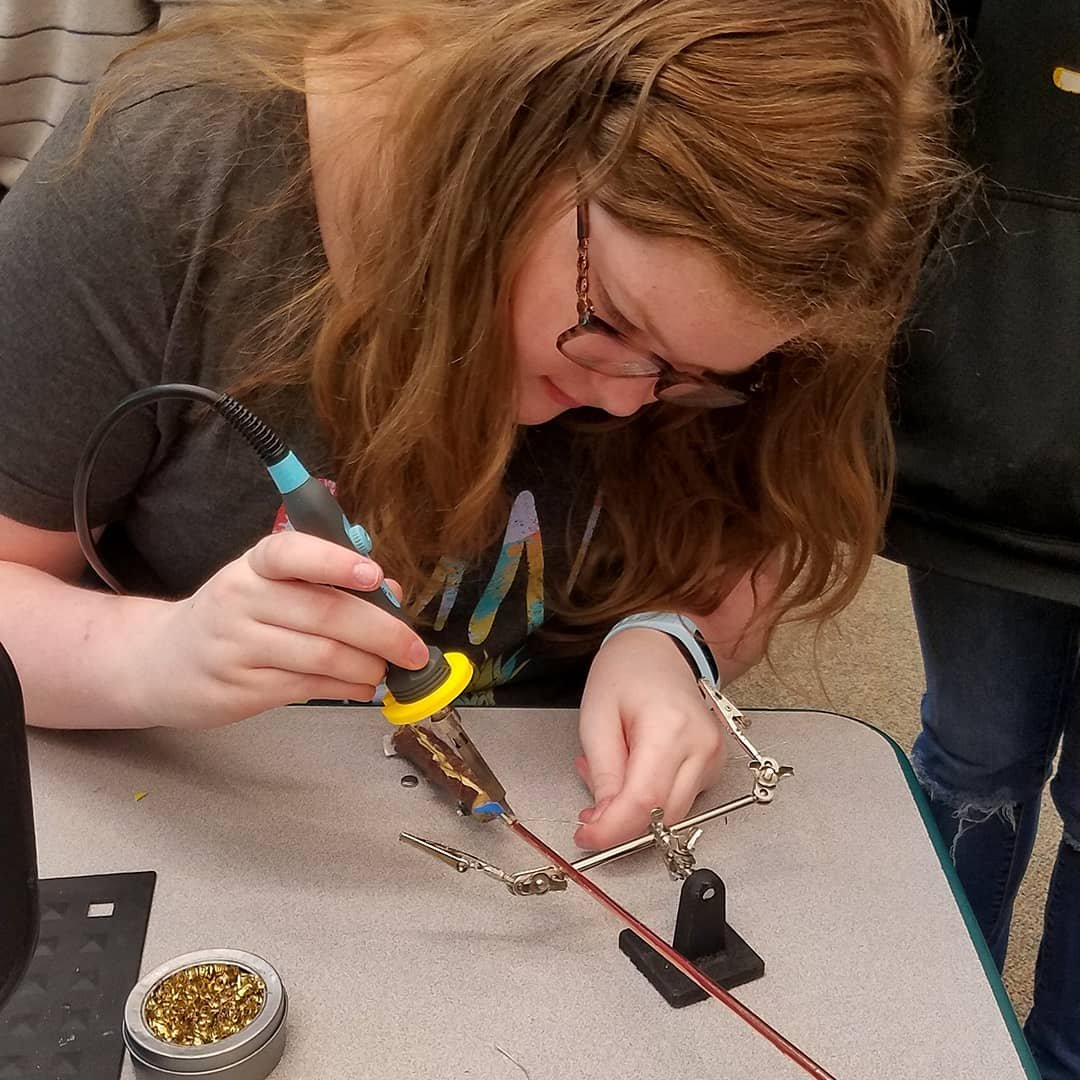
Soldering requires eye protection. Make sure you have safety glasses for all students.

To maintain your soldering irons, we recommend tip tinner and cleaner.
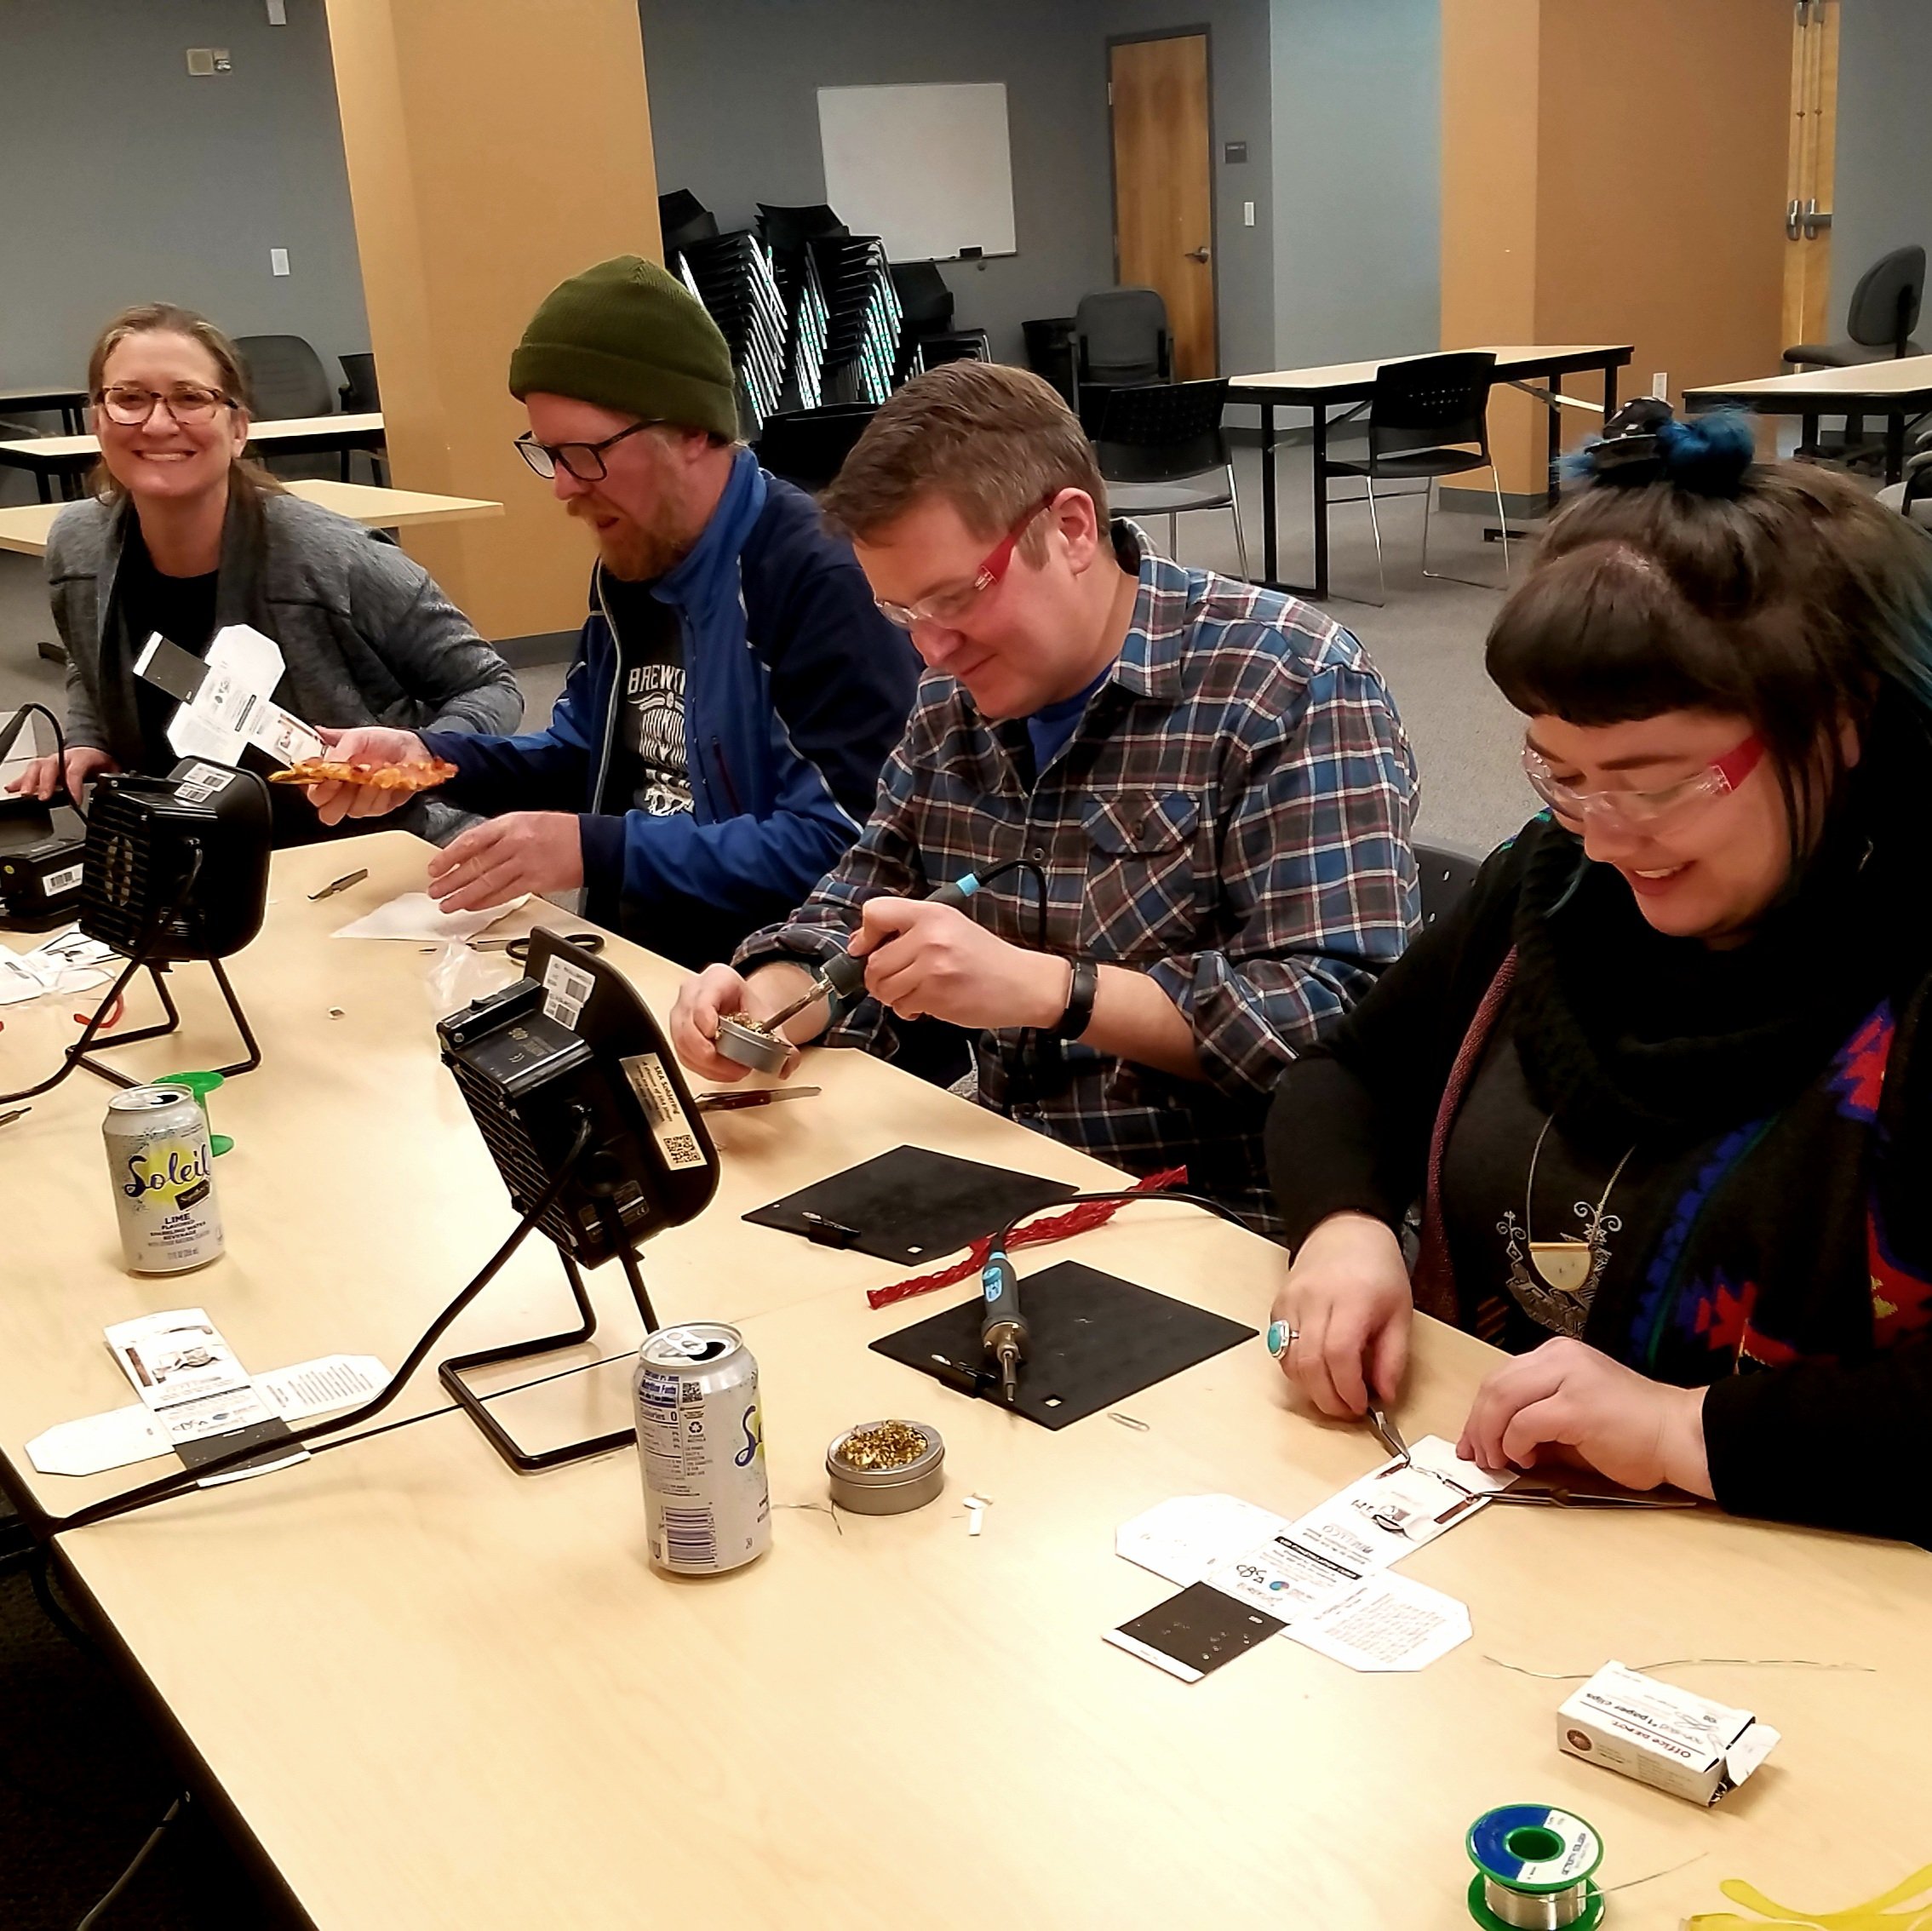
Even though we use lead-free solder, it does emit fumes. Make sure you have a well ventilated space. We also use extractor fans.
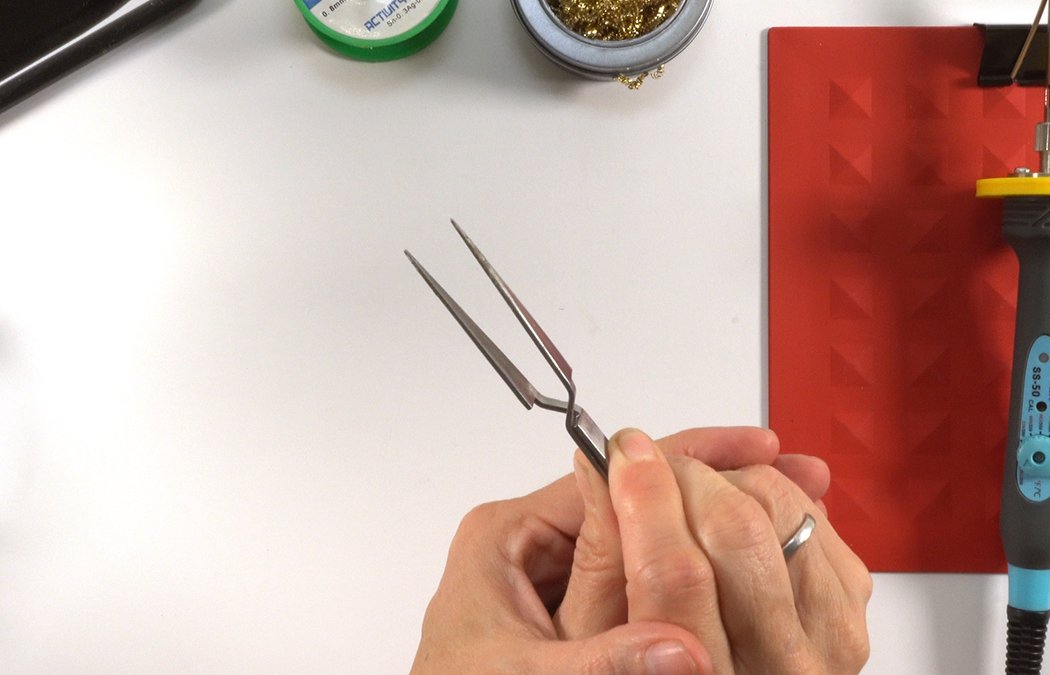
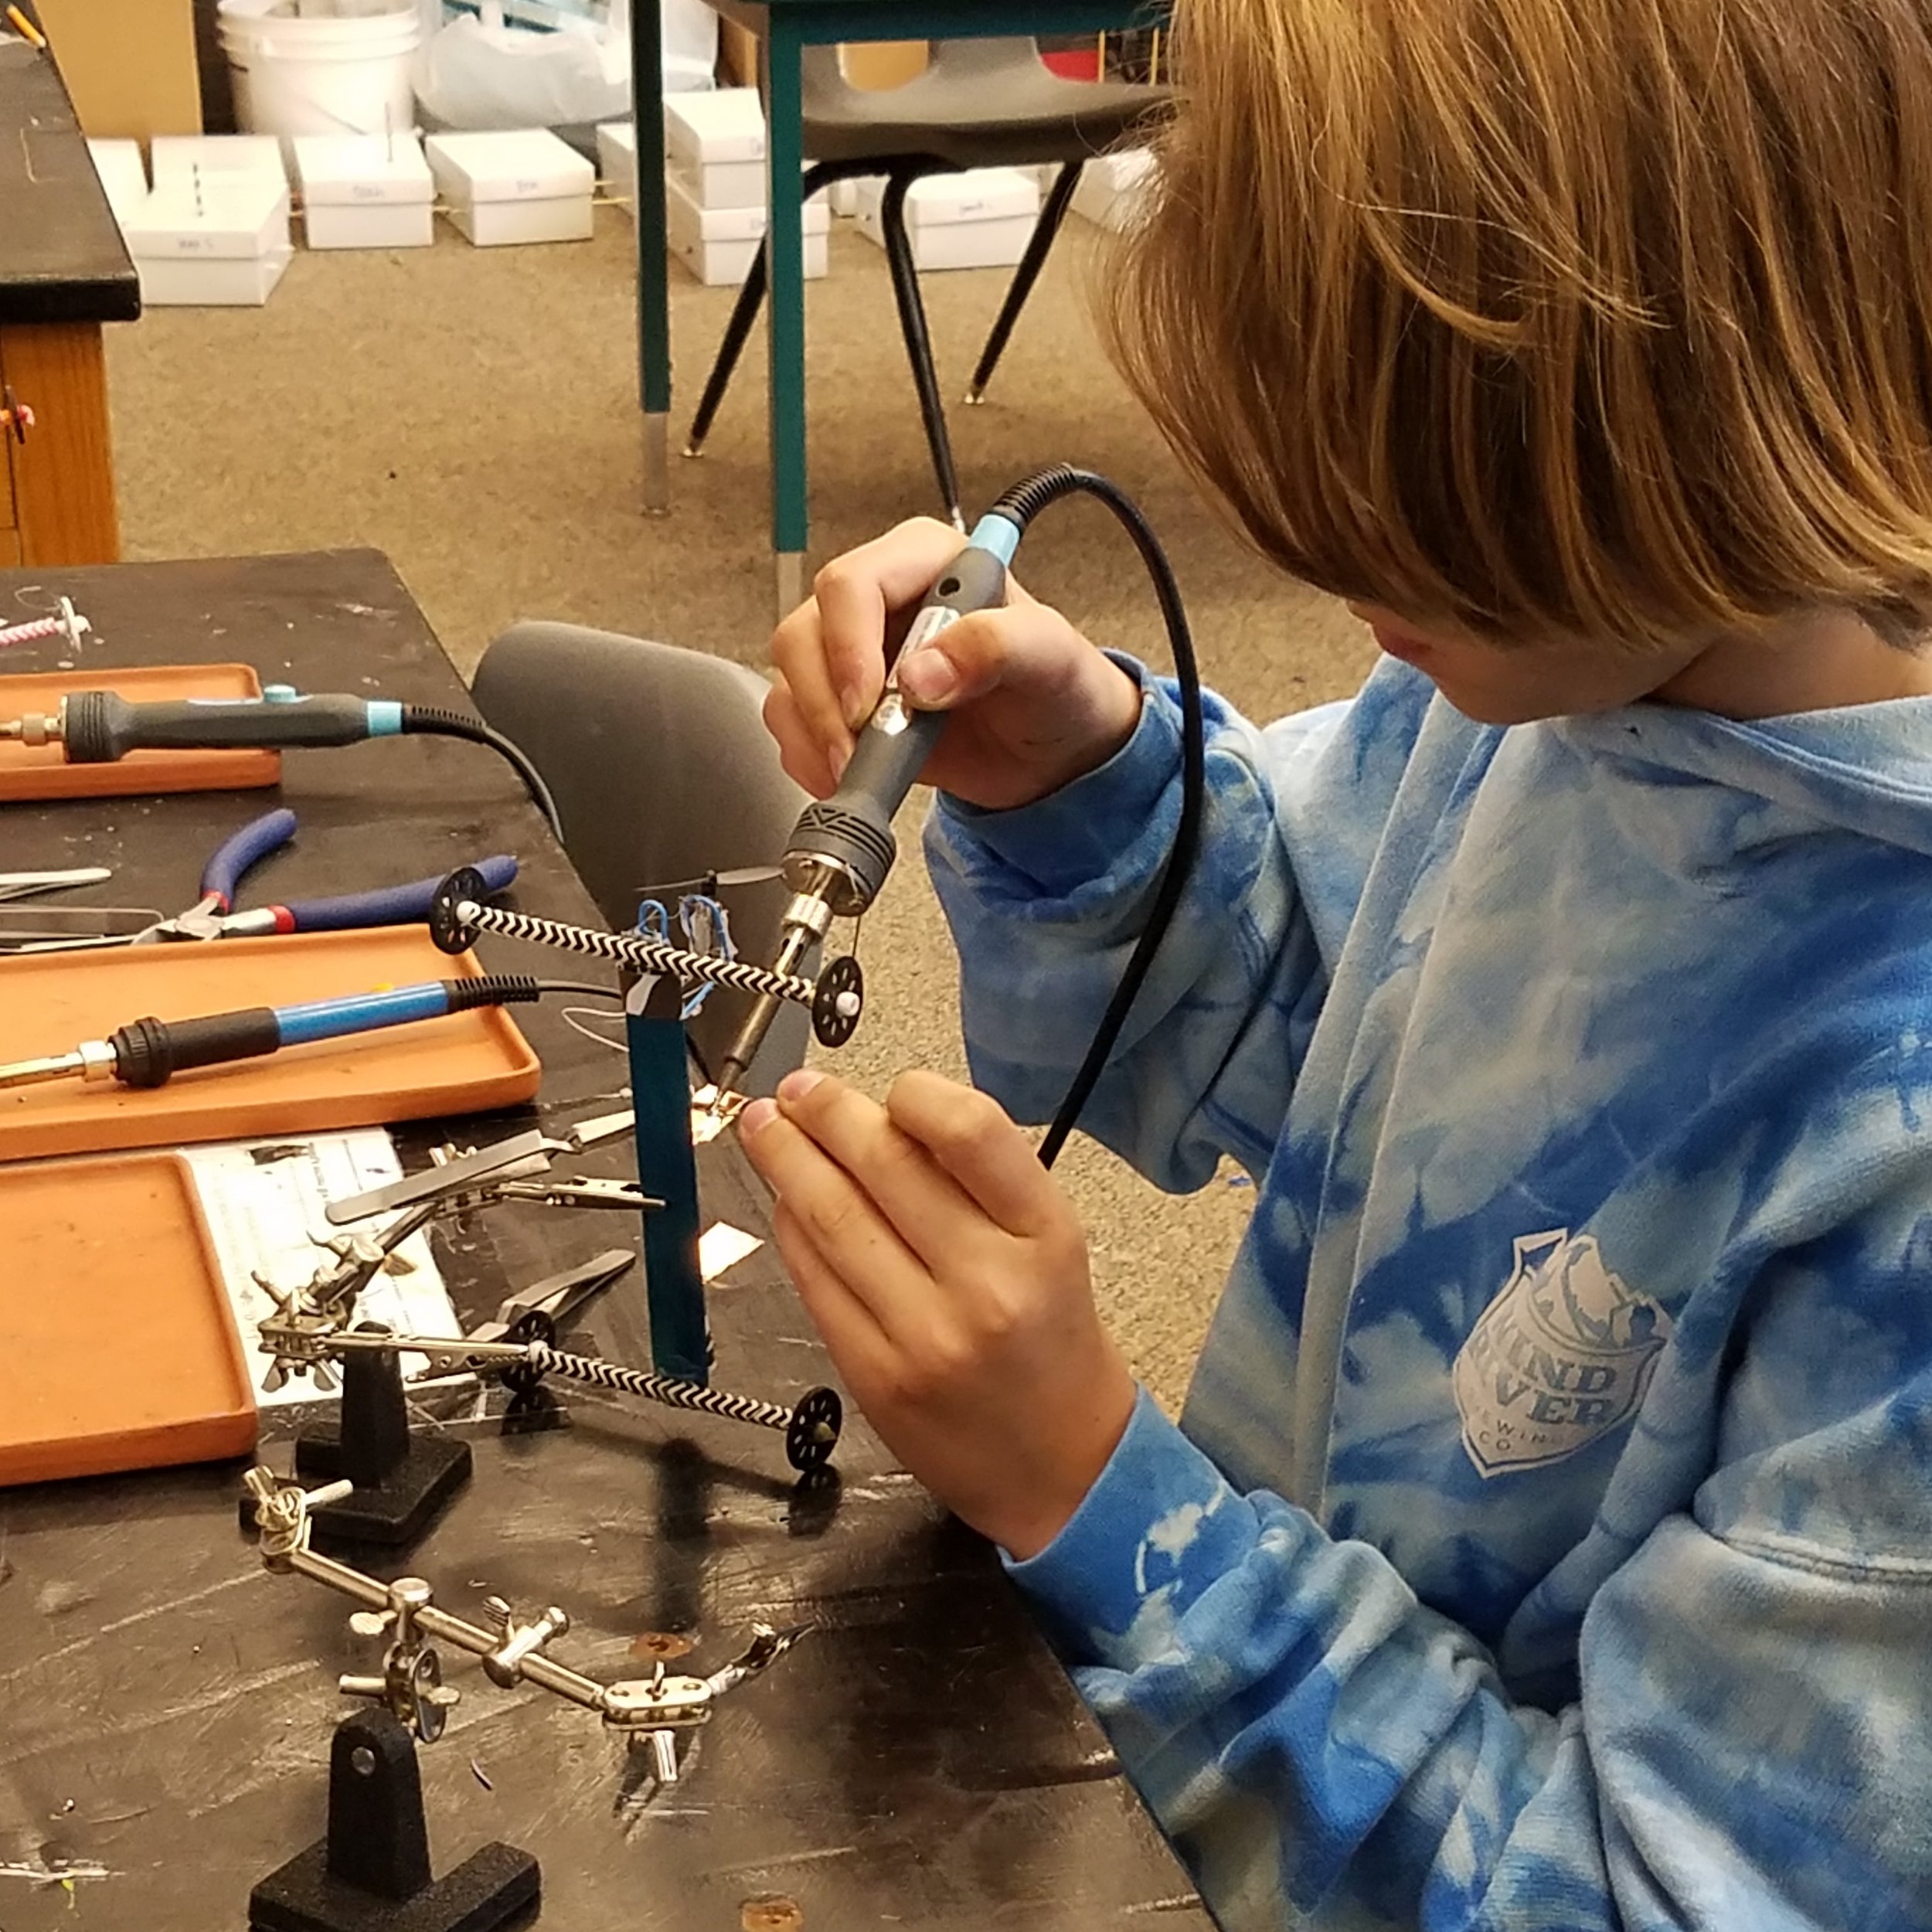
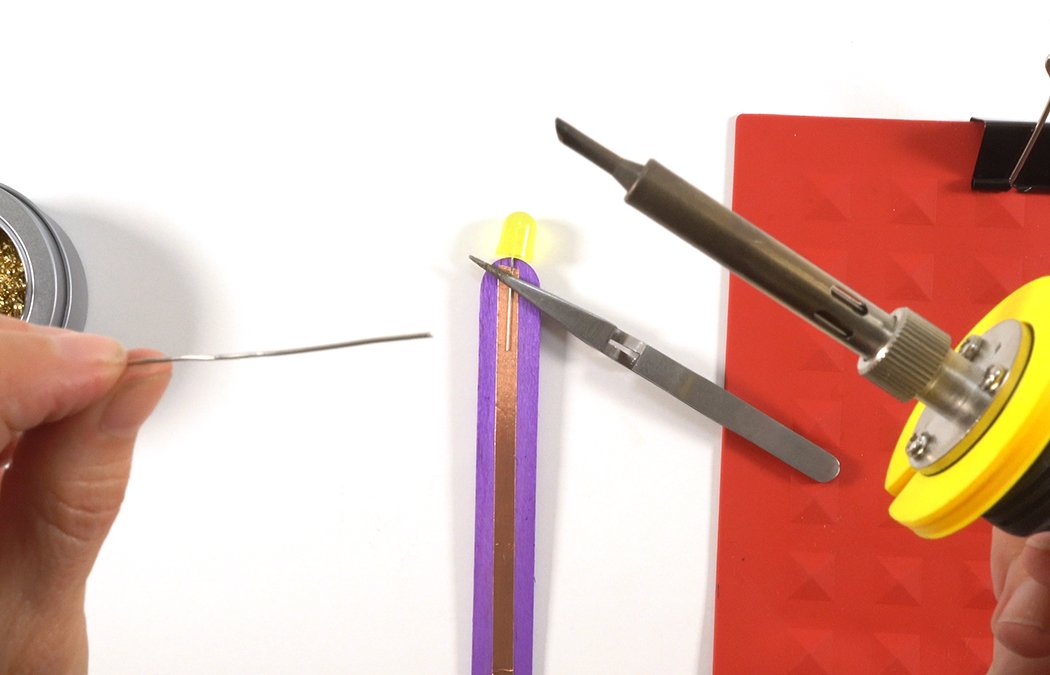
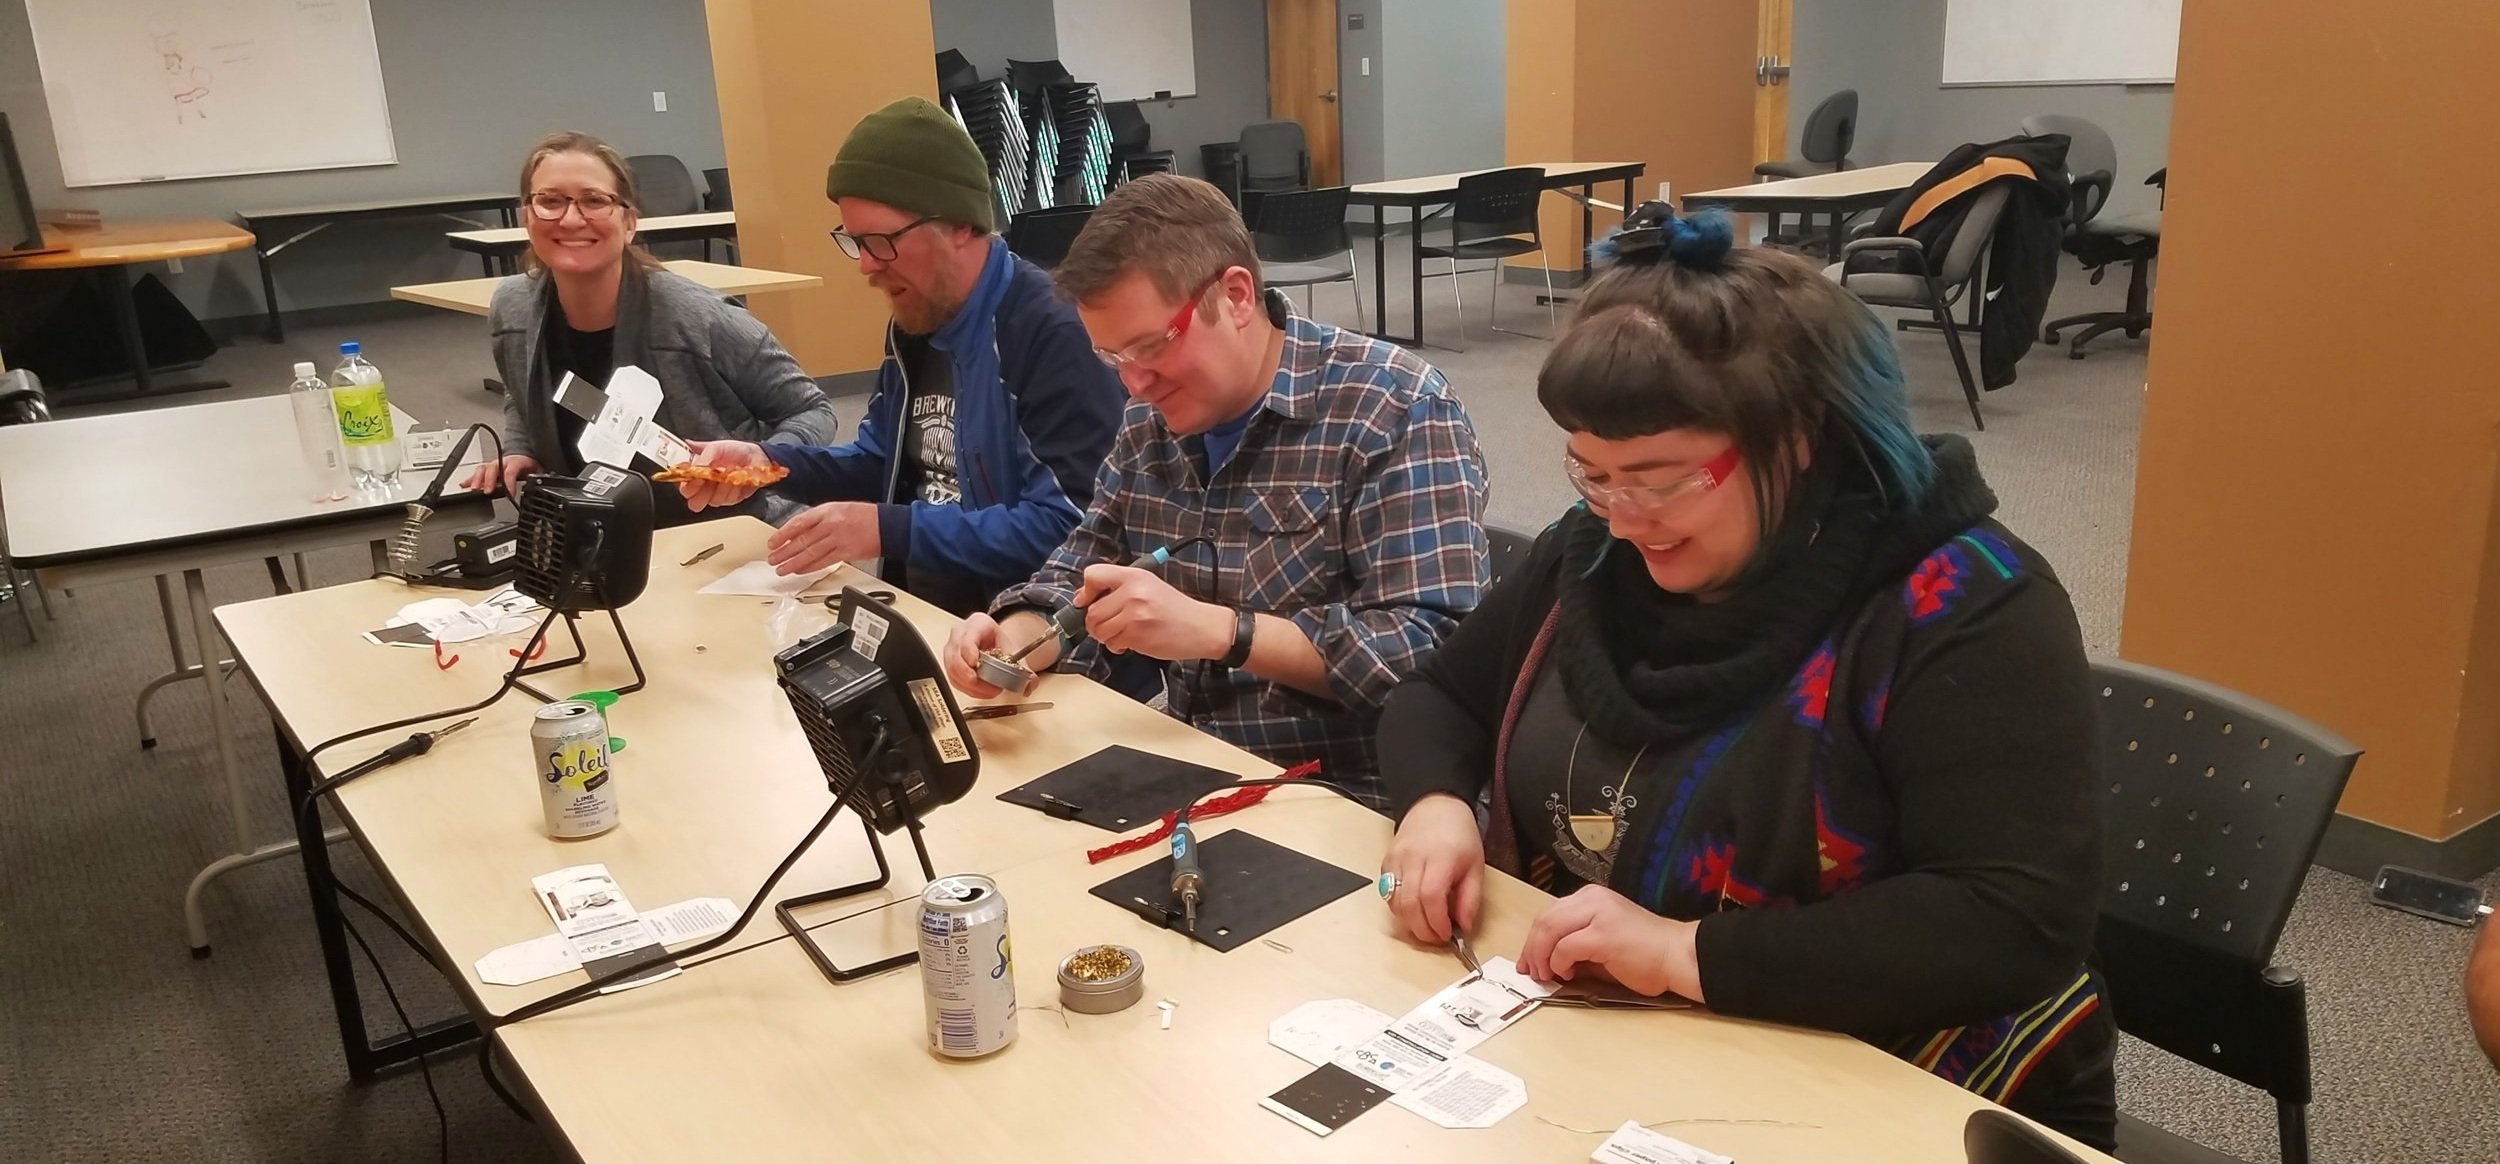
Reverse tweezers are great to hold projects as you solder.
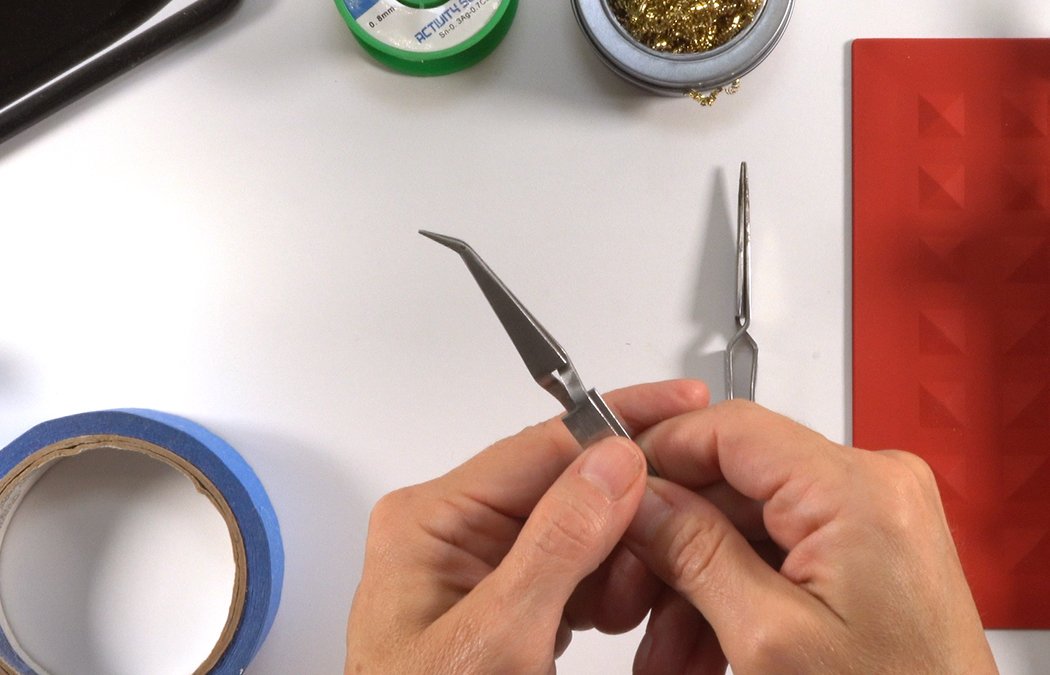
Reverse tweezers come in a variety of shapes. We like having a collection on hand to help students.
Blue painters tape is also a handy, affordable way to secure electronics and components as you solder.
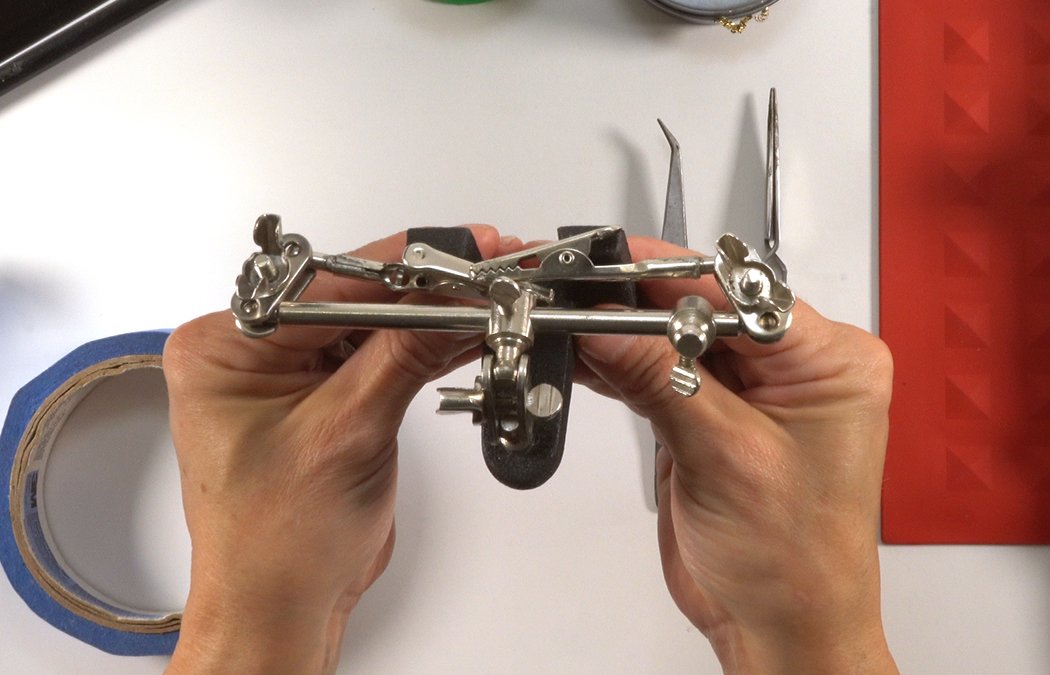
Helping Hands are an awesome clip and clamp system. These are really helpful for larger, more complex projects like Motor Racers.

You’ll also want some wire strippers to remove insulation from wires and motors.
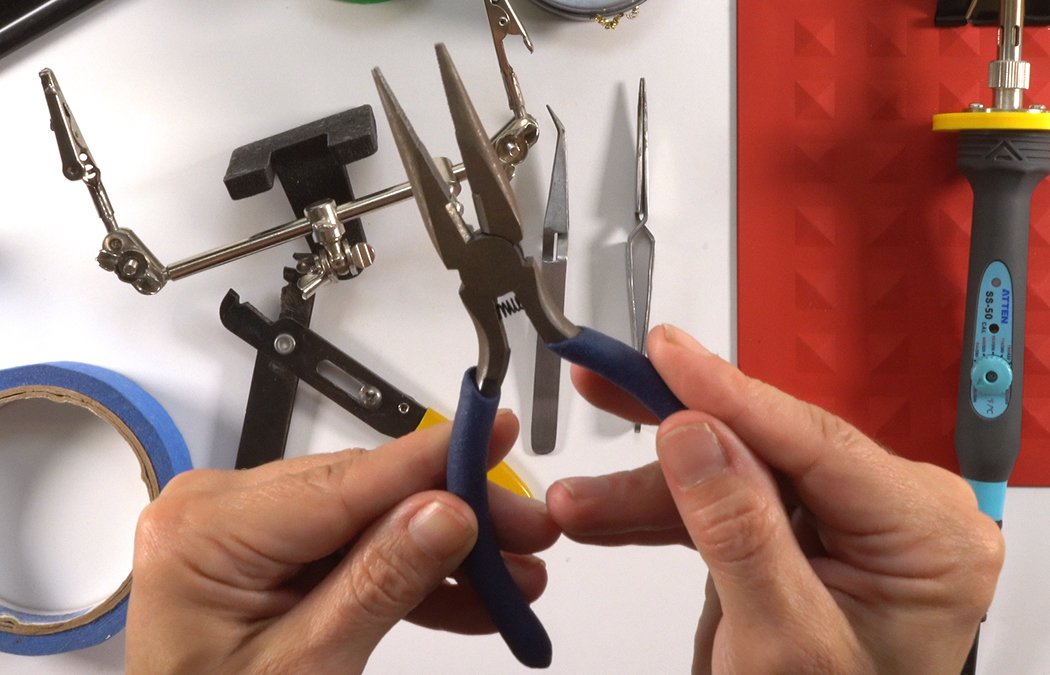
A combo needle nose pliers and wire cutter tool is also handy.
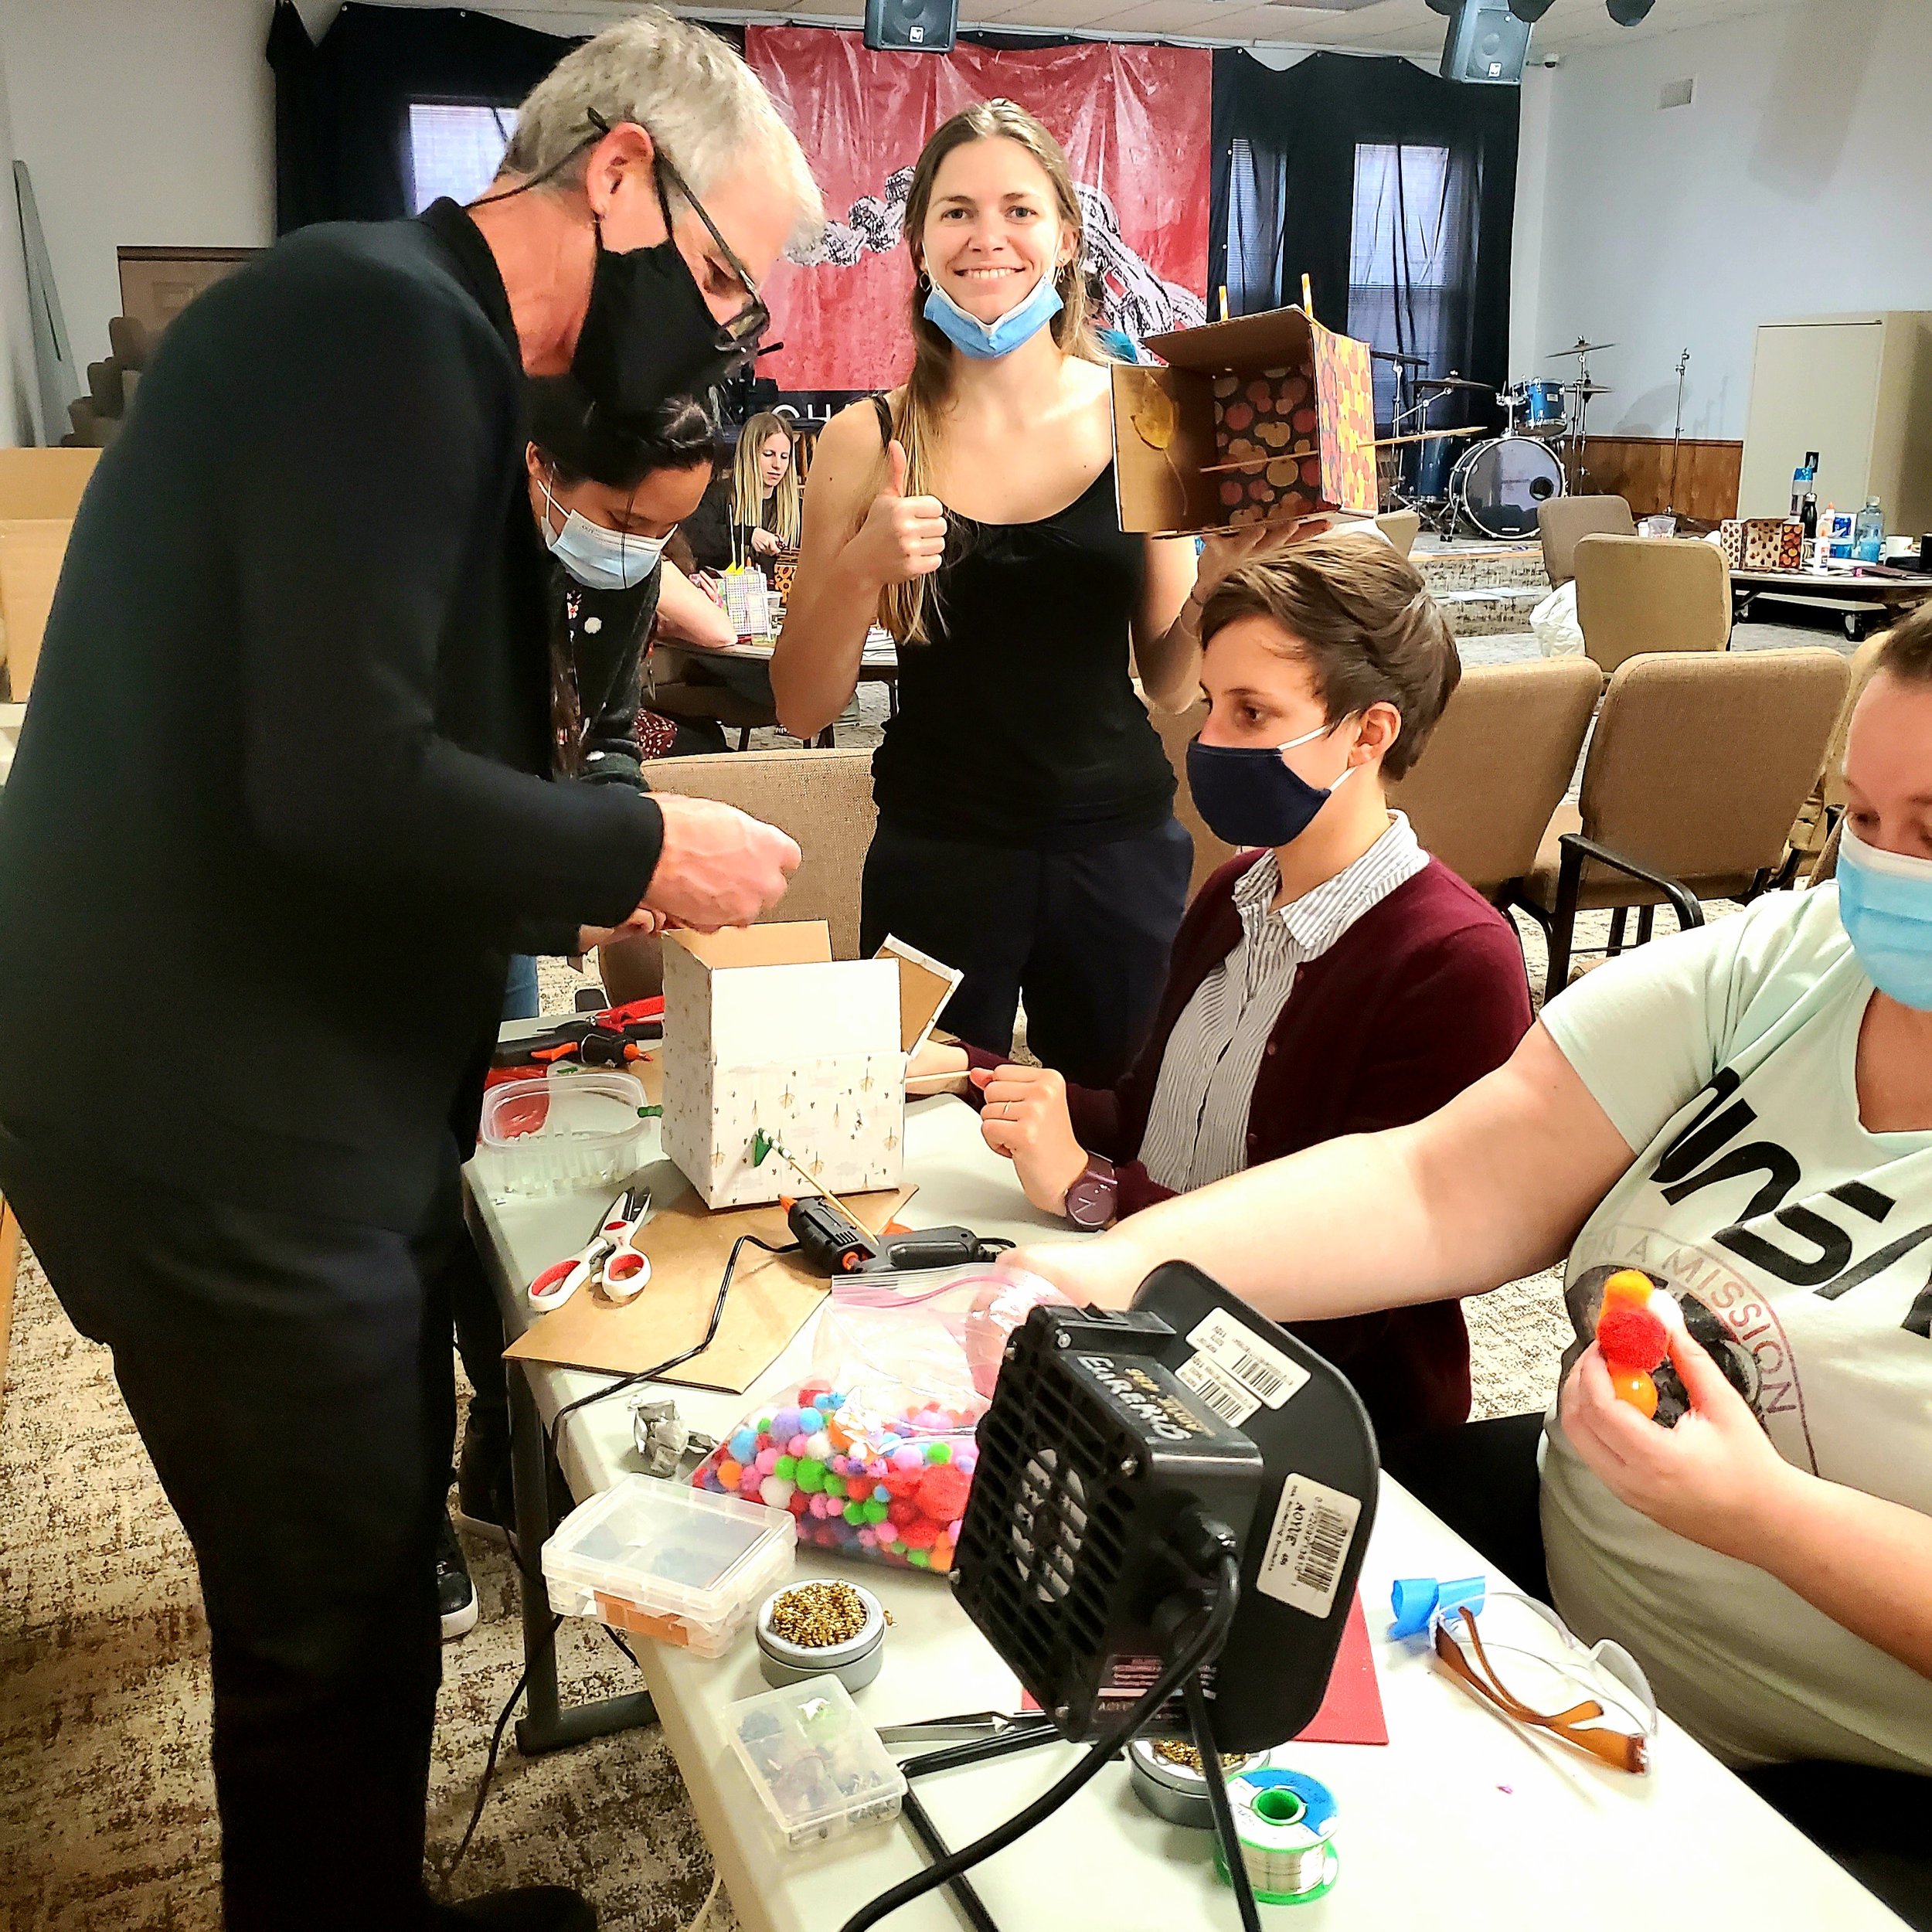
You can add to your collection as budgets permit. We normally set-up 2-4 stations for each class depending on the number of adult helpers in the room. It is crucial each soldering iron is supervised.
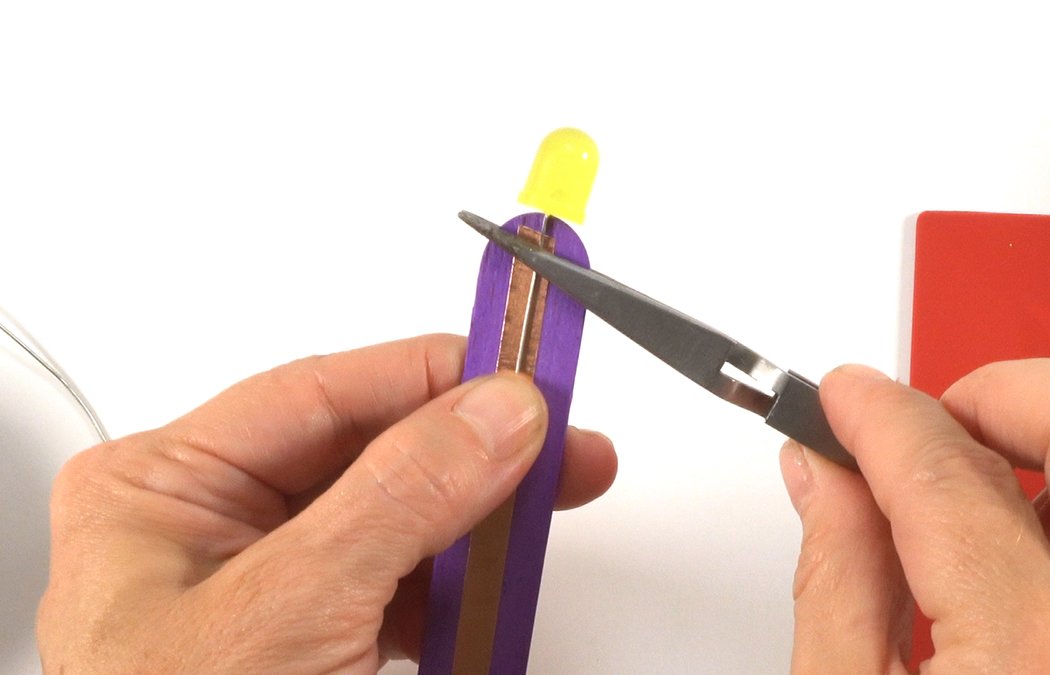
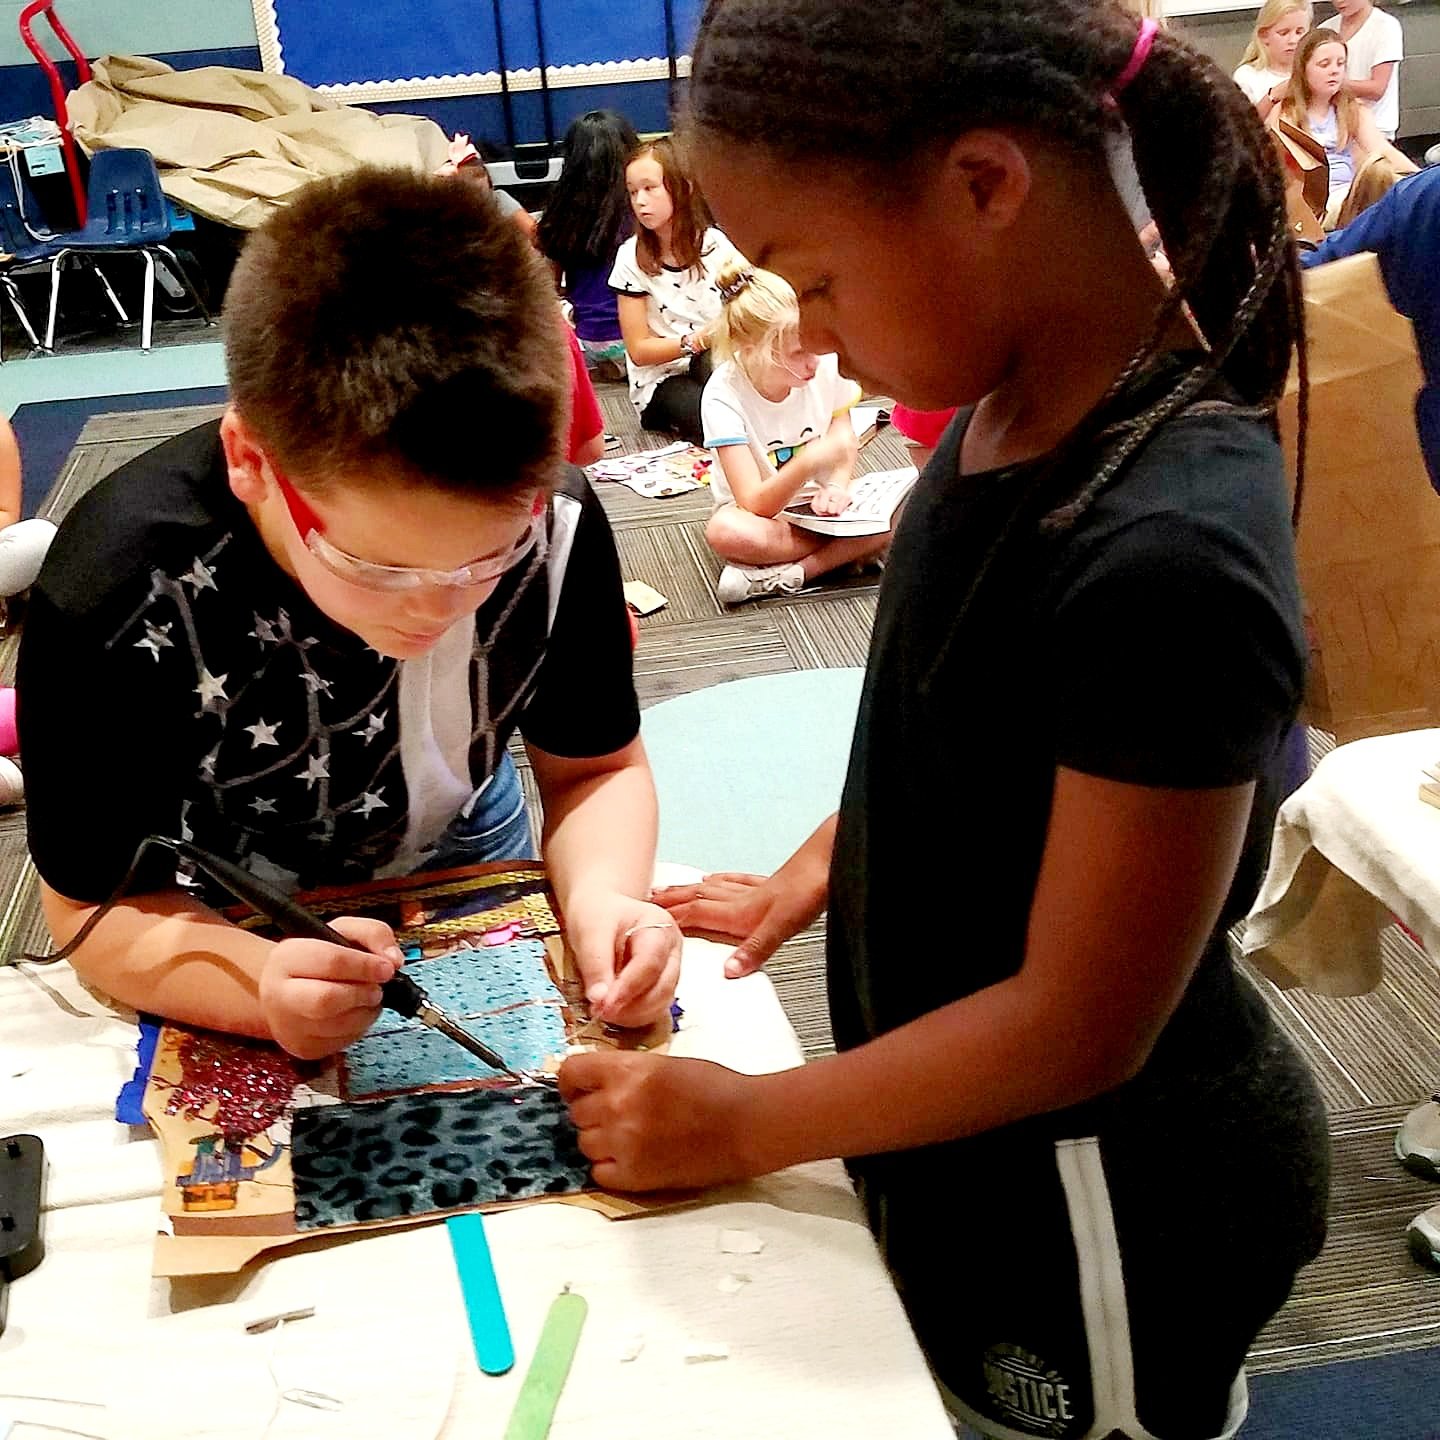
To solder, you can hold your components with tweezers or helping hands.
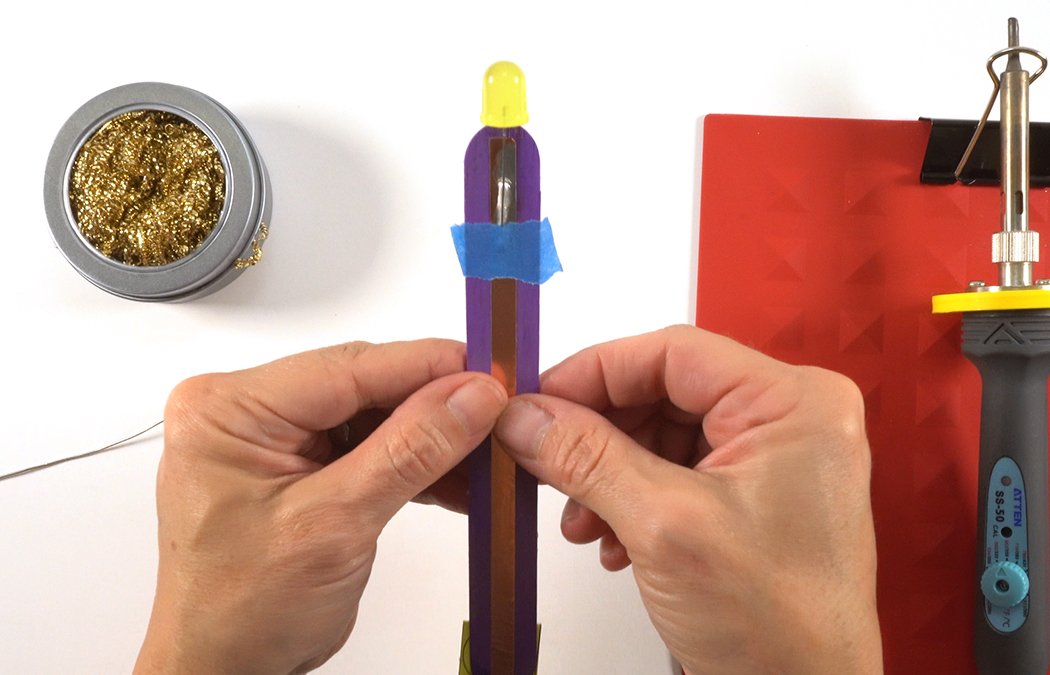
You can also secure parts with blue tape, an easy affordable alternative.
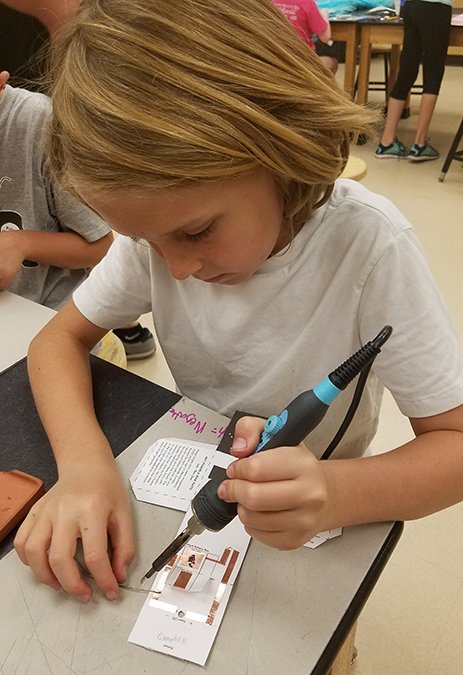
Hold the soldering iron in your dominant hand. Hold a piece of solder about 3" from the tip in your other hand.
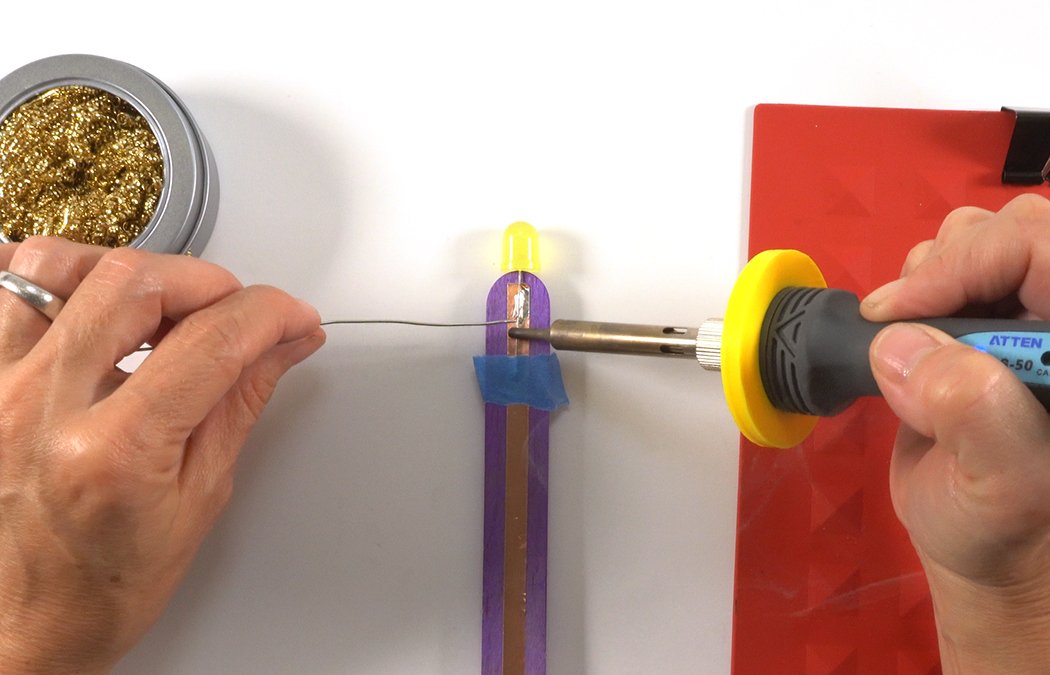
Place the tip of the solder to the hot iron tip. Make sure the flat part of the iron is down. Rub the solder around to cover wires and copper.
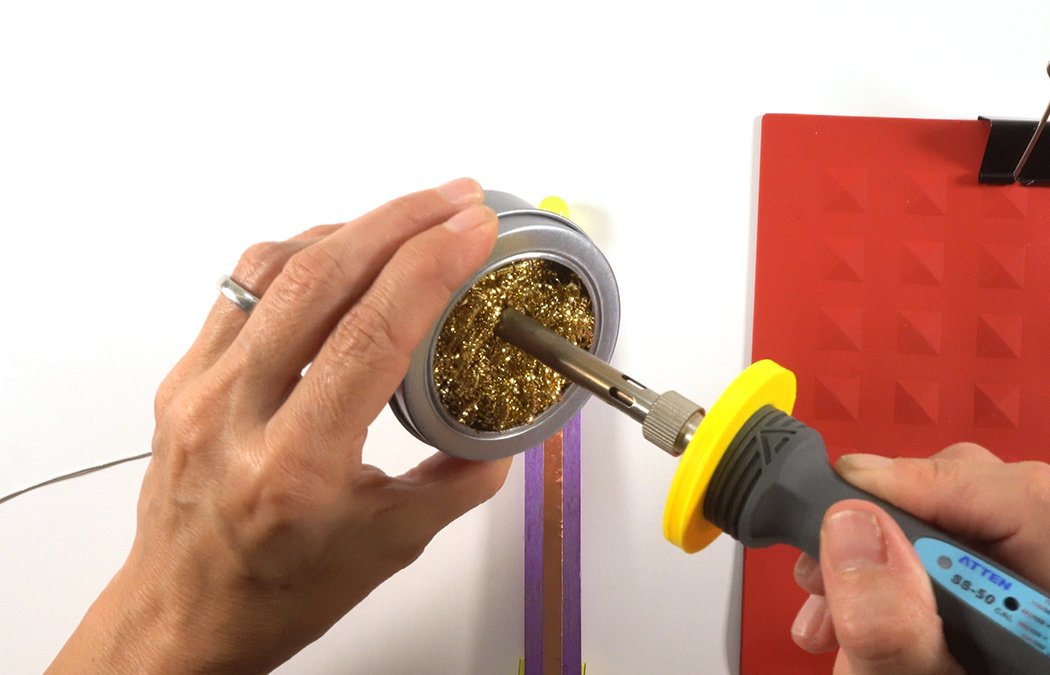
Clean the tip by dabbing it in the brass sponge each time your solder.
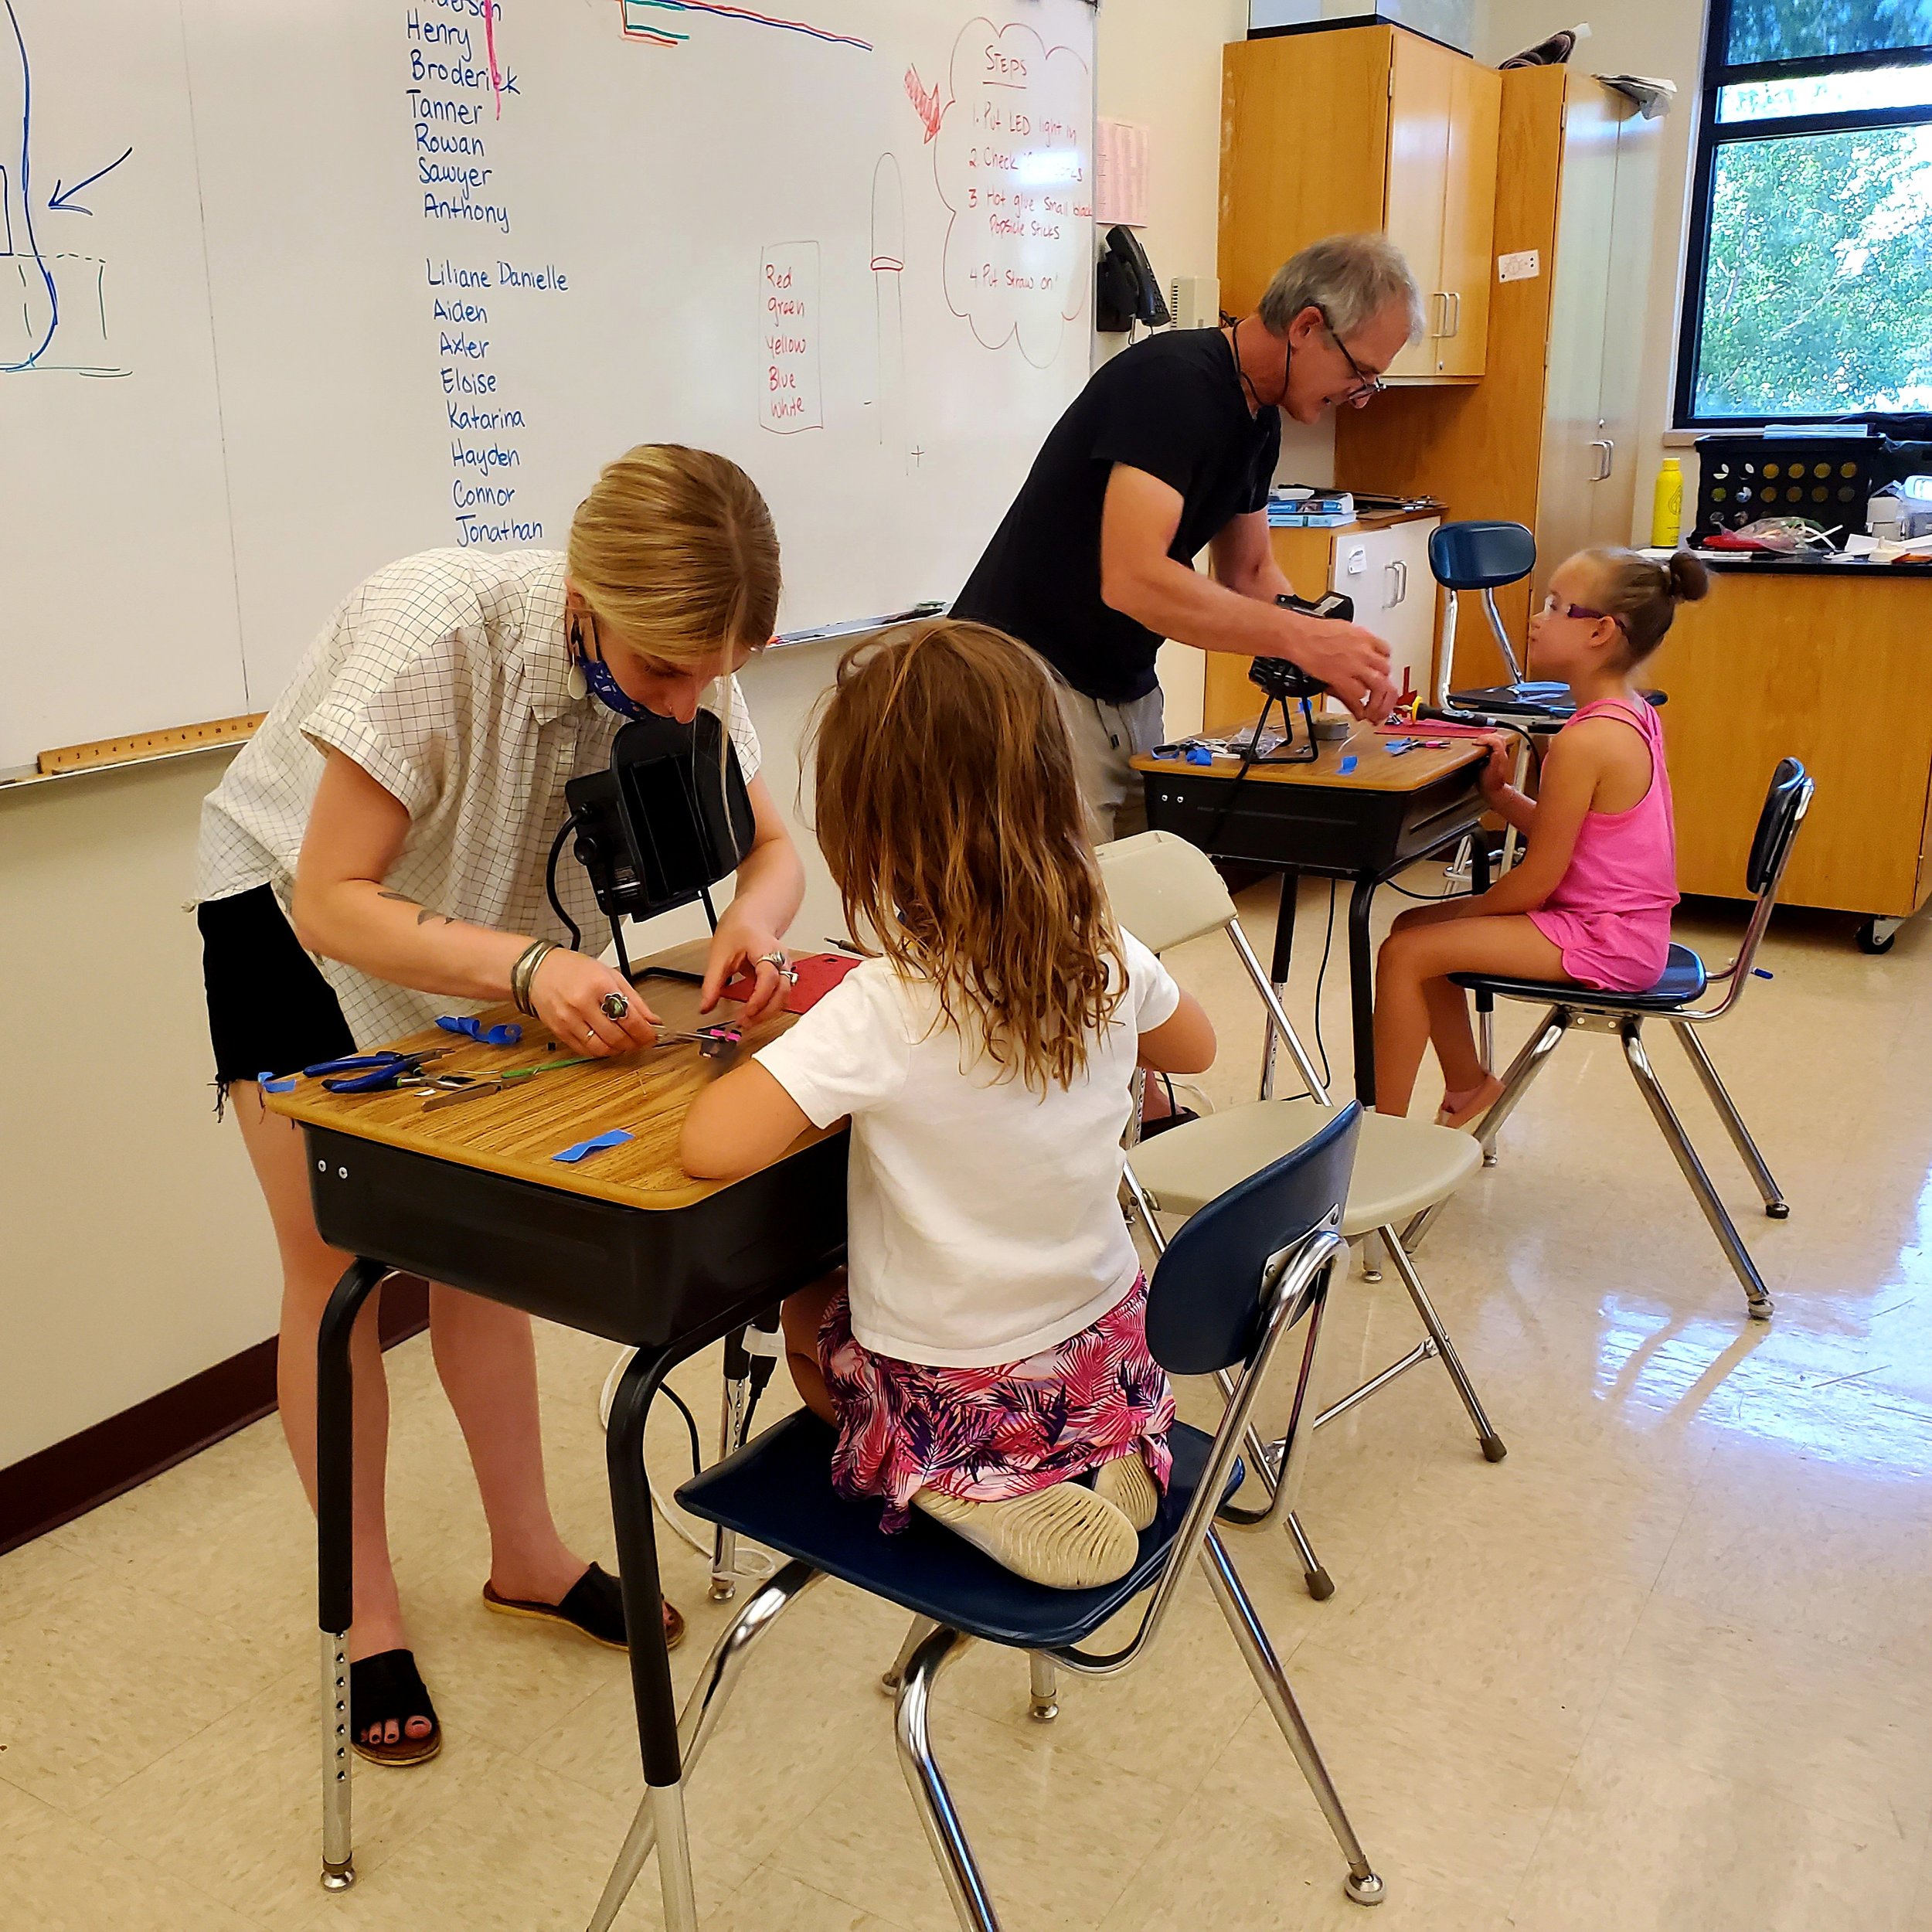
We normally set-up 2-4 stations for each class depending on the number of adult helpers in the room. It is crucial each soldering iron is supervised by a teacher or leader.
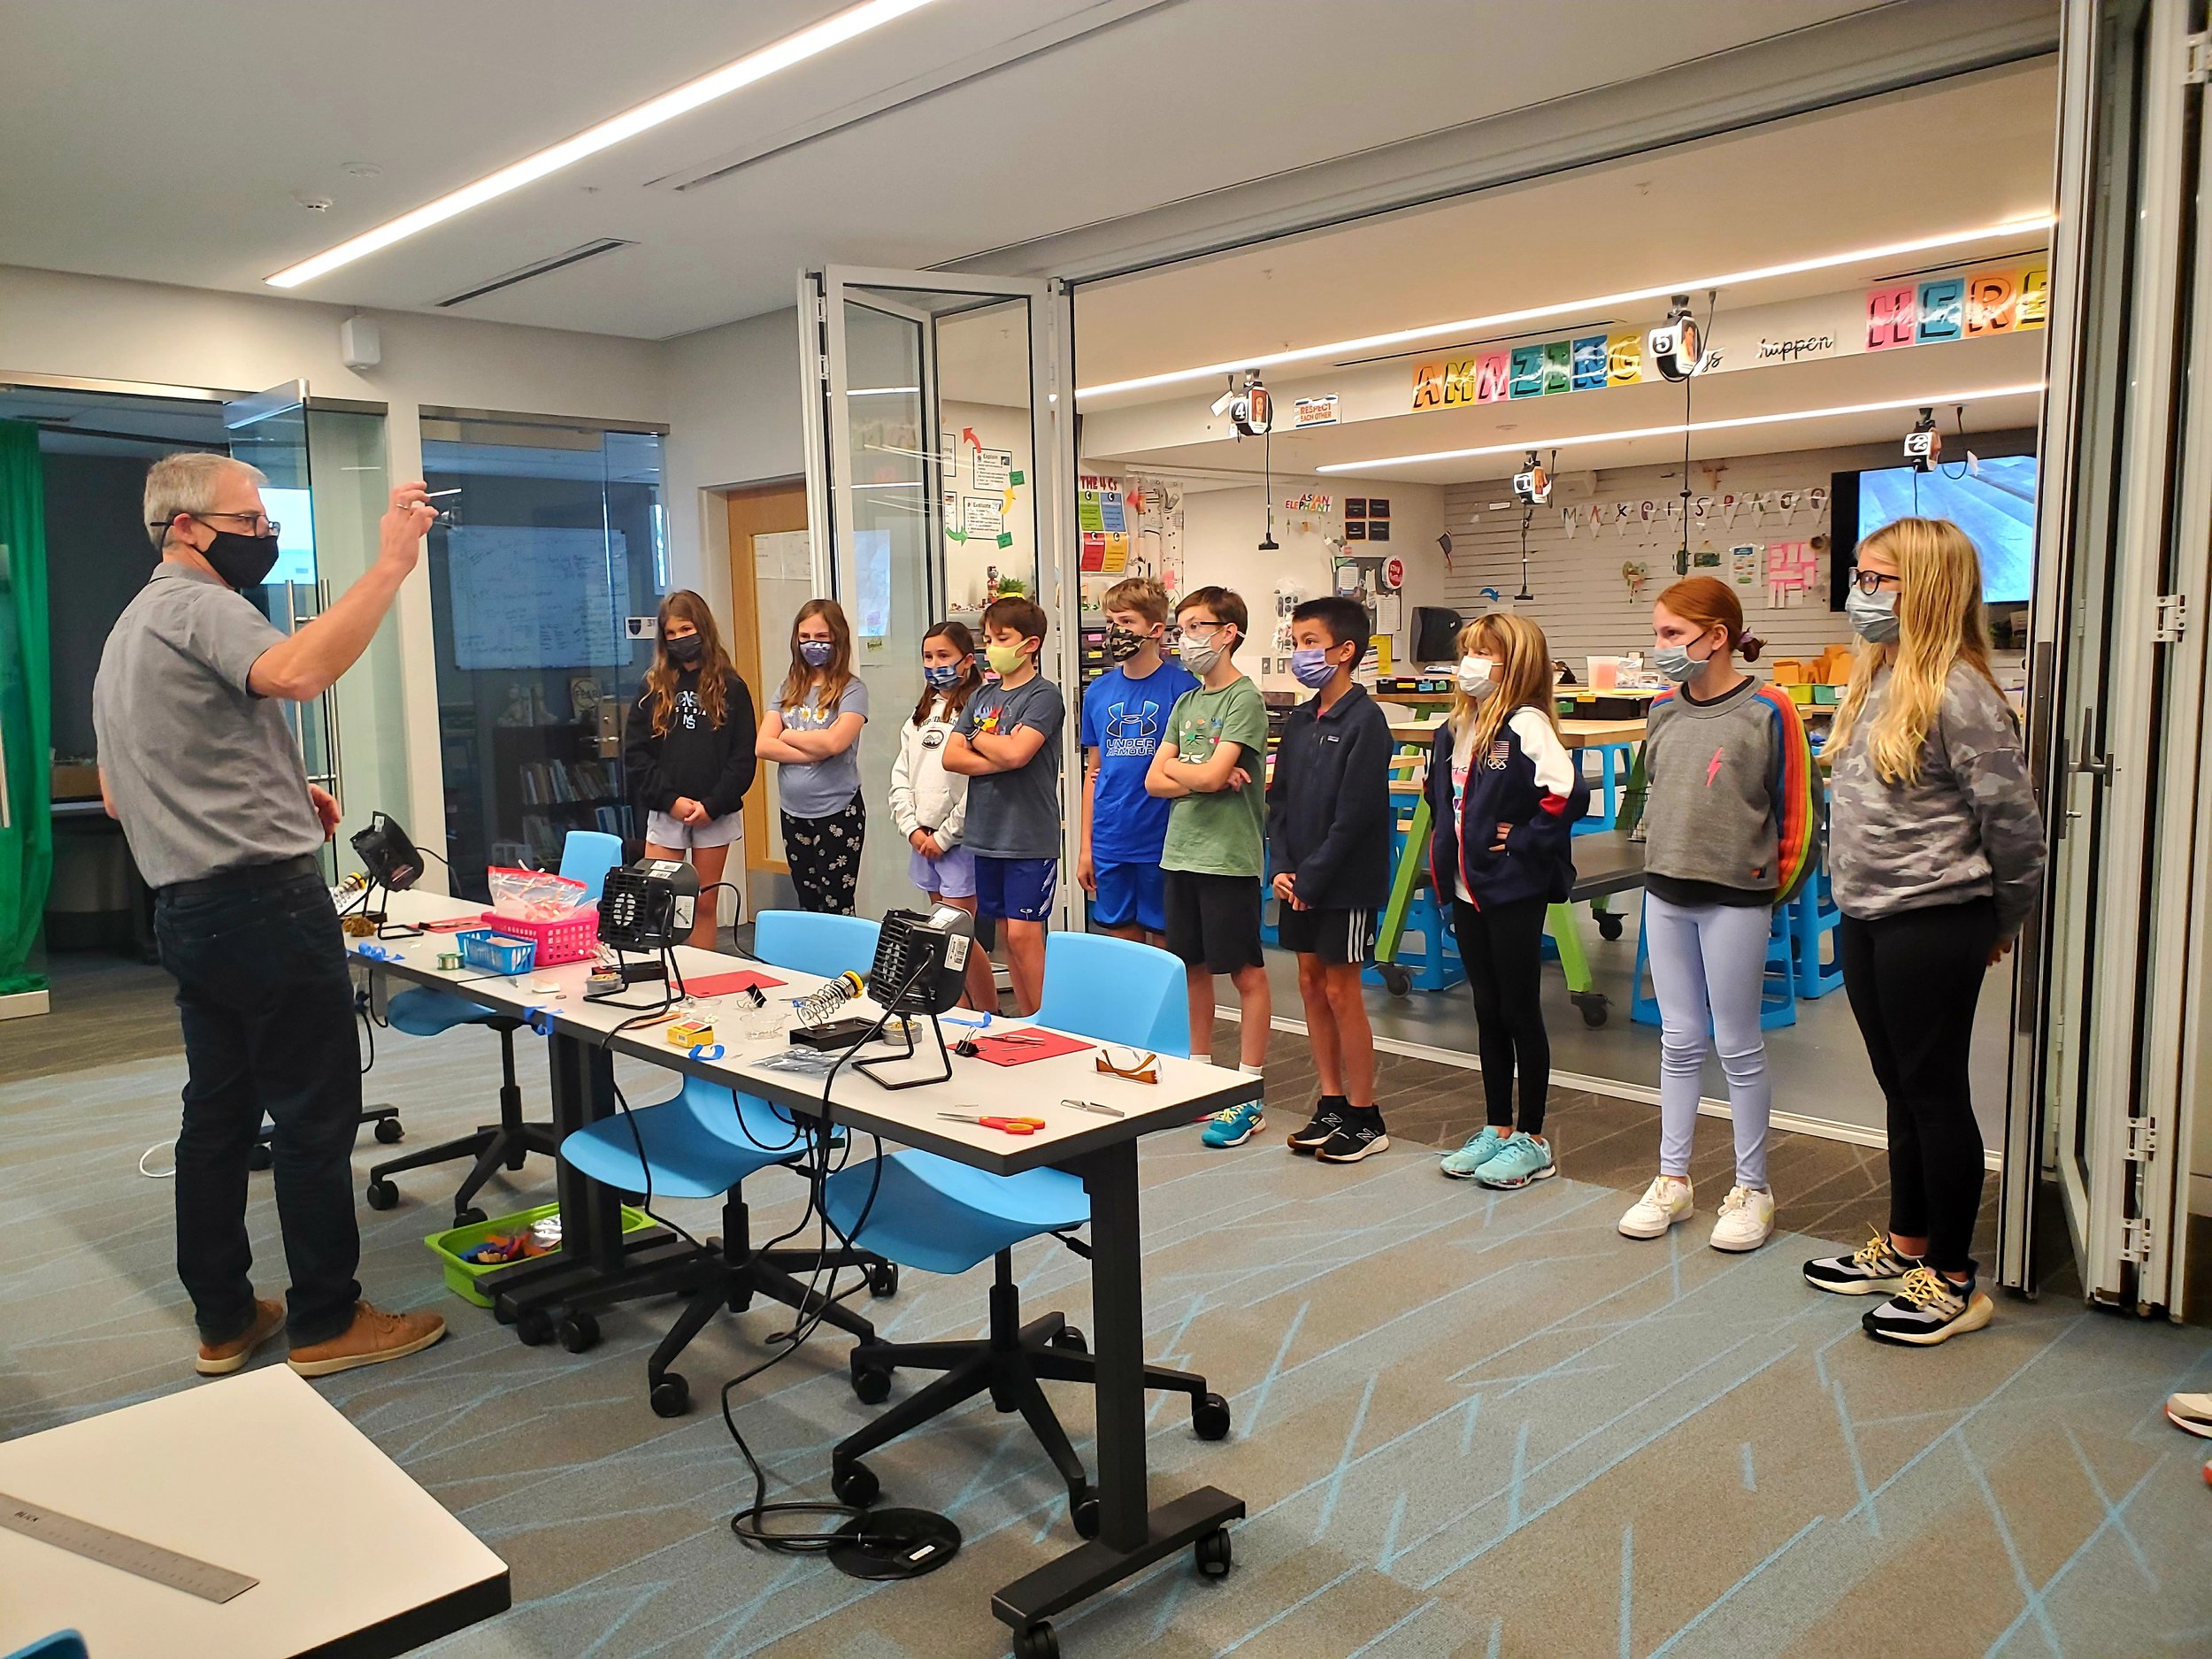
We also go through safety protocols each time we solder. Students tend to be a bit nervous and take the process seriously. But, it's always good to remind them of the steps involved.
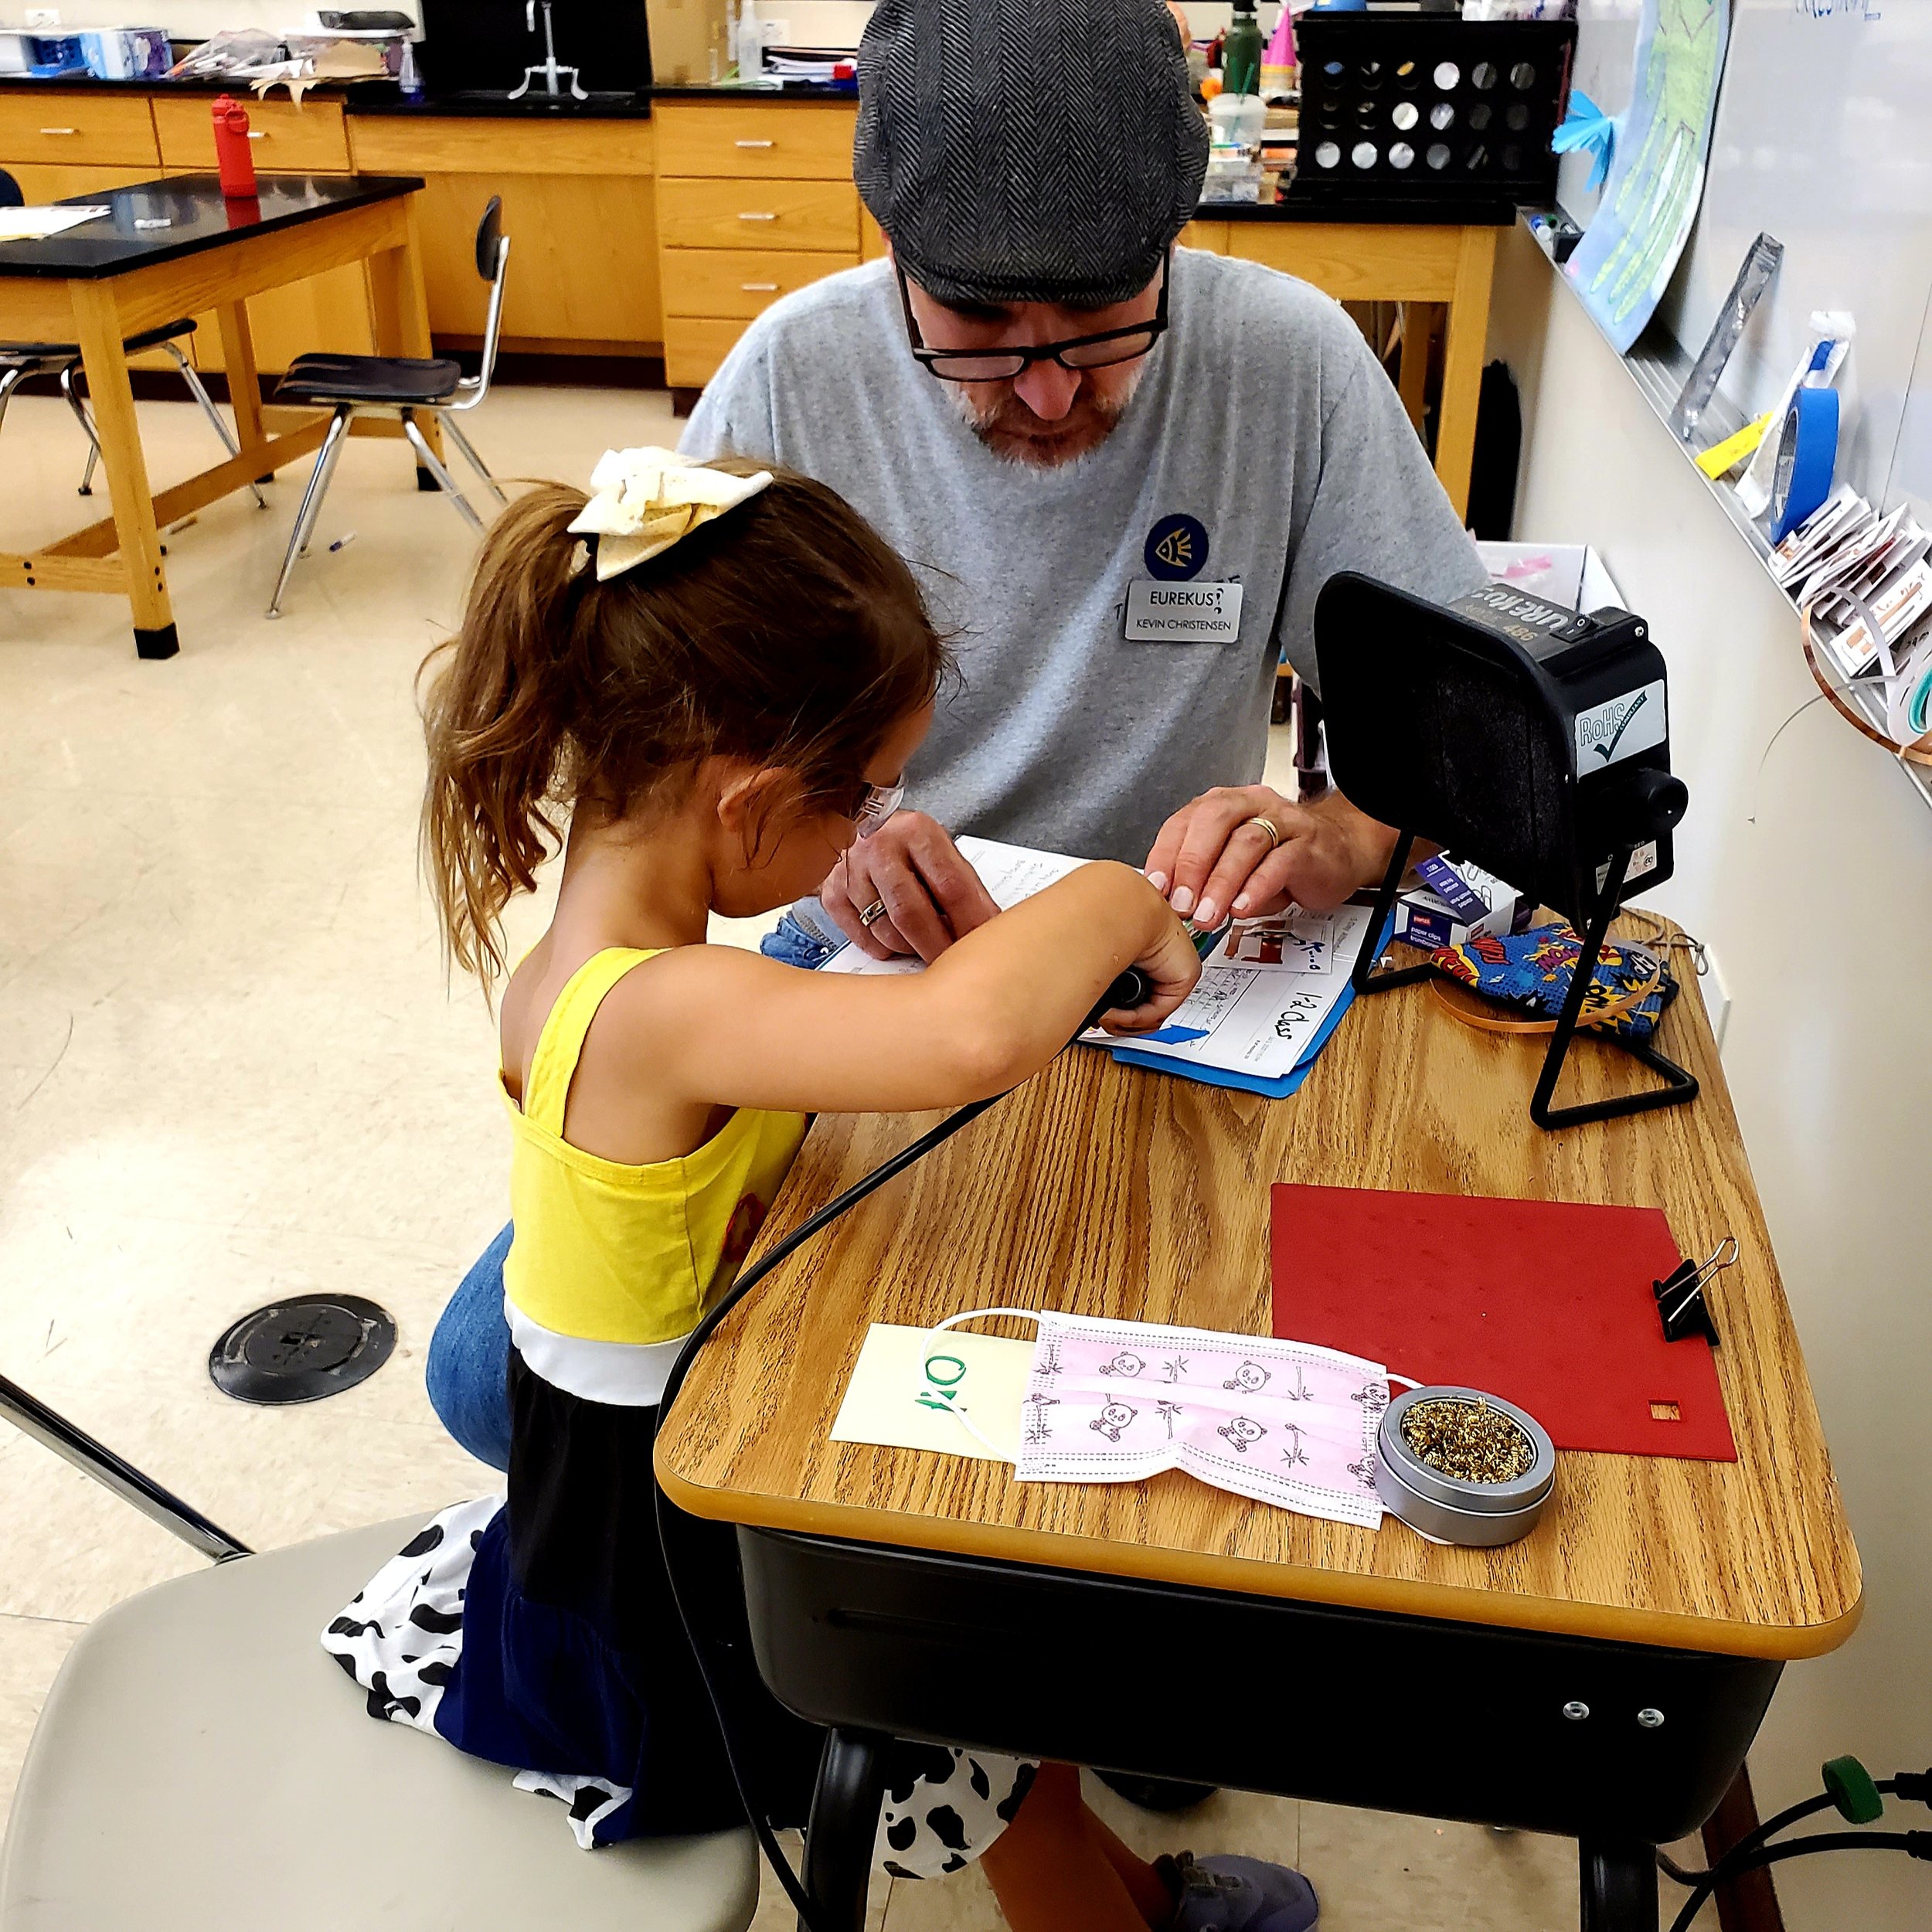
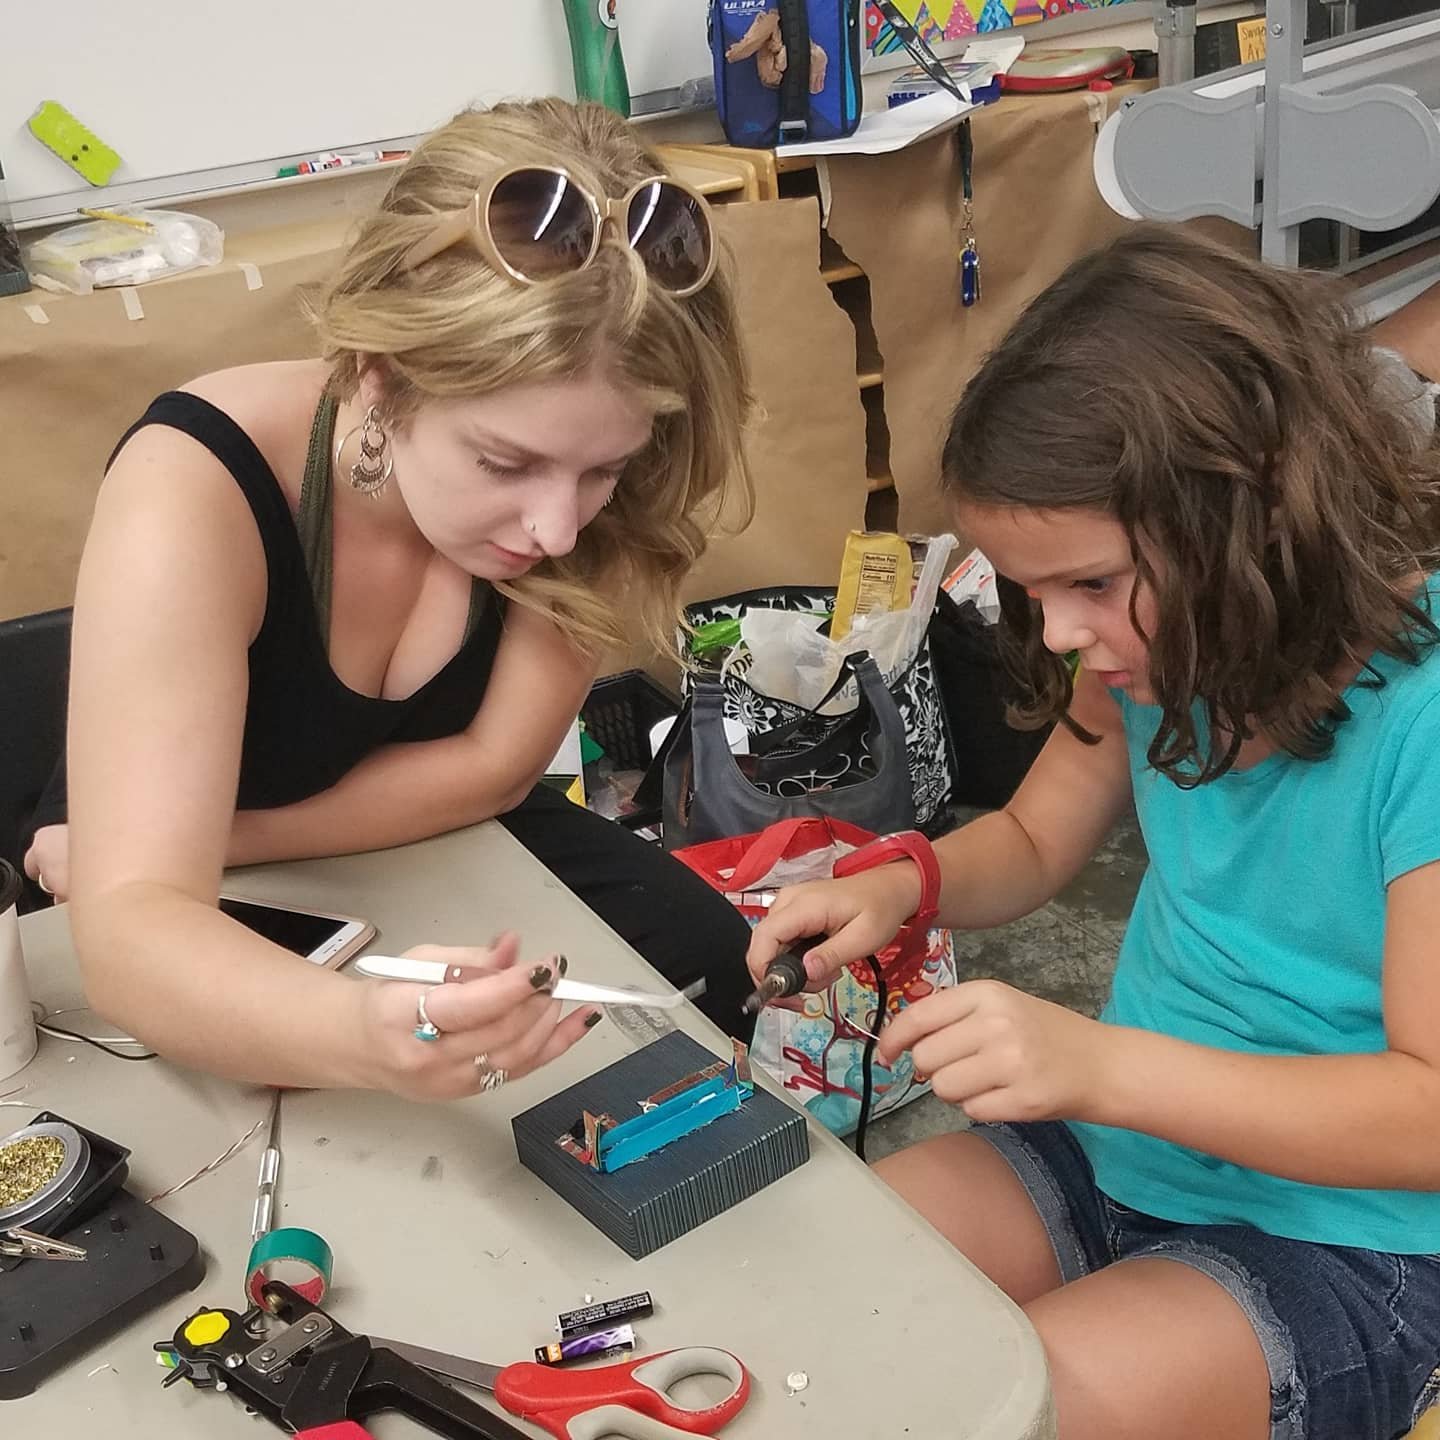
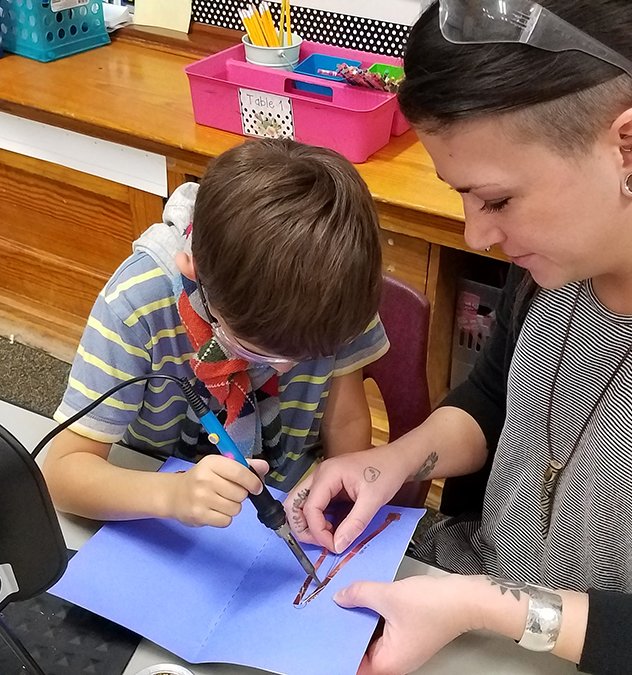
To start, we will often sit with students and hold the soldering iron for them. We allow them to hold the solder to get comfortable. Make sure they are wearing safety glasses.

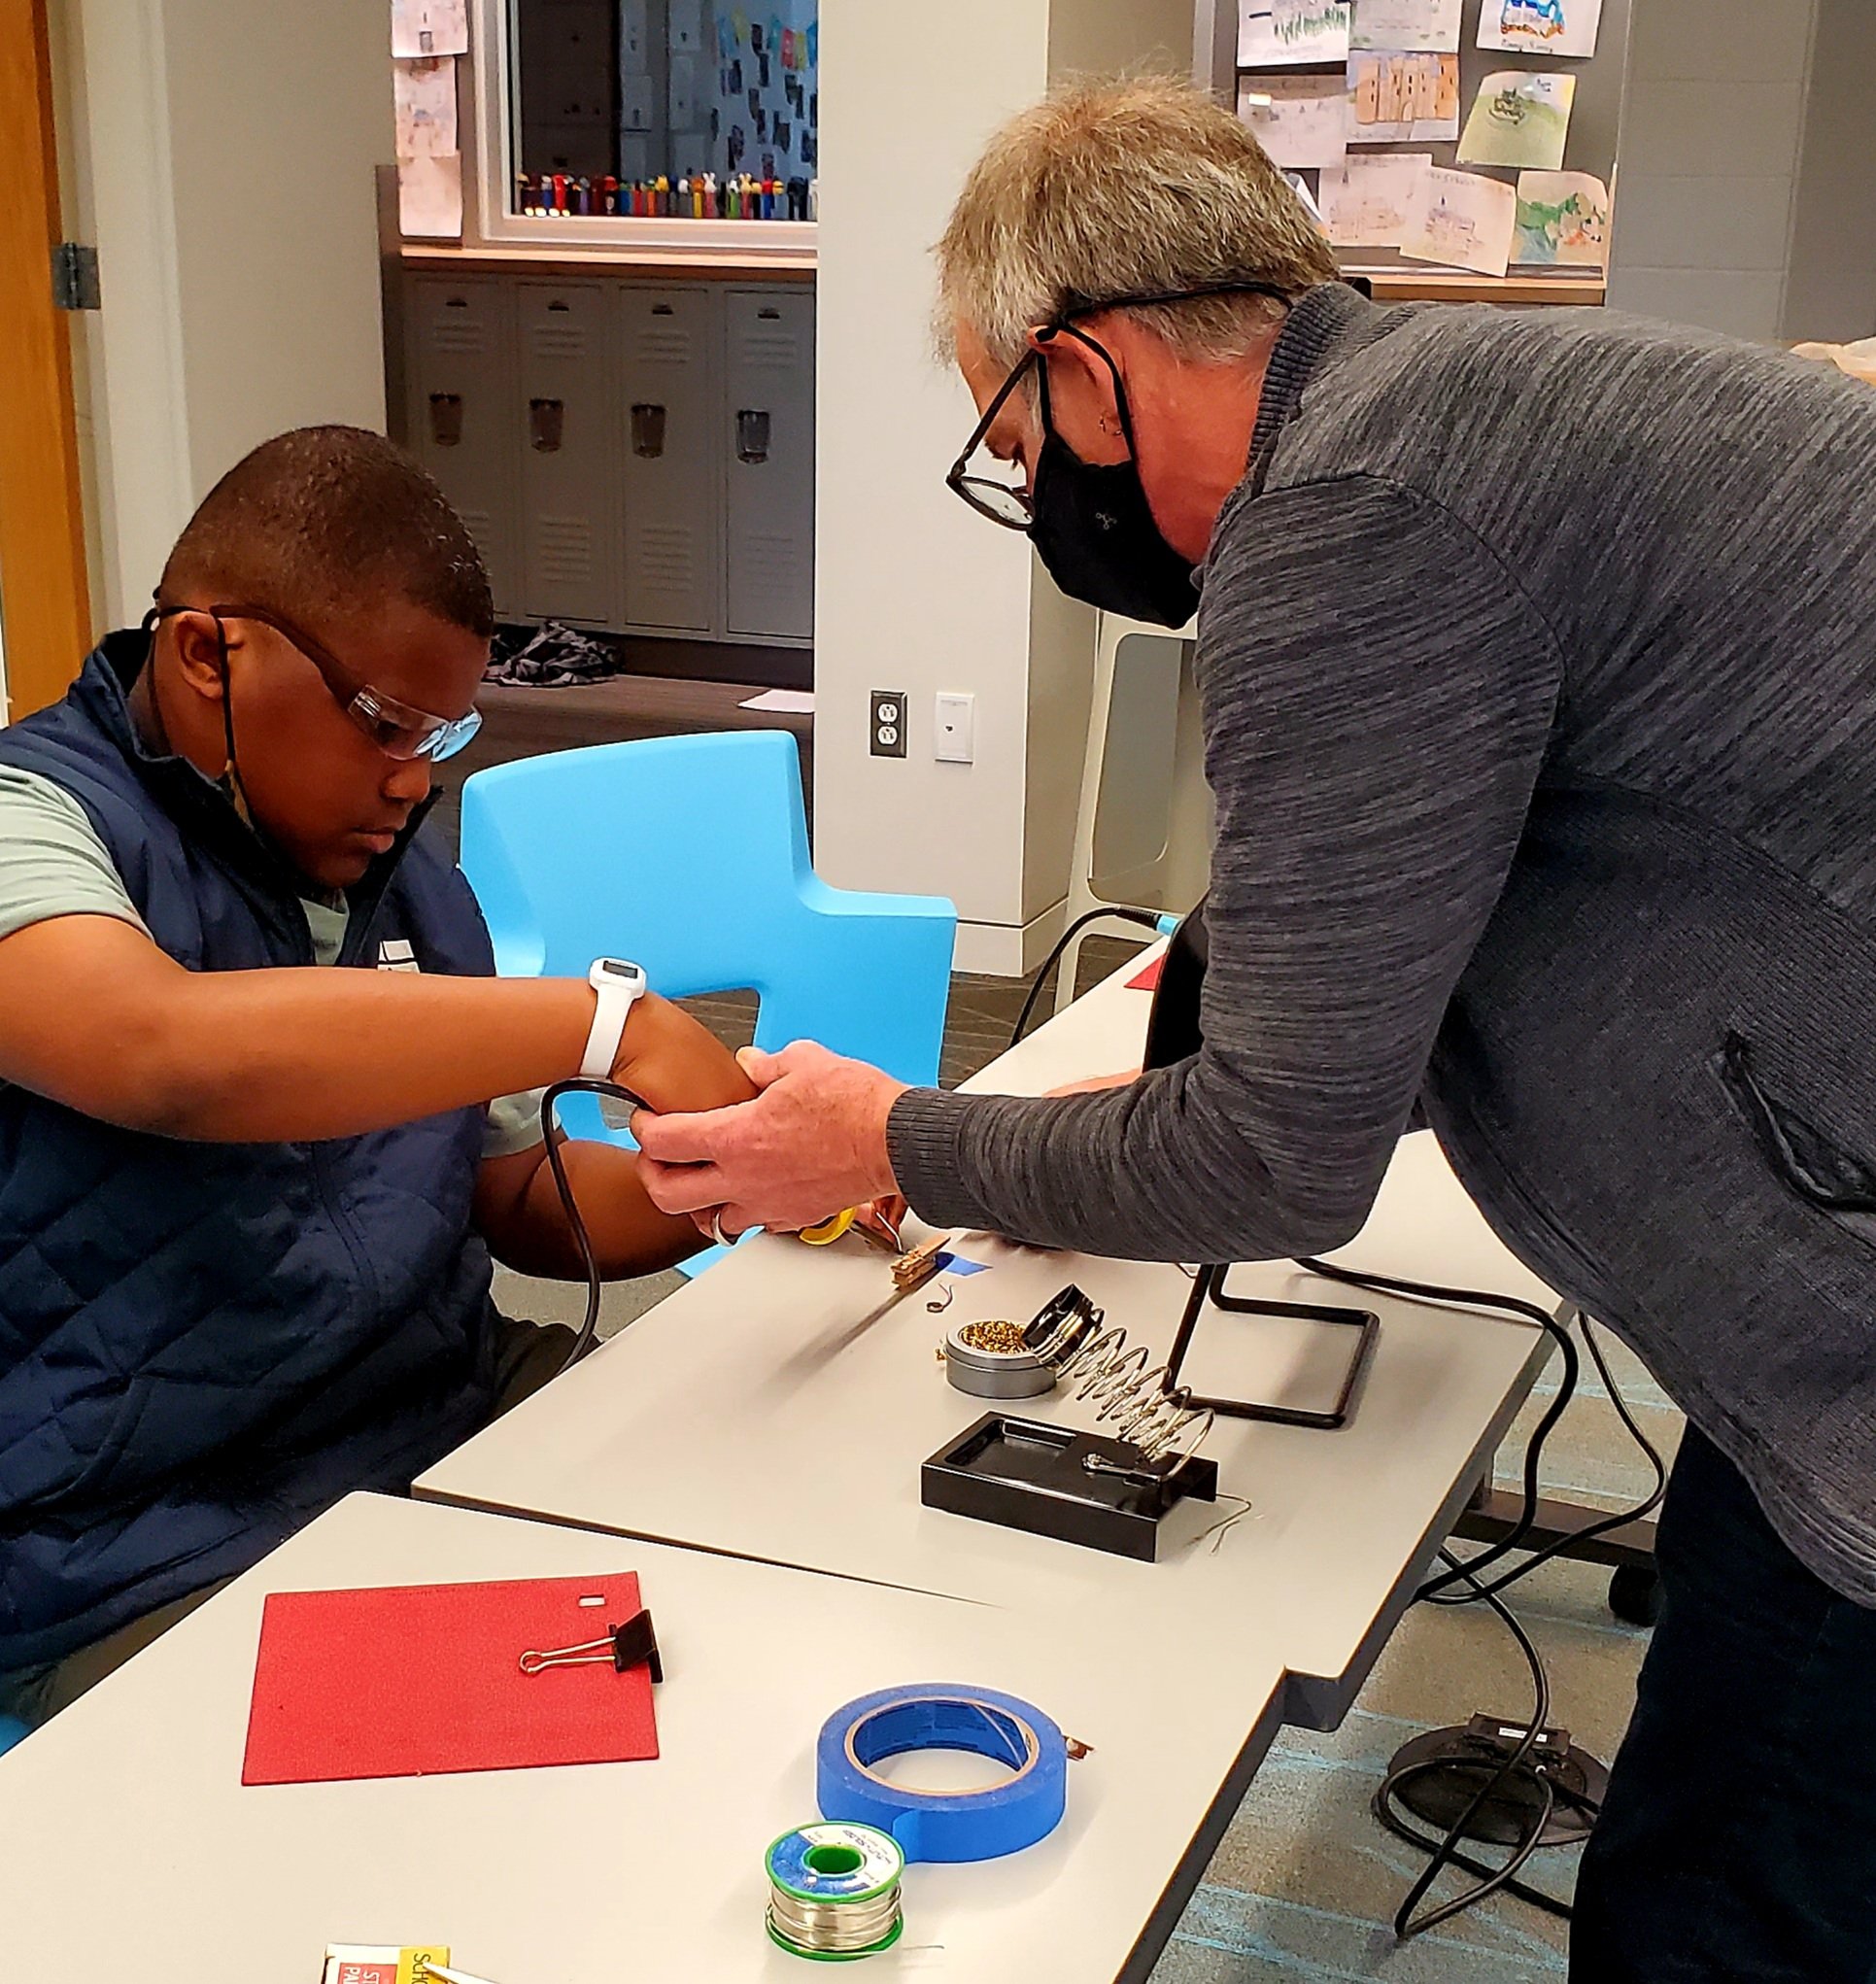
As they get more comfortable and build skills, we will let them hold the soldering iron while we hold the solder.
Eventually students feel comfortable enough to hold both at the same time. We will often still guide their hands for safety.
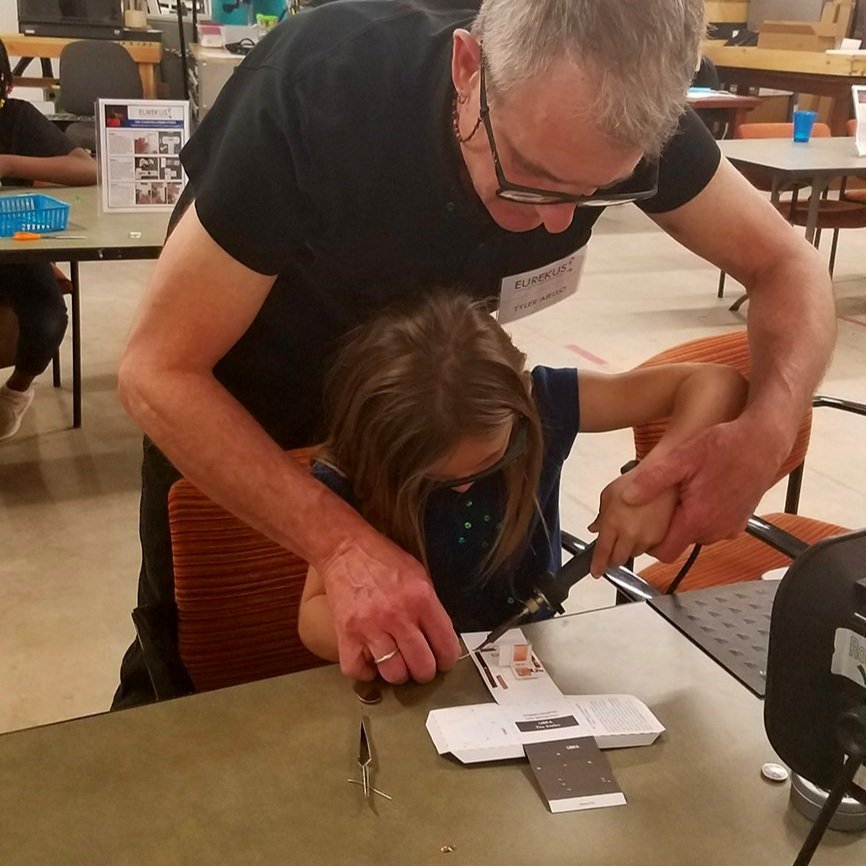
You can stand behind students and place your hands over their hands to guide them. This works especially well for younger students.
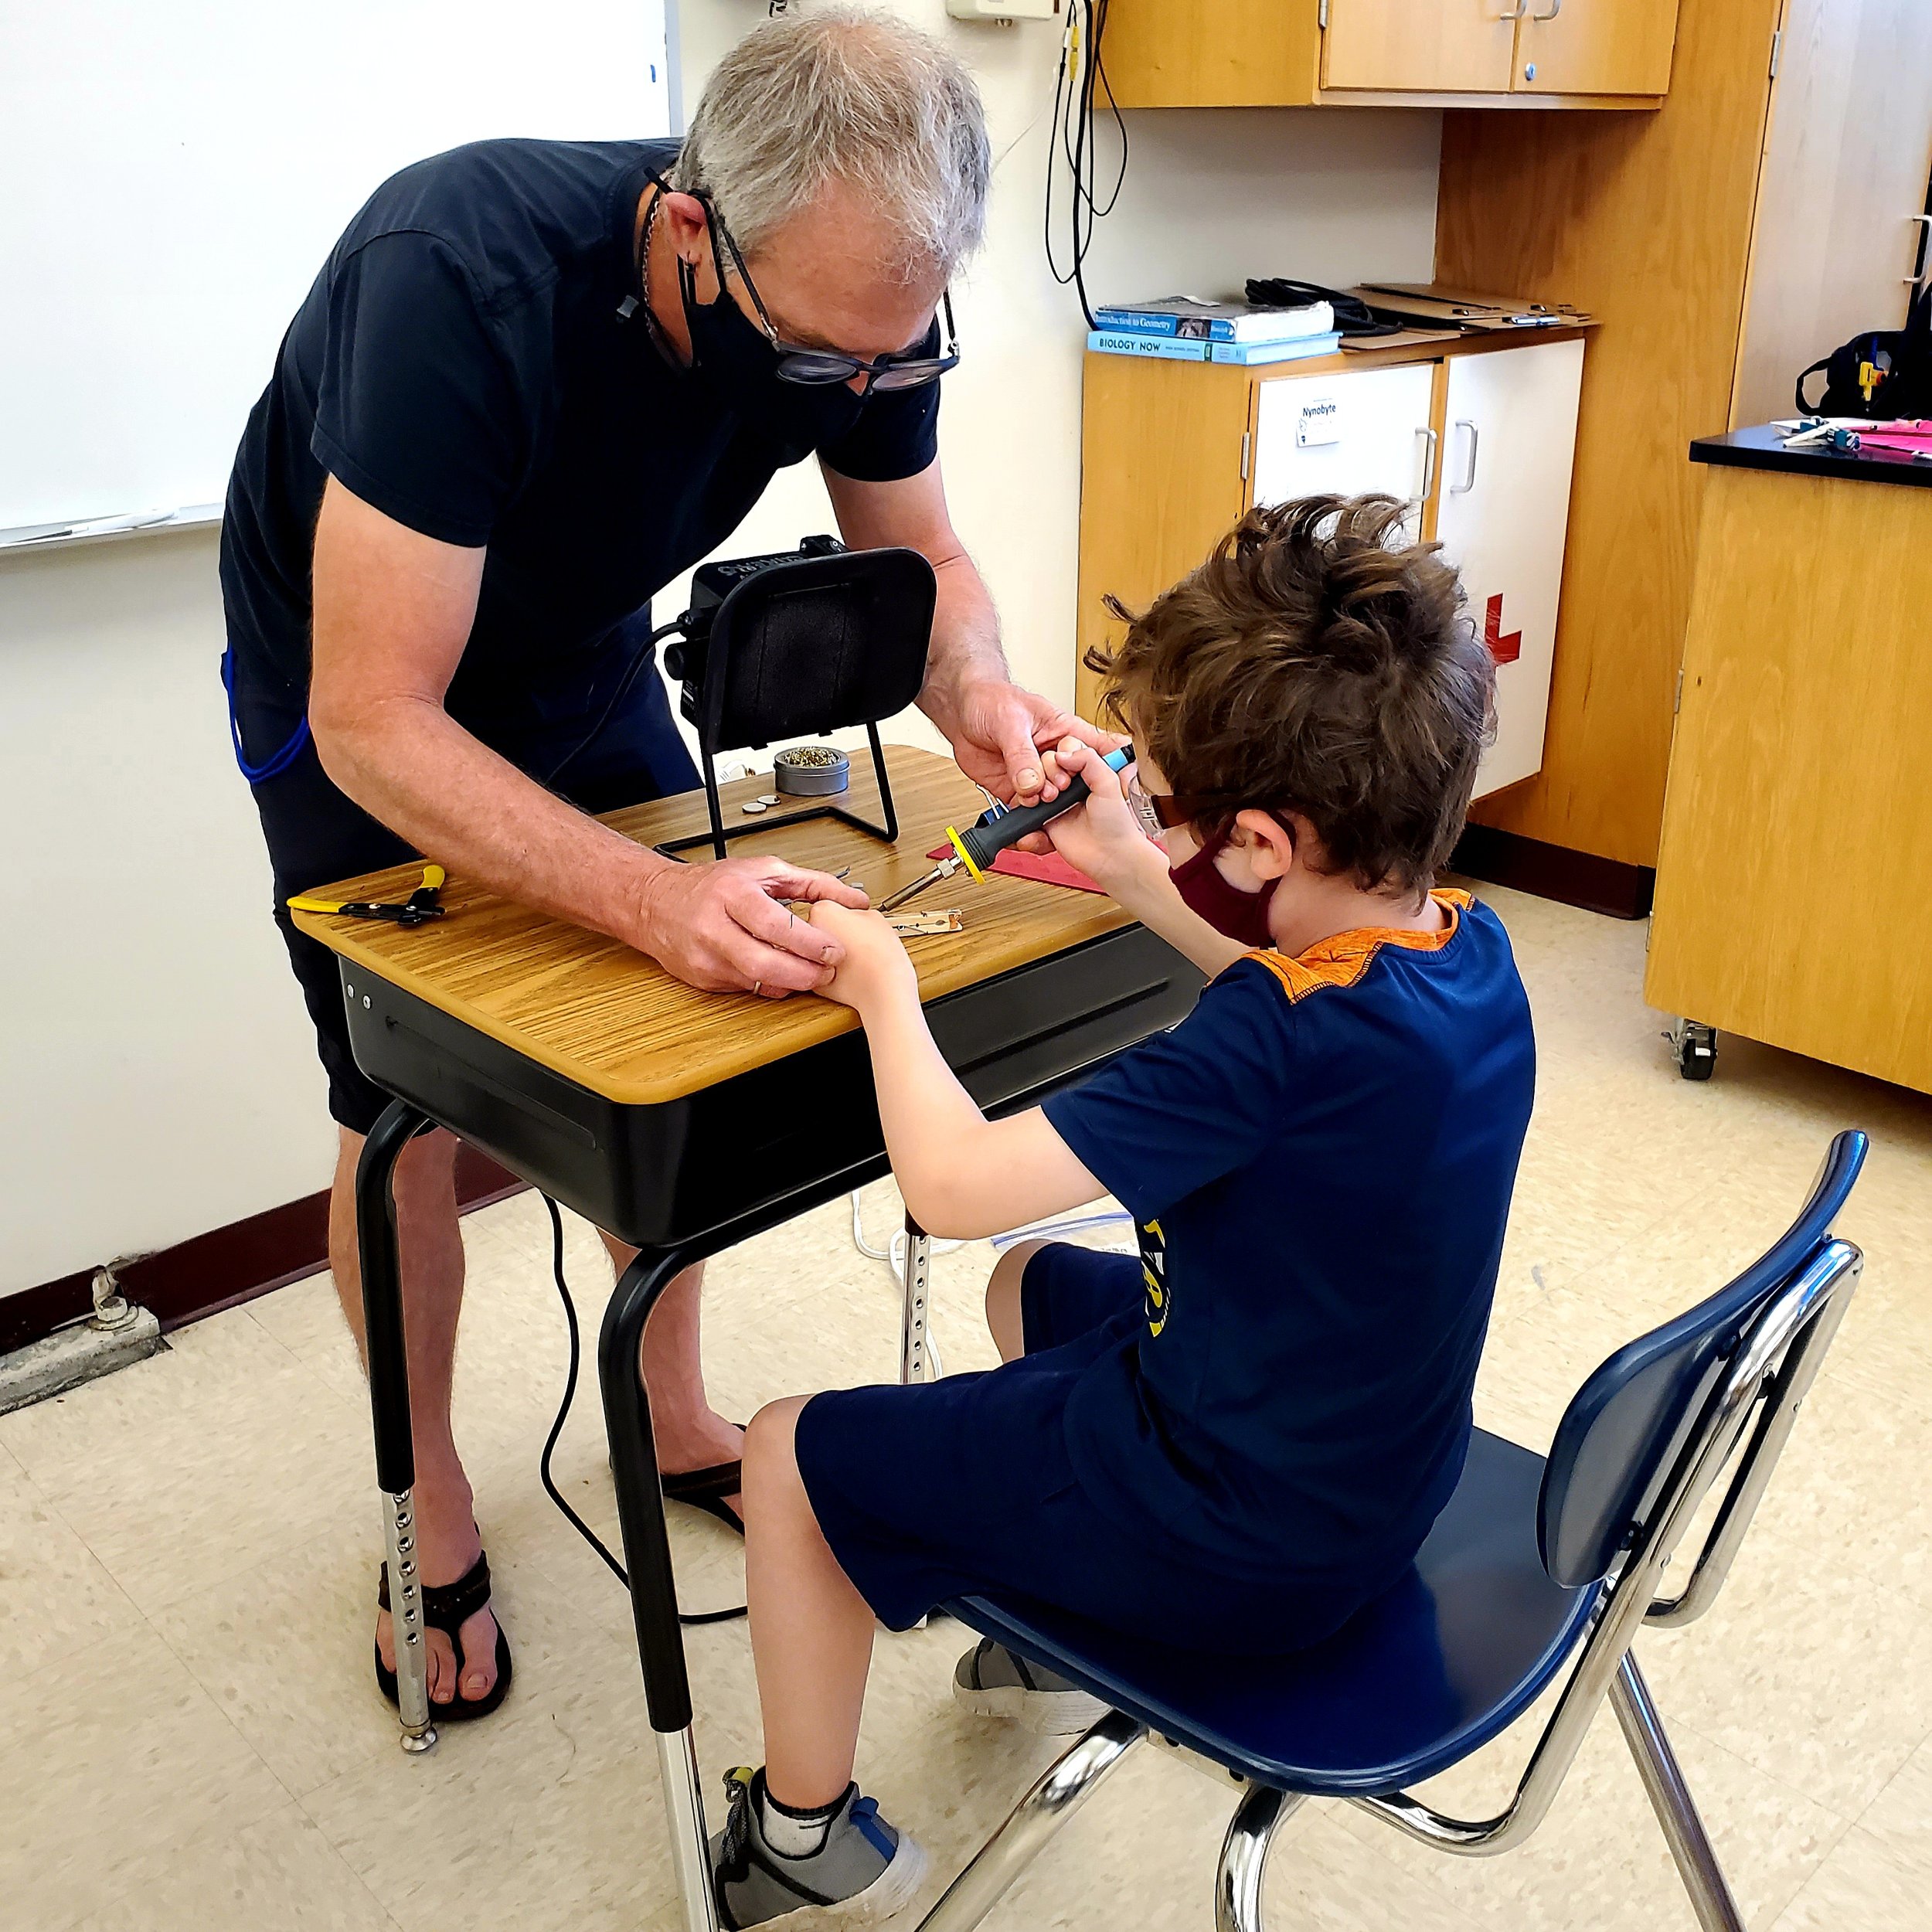
You can also stand across from them to help guide their hands.

It's amazing how quickly they become proficient. And, they LOVE creating with soldering. Teachers do, too!
Need more help? Our team is always available for in-person and online training to add soldering and electronics into your classroom.
Video Tutorials
Many of our projects incorporate soldering to enhance creativity, deepen engineering investigations and boost skills. Enjoy some of the following video tutorials to explore different soldering techniques while working with tape circuits, motors & LED lights. And, check-out our Leader Toolkits to get full lessons and tools for any of our tech projects.
Solder A Tape Circuit & LED Light
Solder With Vibrating Motors
Solder Mini Switches
Make With Motors
Create Copper Tape Circuits
3D Circuits & Custom Switches
STEAM In Action
COPYRIGHT NOTICE:
These resources are developed and owned by Eurekus LLC and is intended for educational purposes only. No portion of the instructional webpage or associated materials can be copied, distributed or edited for commercial purposes without the express written consent from Eurekus LLC. © EUREKUS LLC 2020