NASA’S COSMIC CONSTELLATIONS
Explore Astronomy Through Art
Explore the night sky while inspiring creativity and storytelling. Investigate star patterns, sky stories and cultural mythology, all with a unique artistic twist. Fusing astronomy, history and literacy, learn about the night sky through delightful experiences. Curiosity is activated through a series of fun activities and mixed-media art-making using real sky charts. You can also add our Circuit Cards to illuminate stellar creations with LED lights!
Designed by Eurekus & McREL International for NASA’s Discovery & New Frontiers Programs
-
K-8th Grade
Adult Learners
-
2-4 hours depending on how you implement the art project
Chunk out in phases line the Instructional Slideshow
-
Astronomy
Mythology
Geometry
Literacy
Art
-
In-class, Hybrid or Online Learning
Implementation Steps


Overview
-
Watch the Introductory Presentation to explore how Cosmic Constellations activates astronomy, literacy and visual art. Learners investigate star features, patterns in the sky and cultural lore.
Imaginations then soar as they engage in a fun art activity to craft their own constellations and stories using real sky charts.
Watch the Slideshow Instructions to plan your implementation and tailor this program to galvanize your unique community.
-
Download the presentation, planners, & sky charts below.
-
Use the Supply Planner to collect materials for class. You can print the sky chart on various sizes of paper to scale for different learners. The art project incorporates fun techniques for drawing, transferring, oil pastels and watercolor.
-
You can adapt this program to ignite content and scale for diverse learners. Here are some ideas of how educators have customized.
Invent your own constellation and write a sky story.
Augment with fiction and non-fiction reading & writing.
Incorporate with a mythology unit to explore diverse cultural traditions.
Draw constellations using only geometric shapes to activate 2D geometry investigations.
Explore cultural sky stories from across the globe and integrate with social studies or geography.
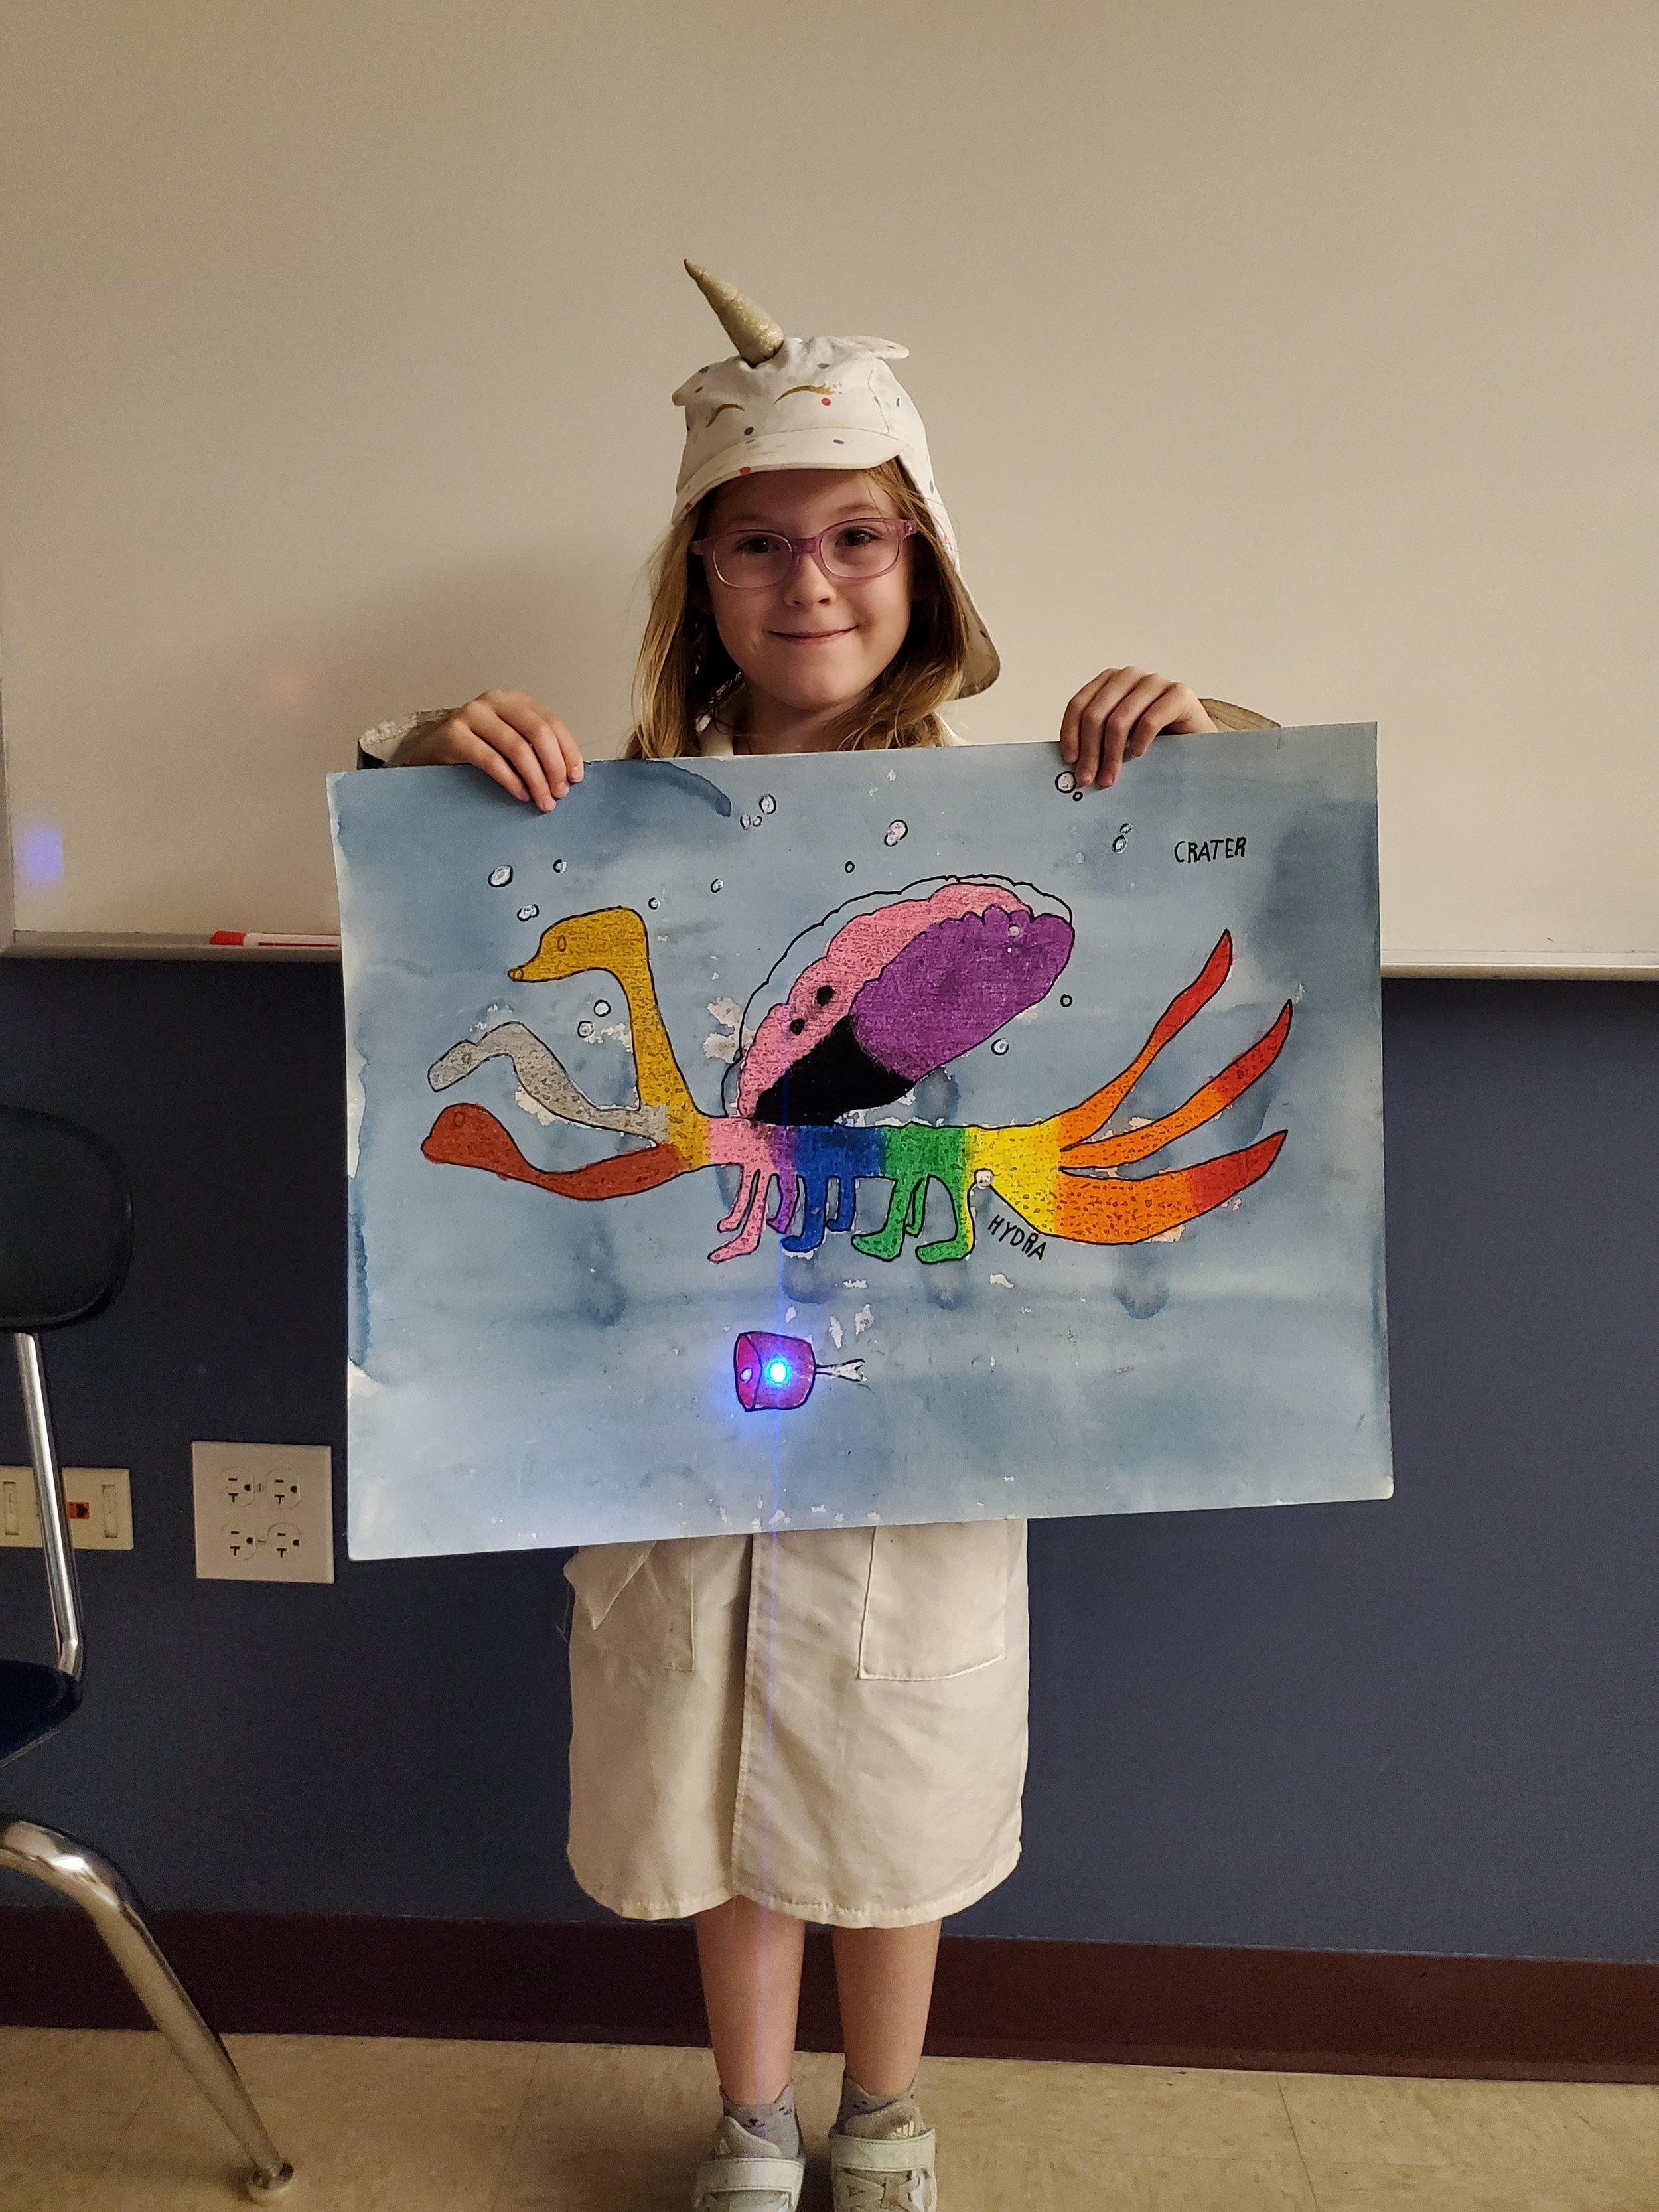
Explore the Sea Region of the night sky and explore water-themed constellations.
Pair with our LED Constellation Cubes for a great, scaffolded unit.
Have each student design constellations for 1 sky chart. Then re-assemble drawings on the ceiling to see the entire northern night sky.
Add our Circuit Cards to make major stars light up with LED lights while exploring electronics.
-
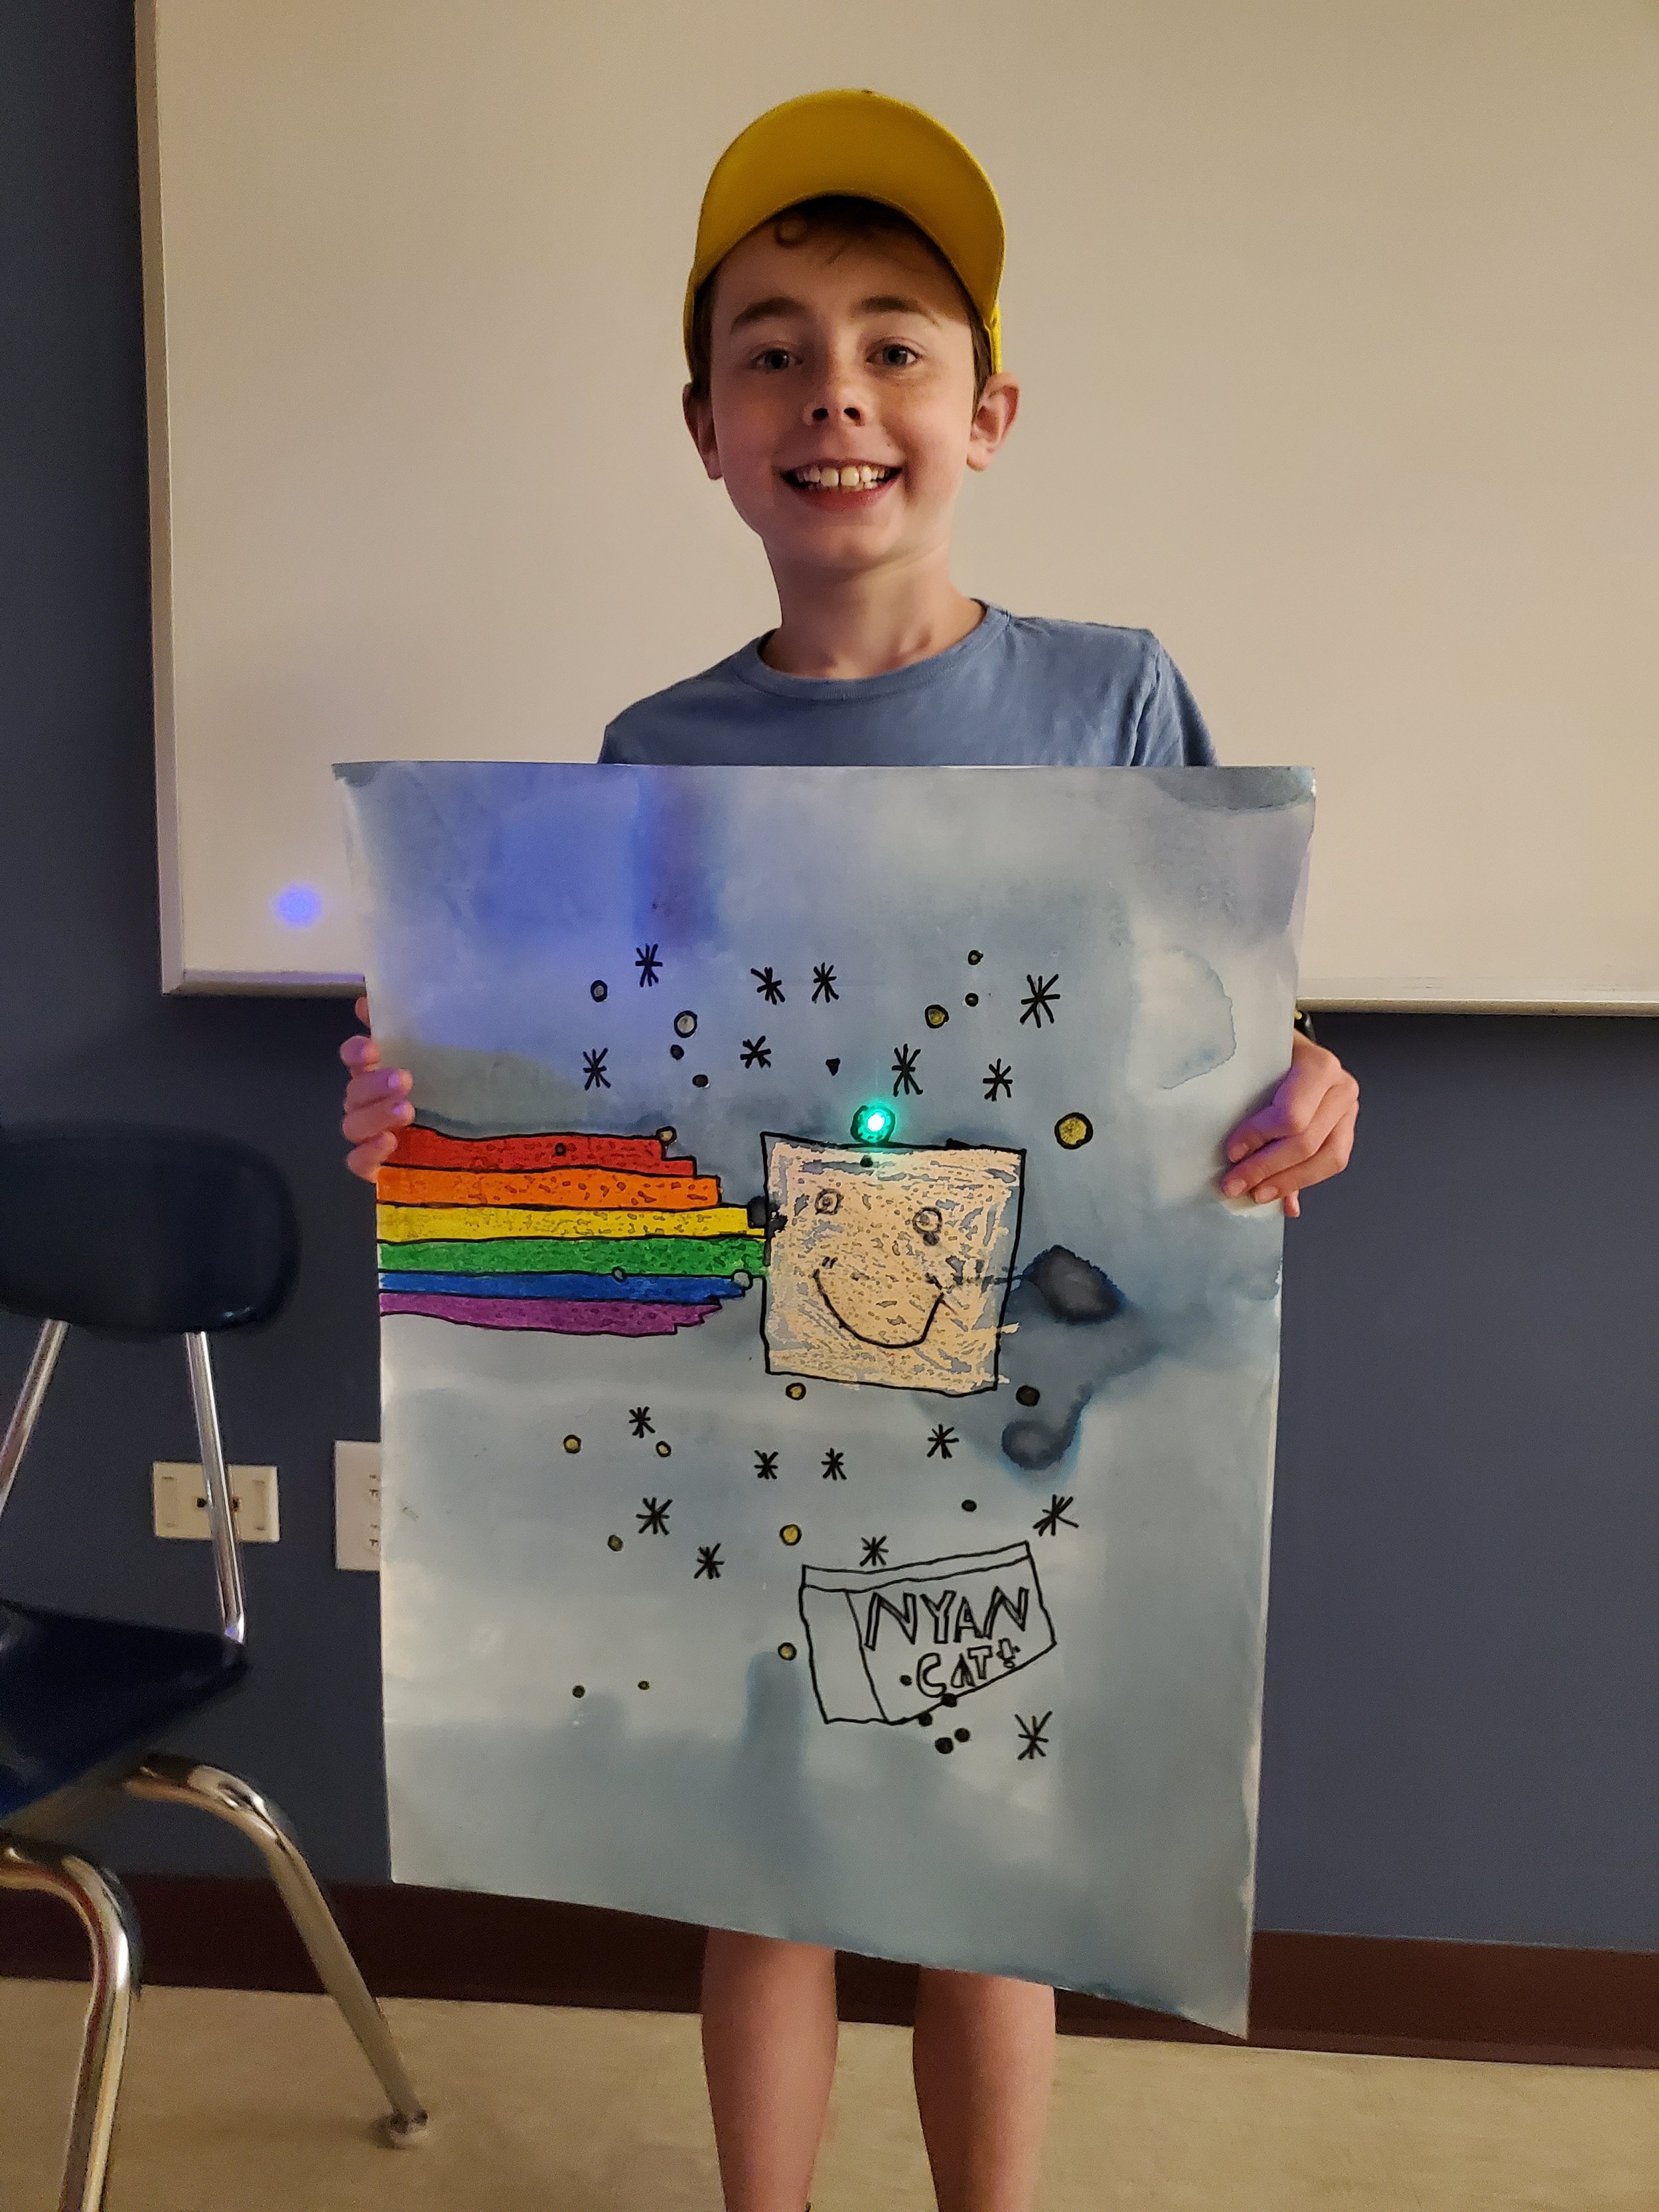
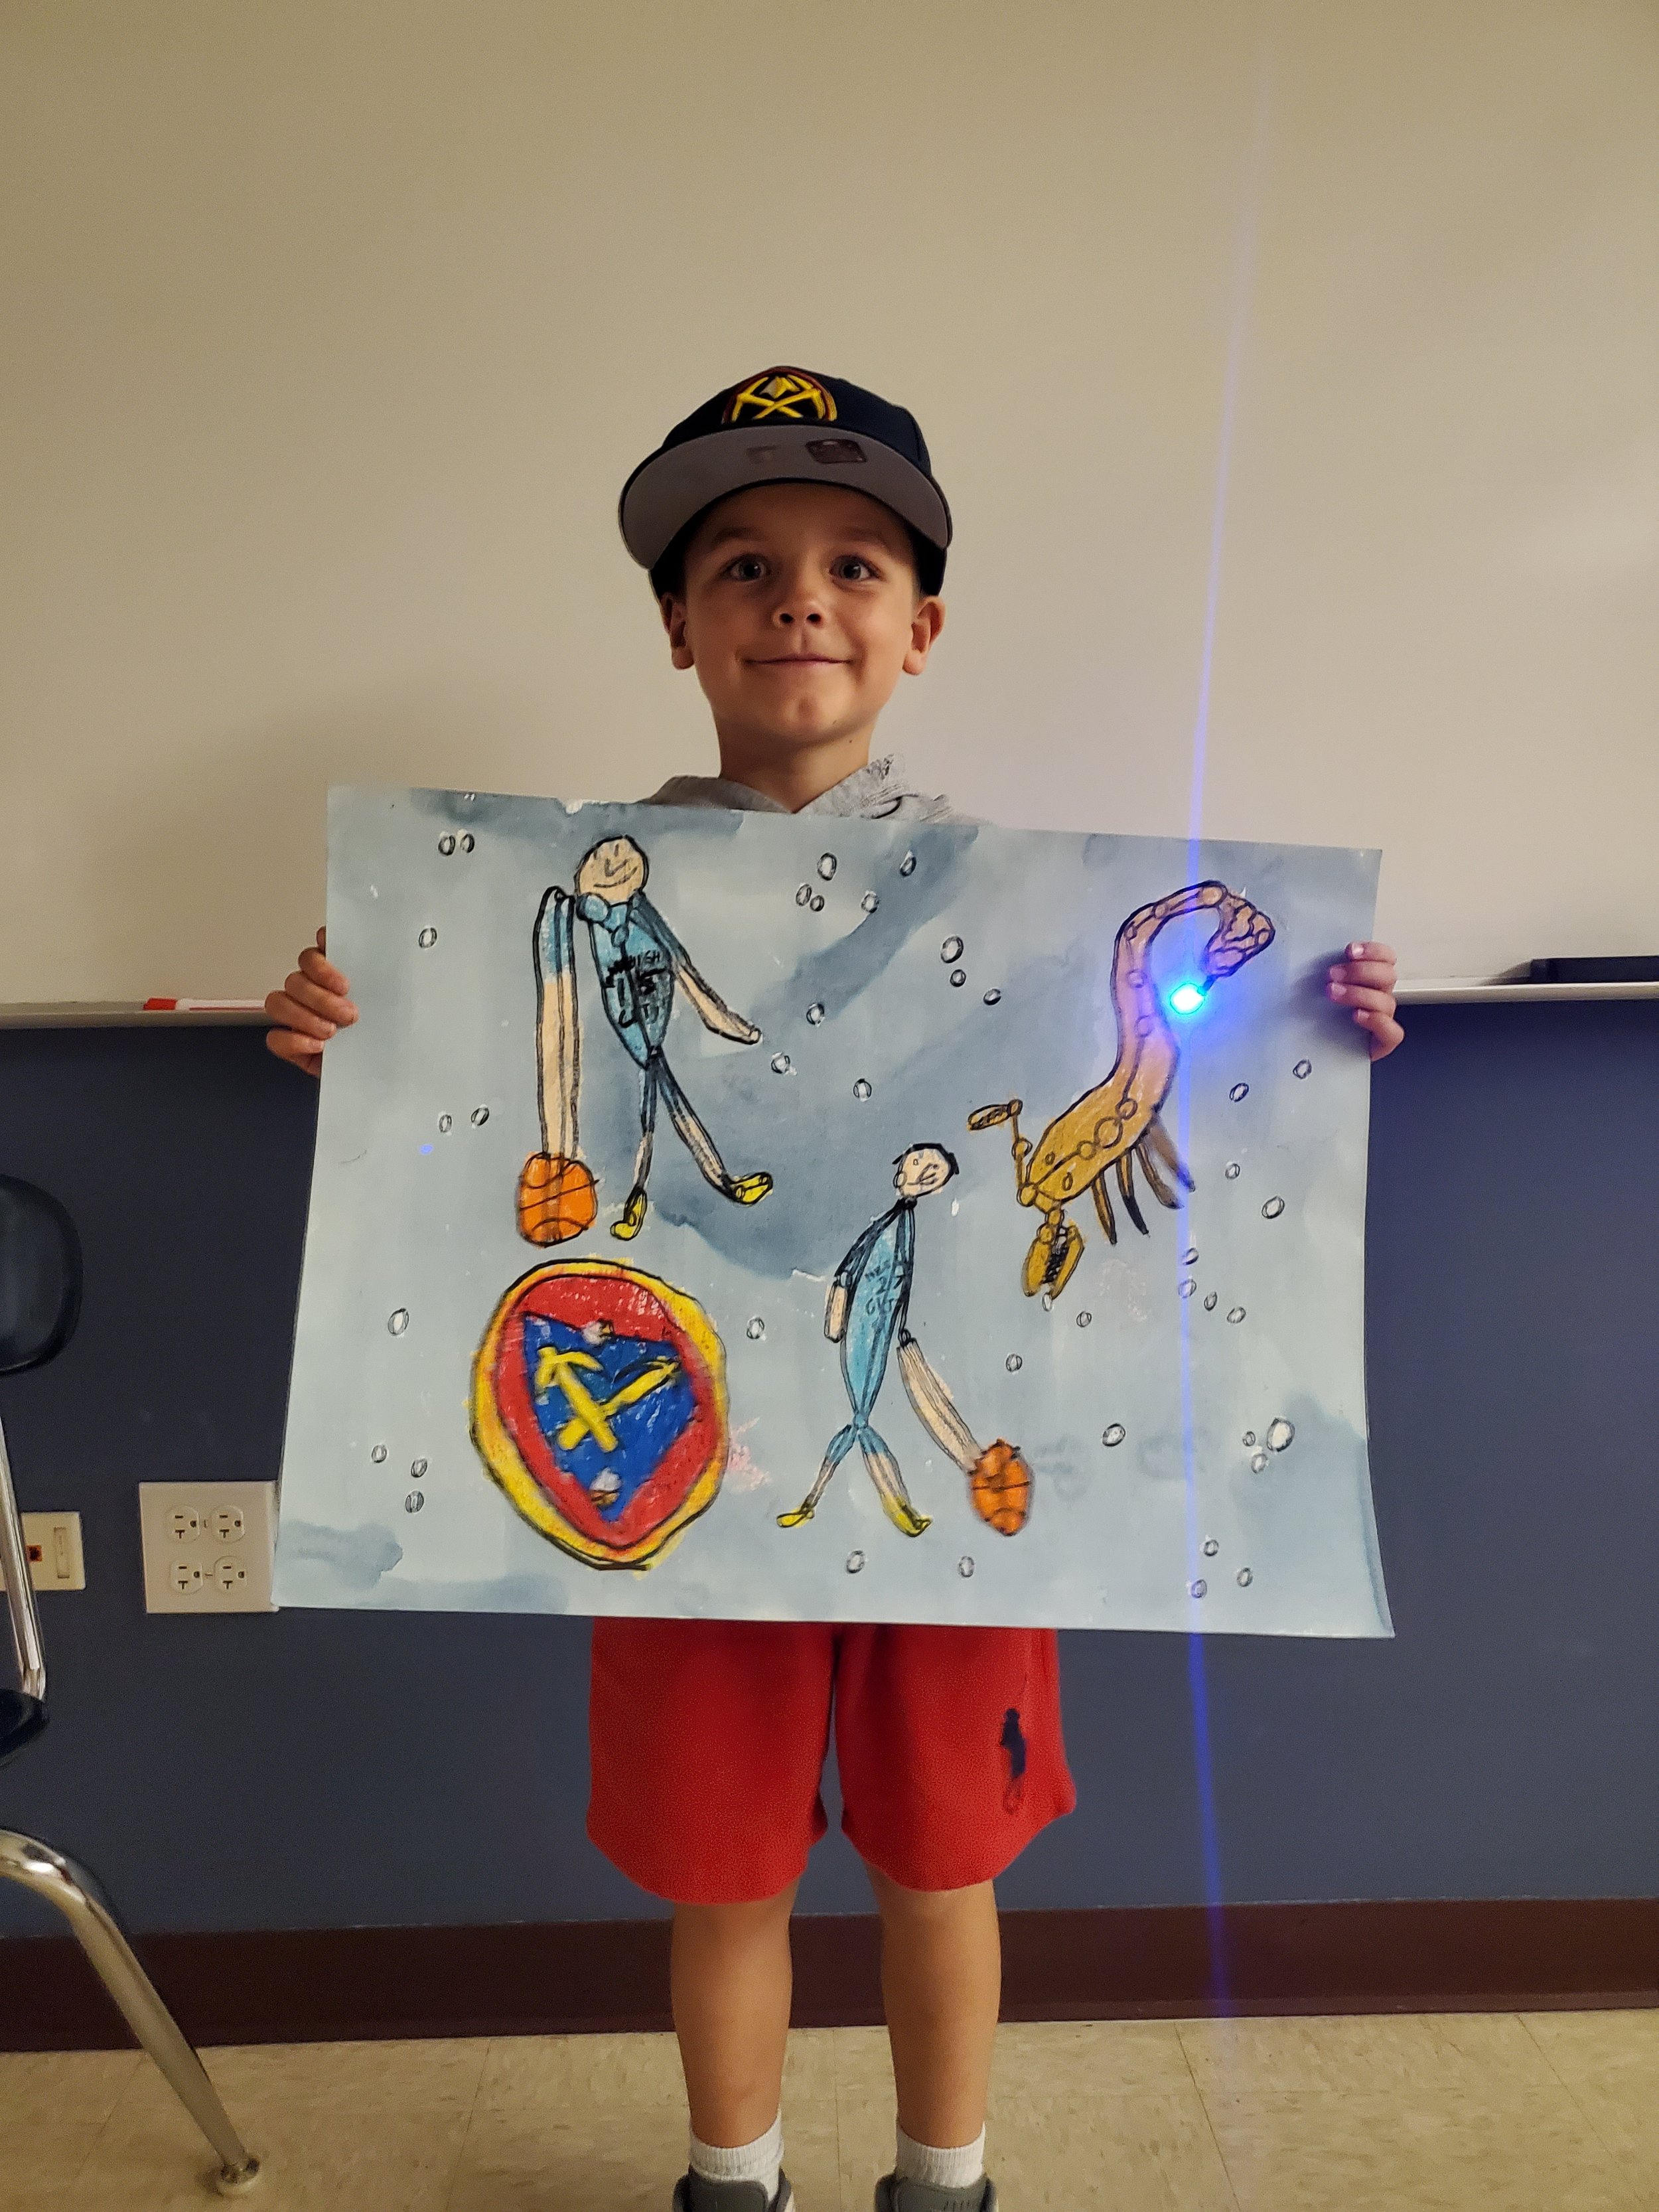
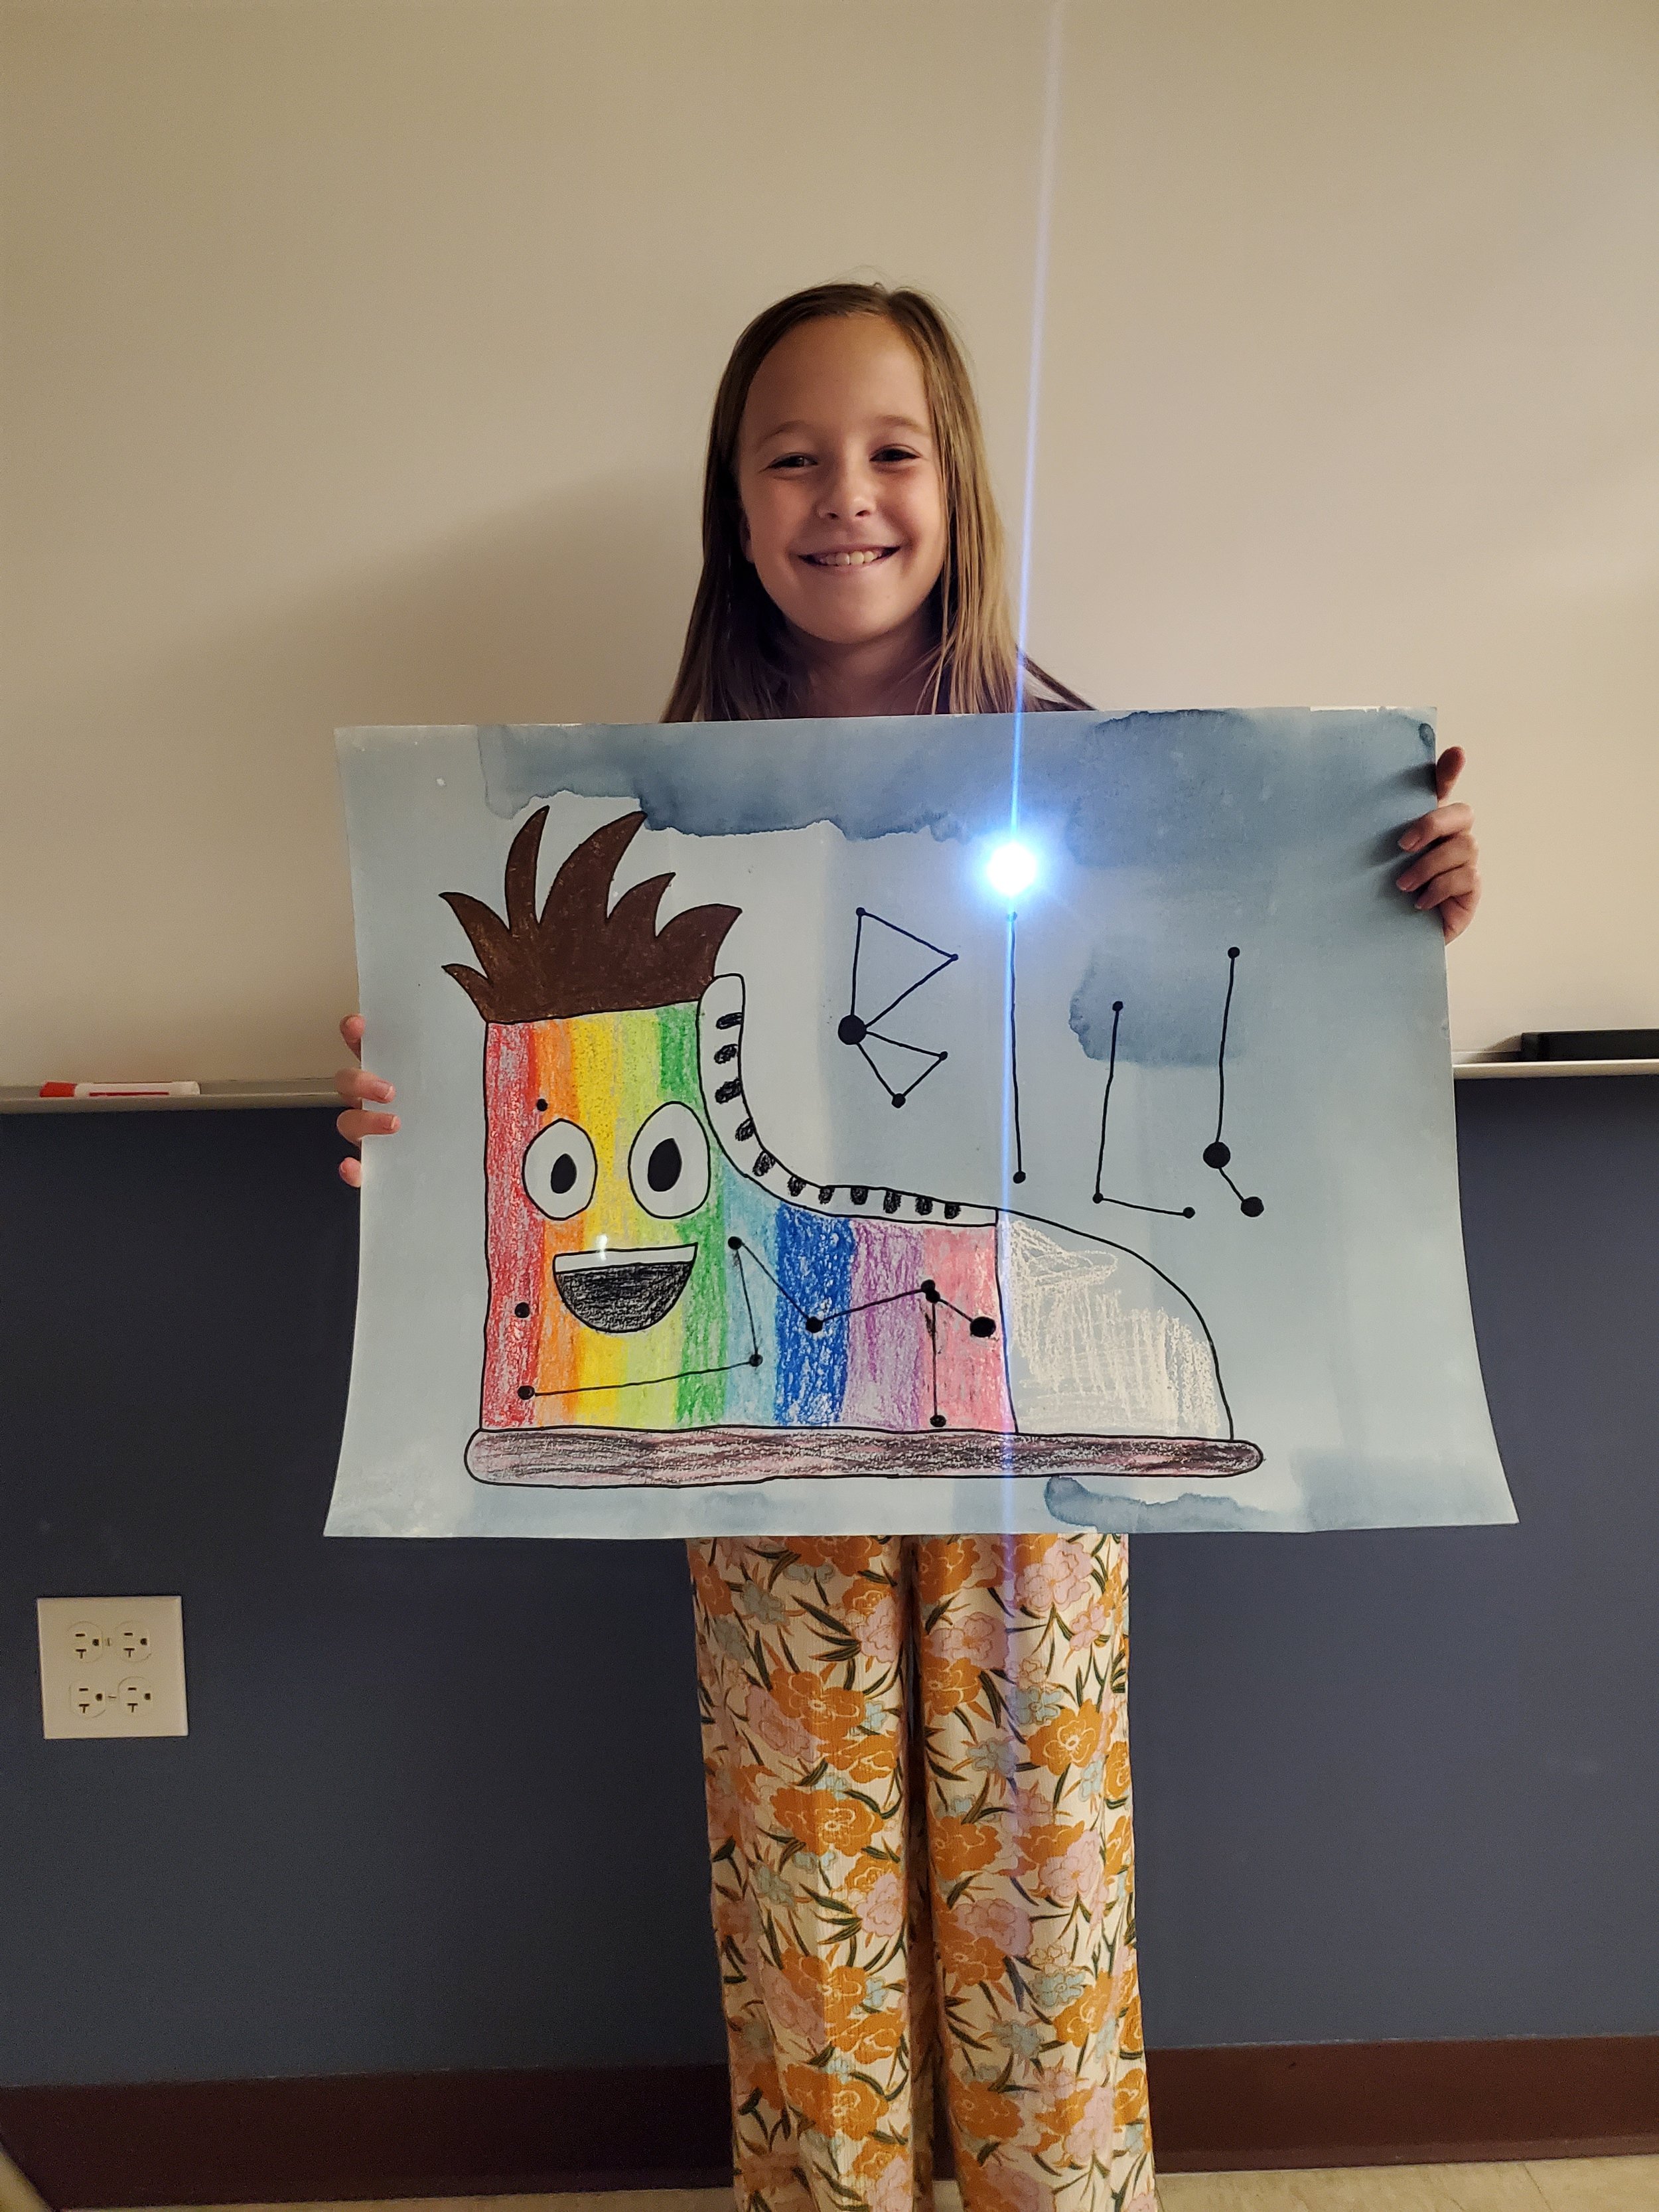
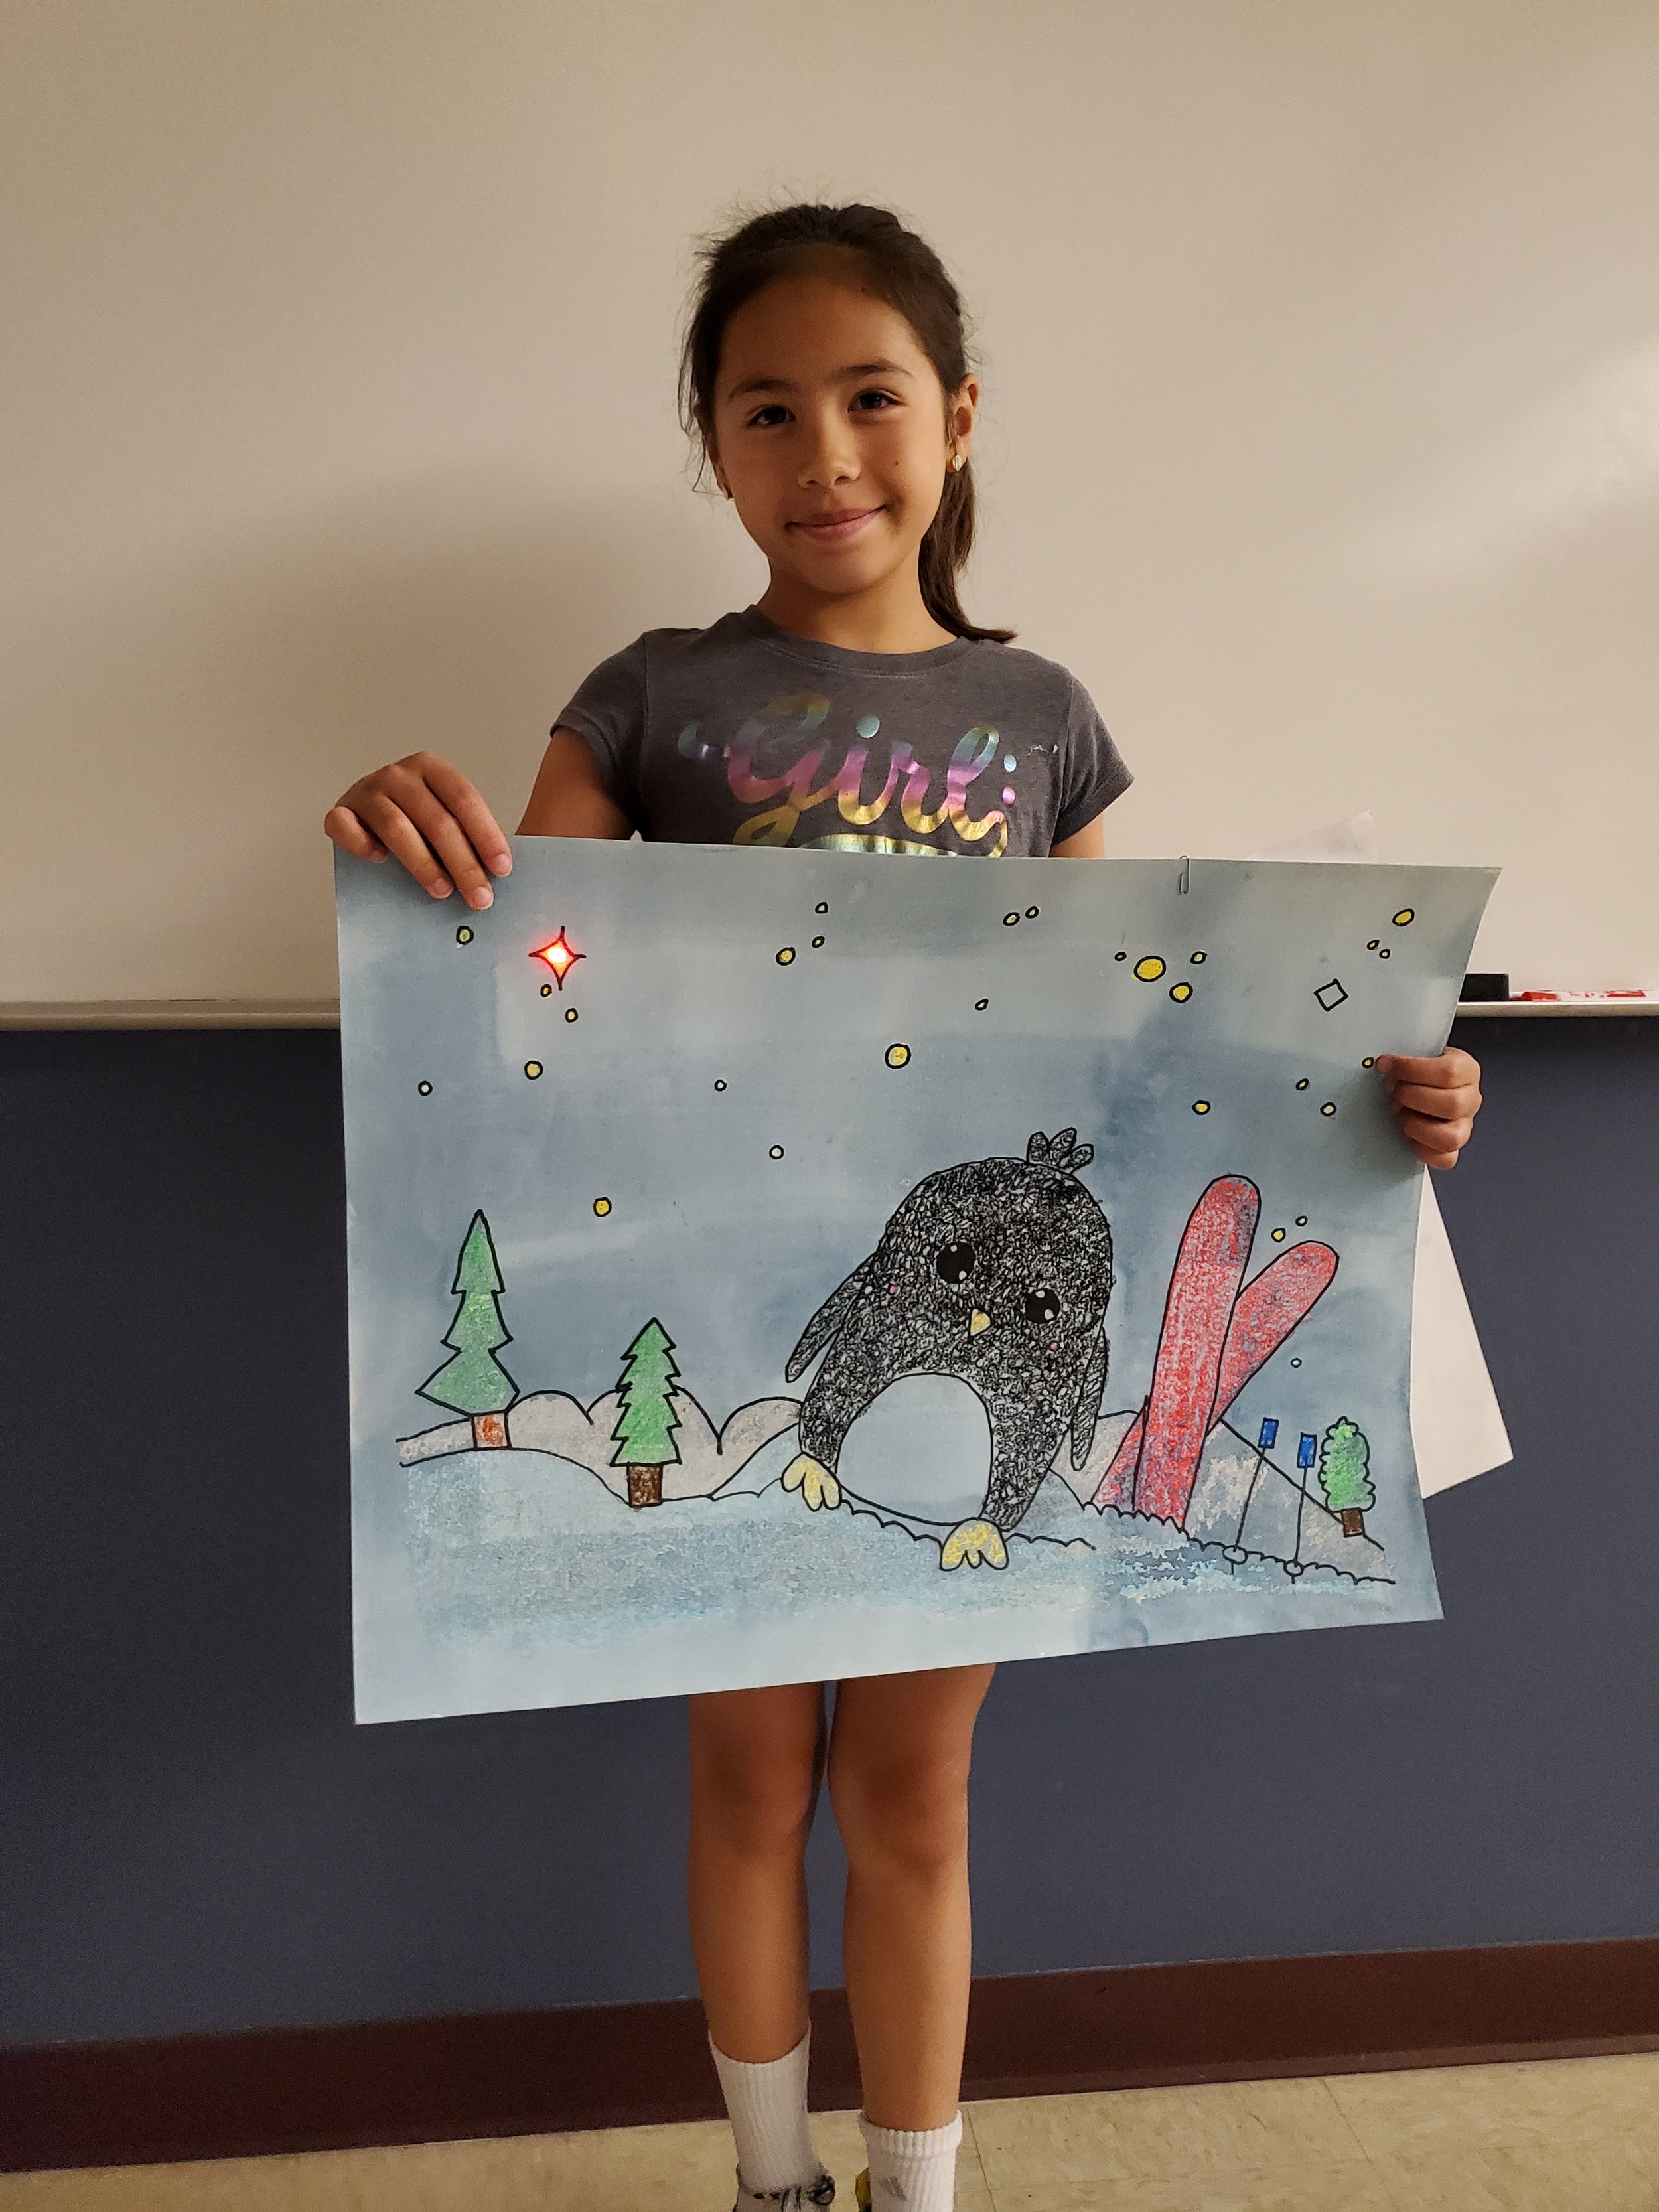
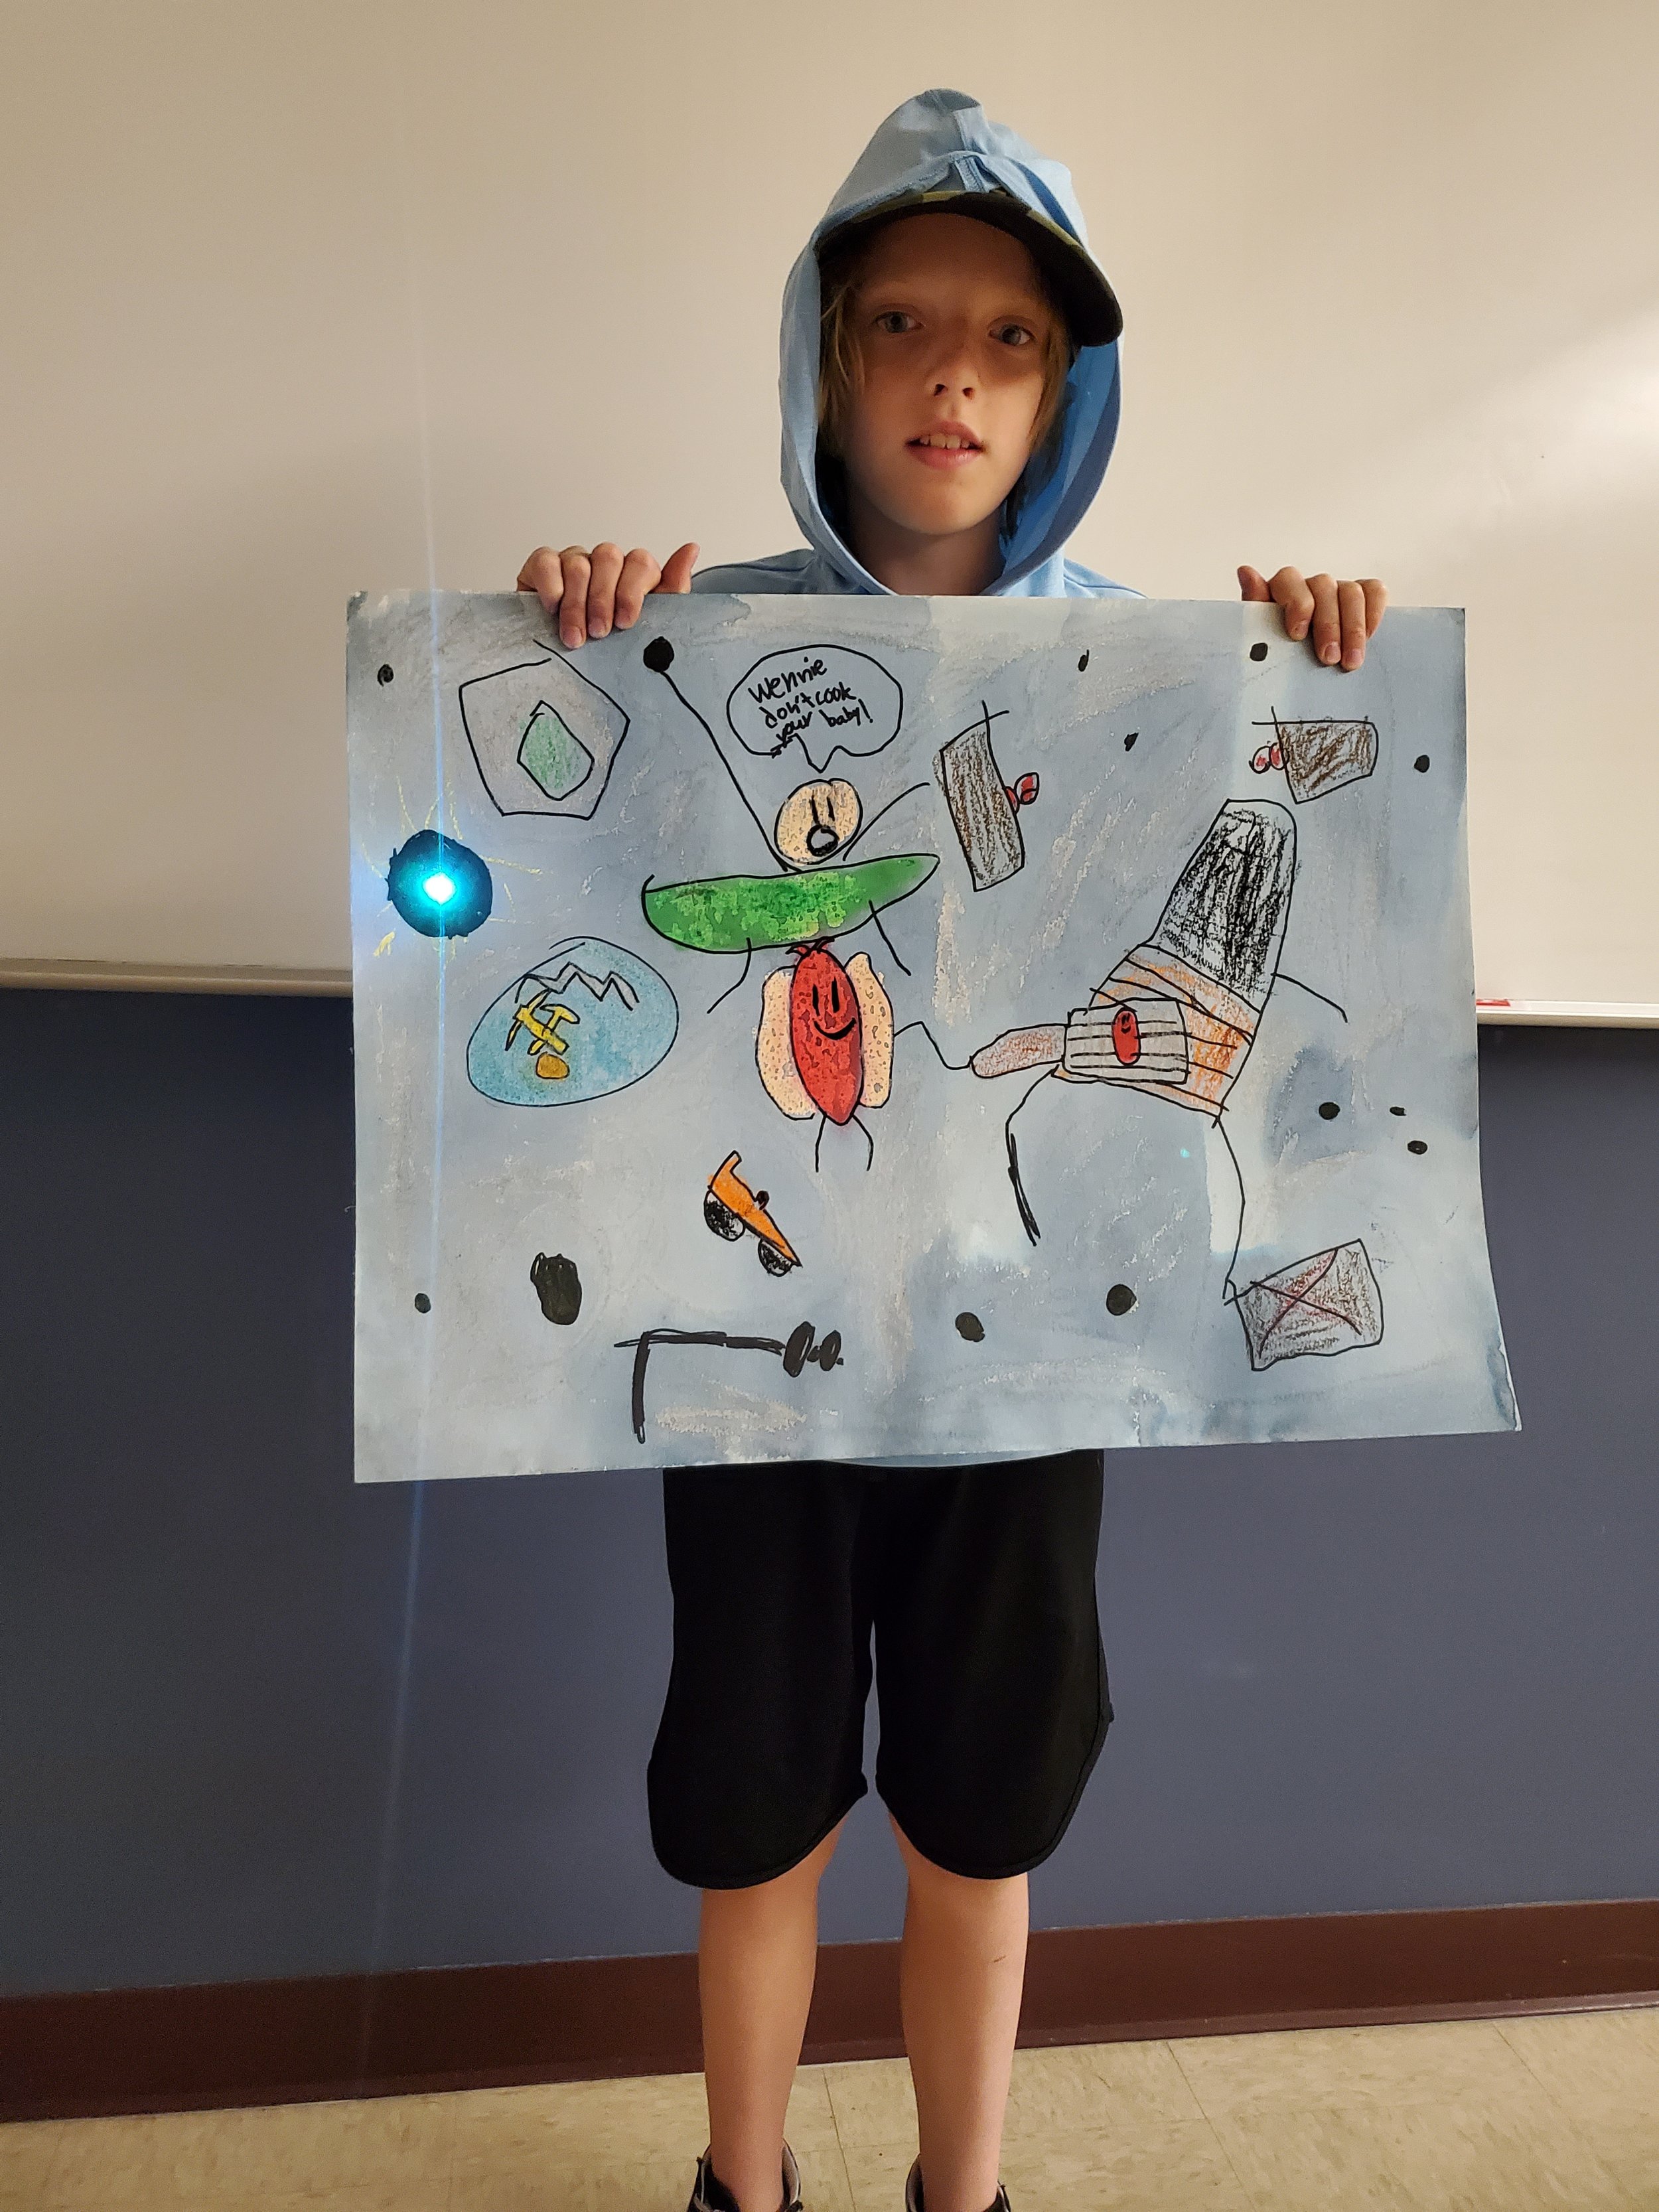
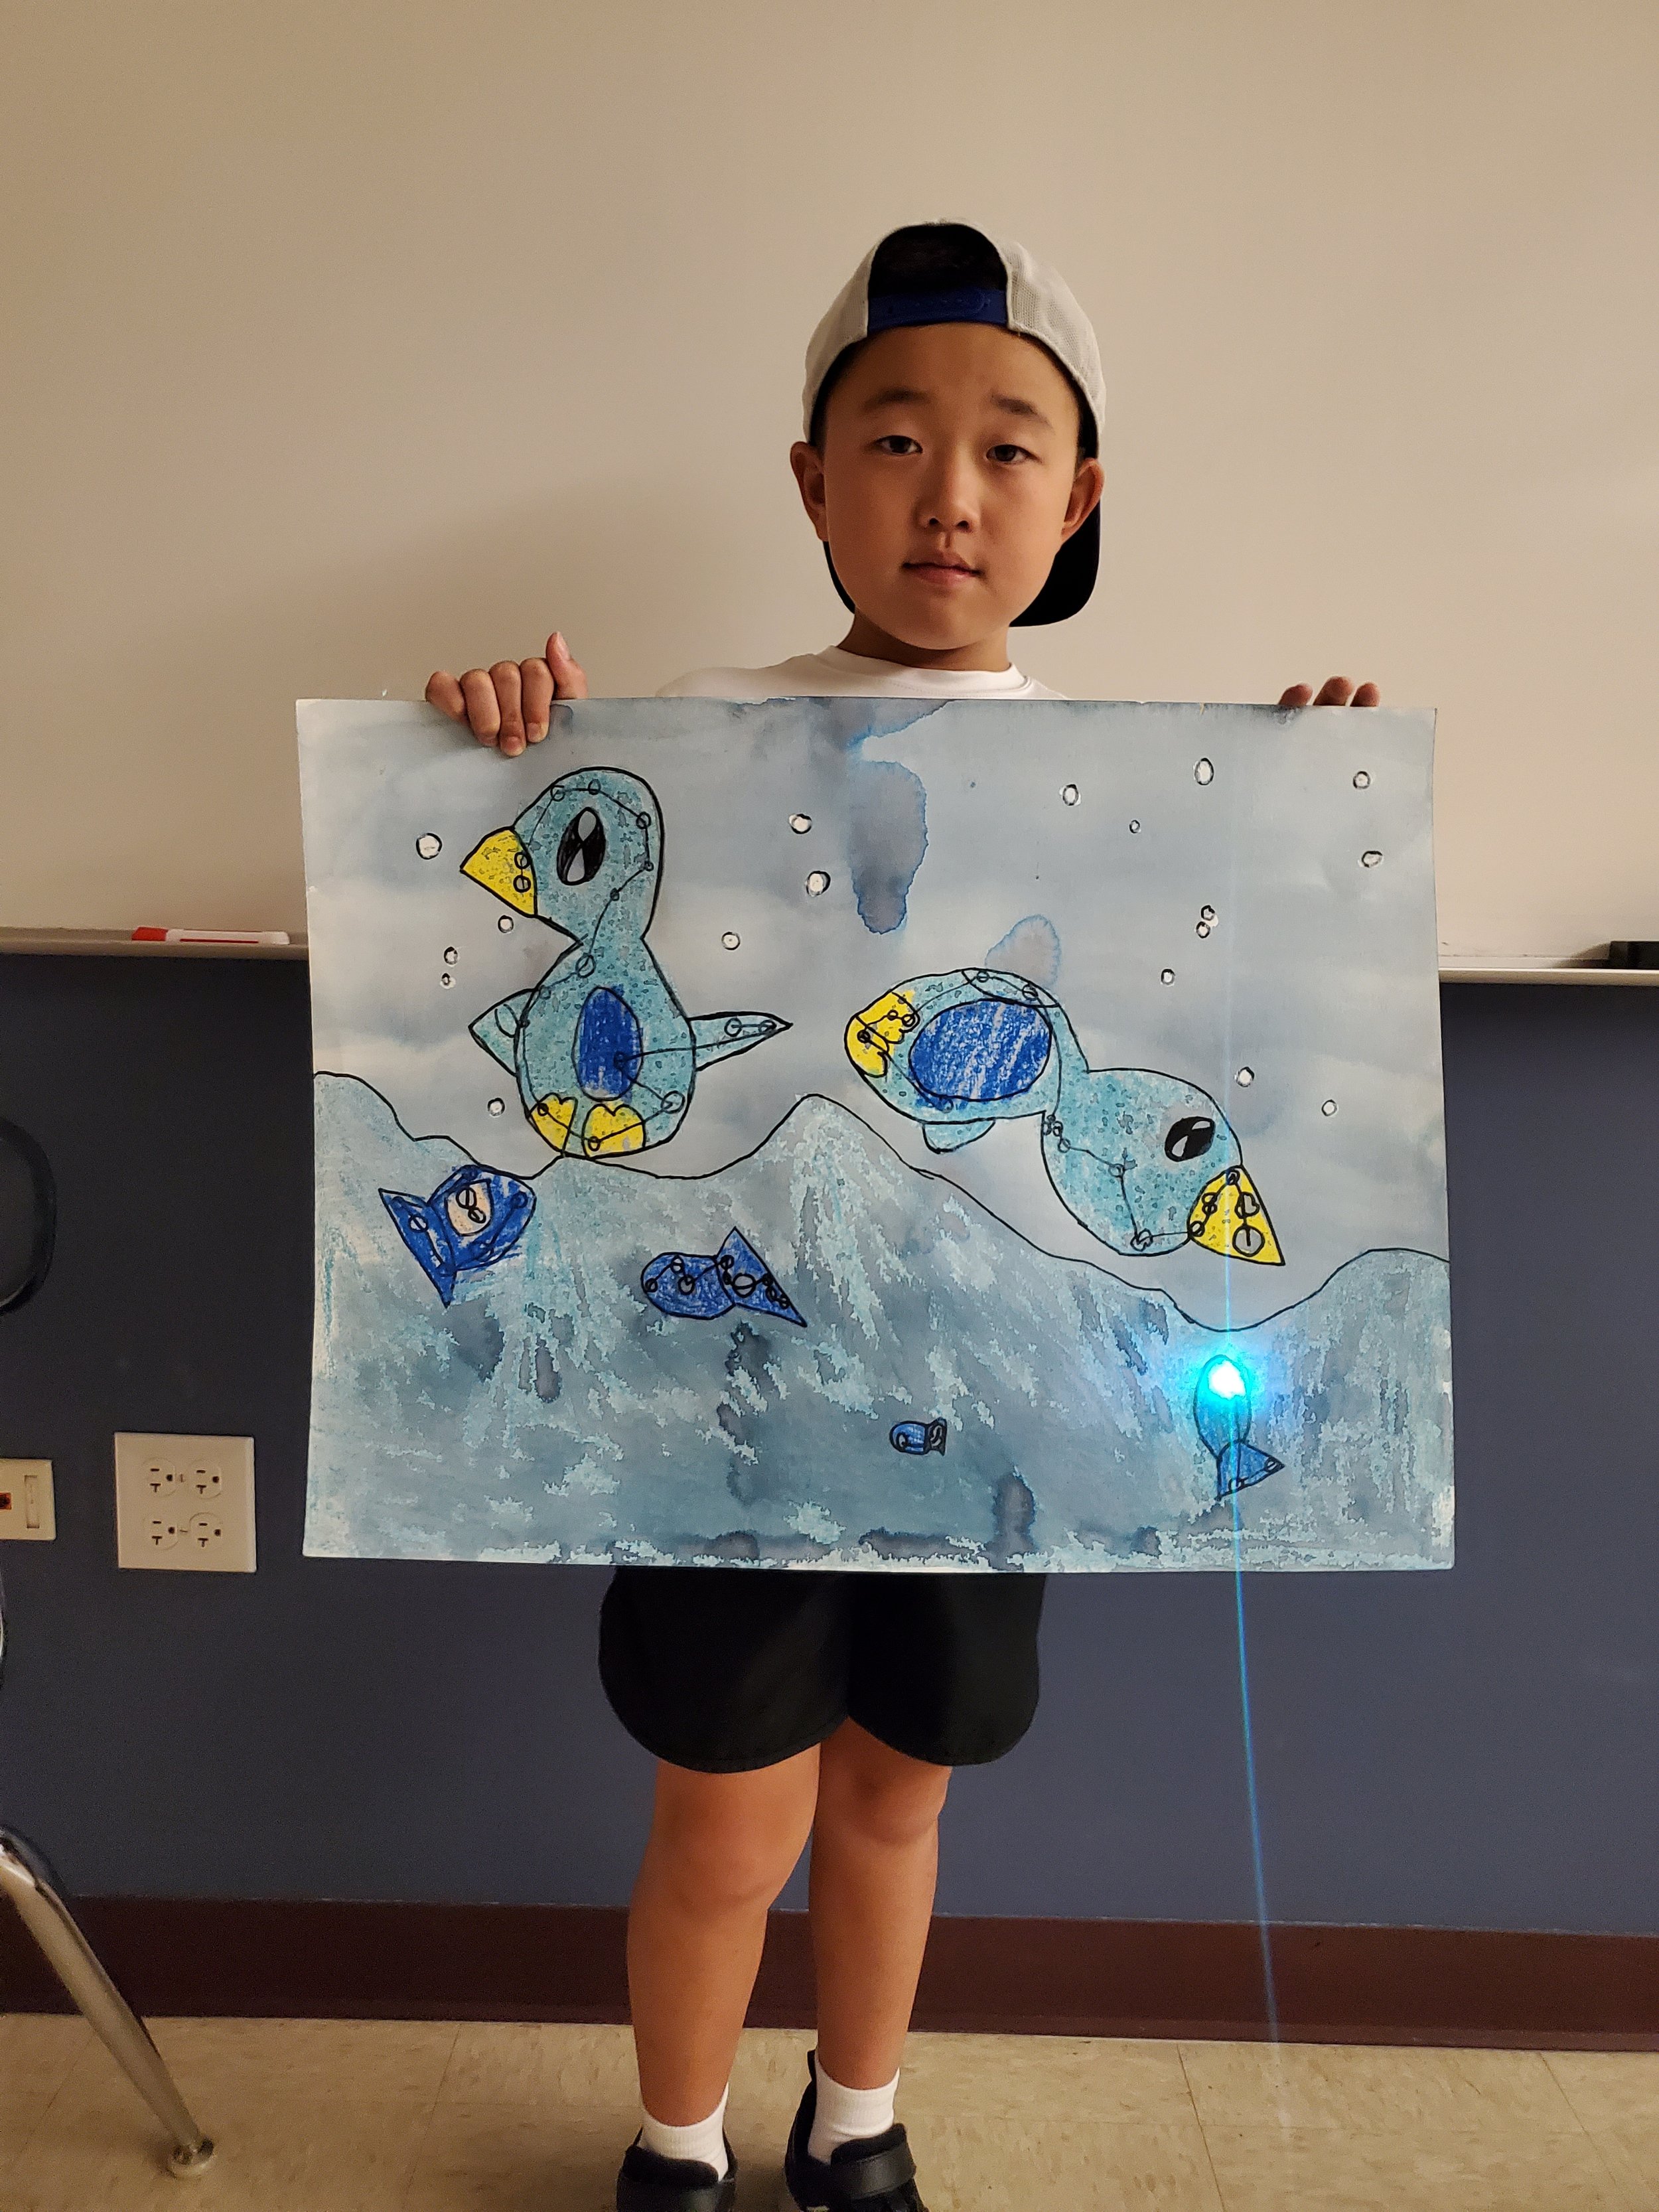
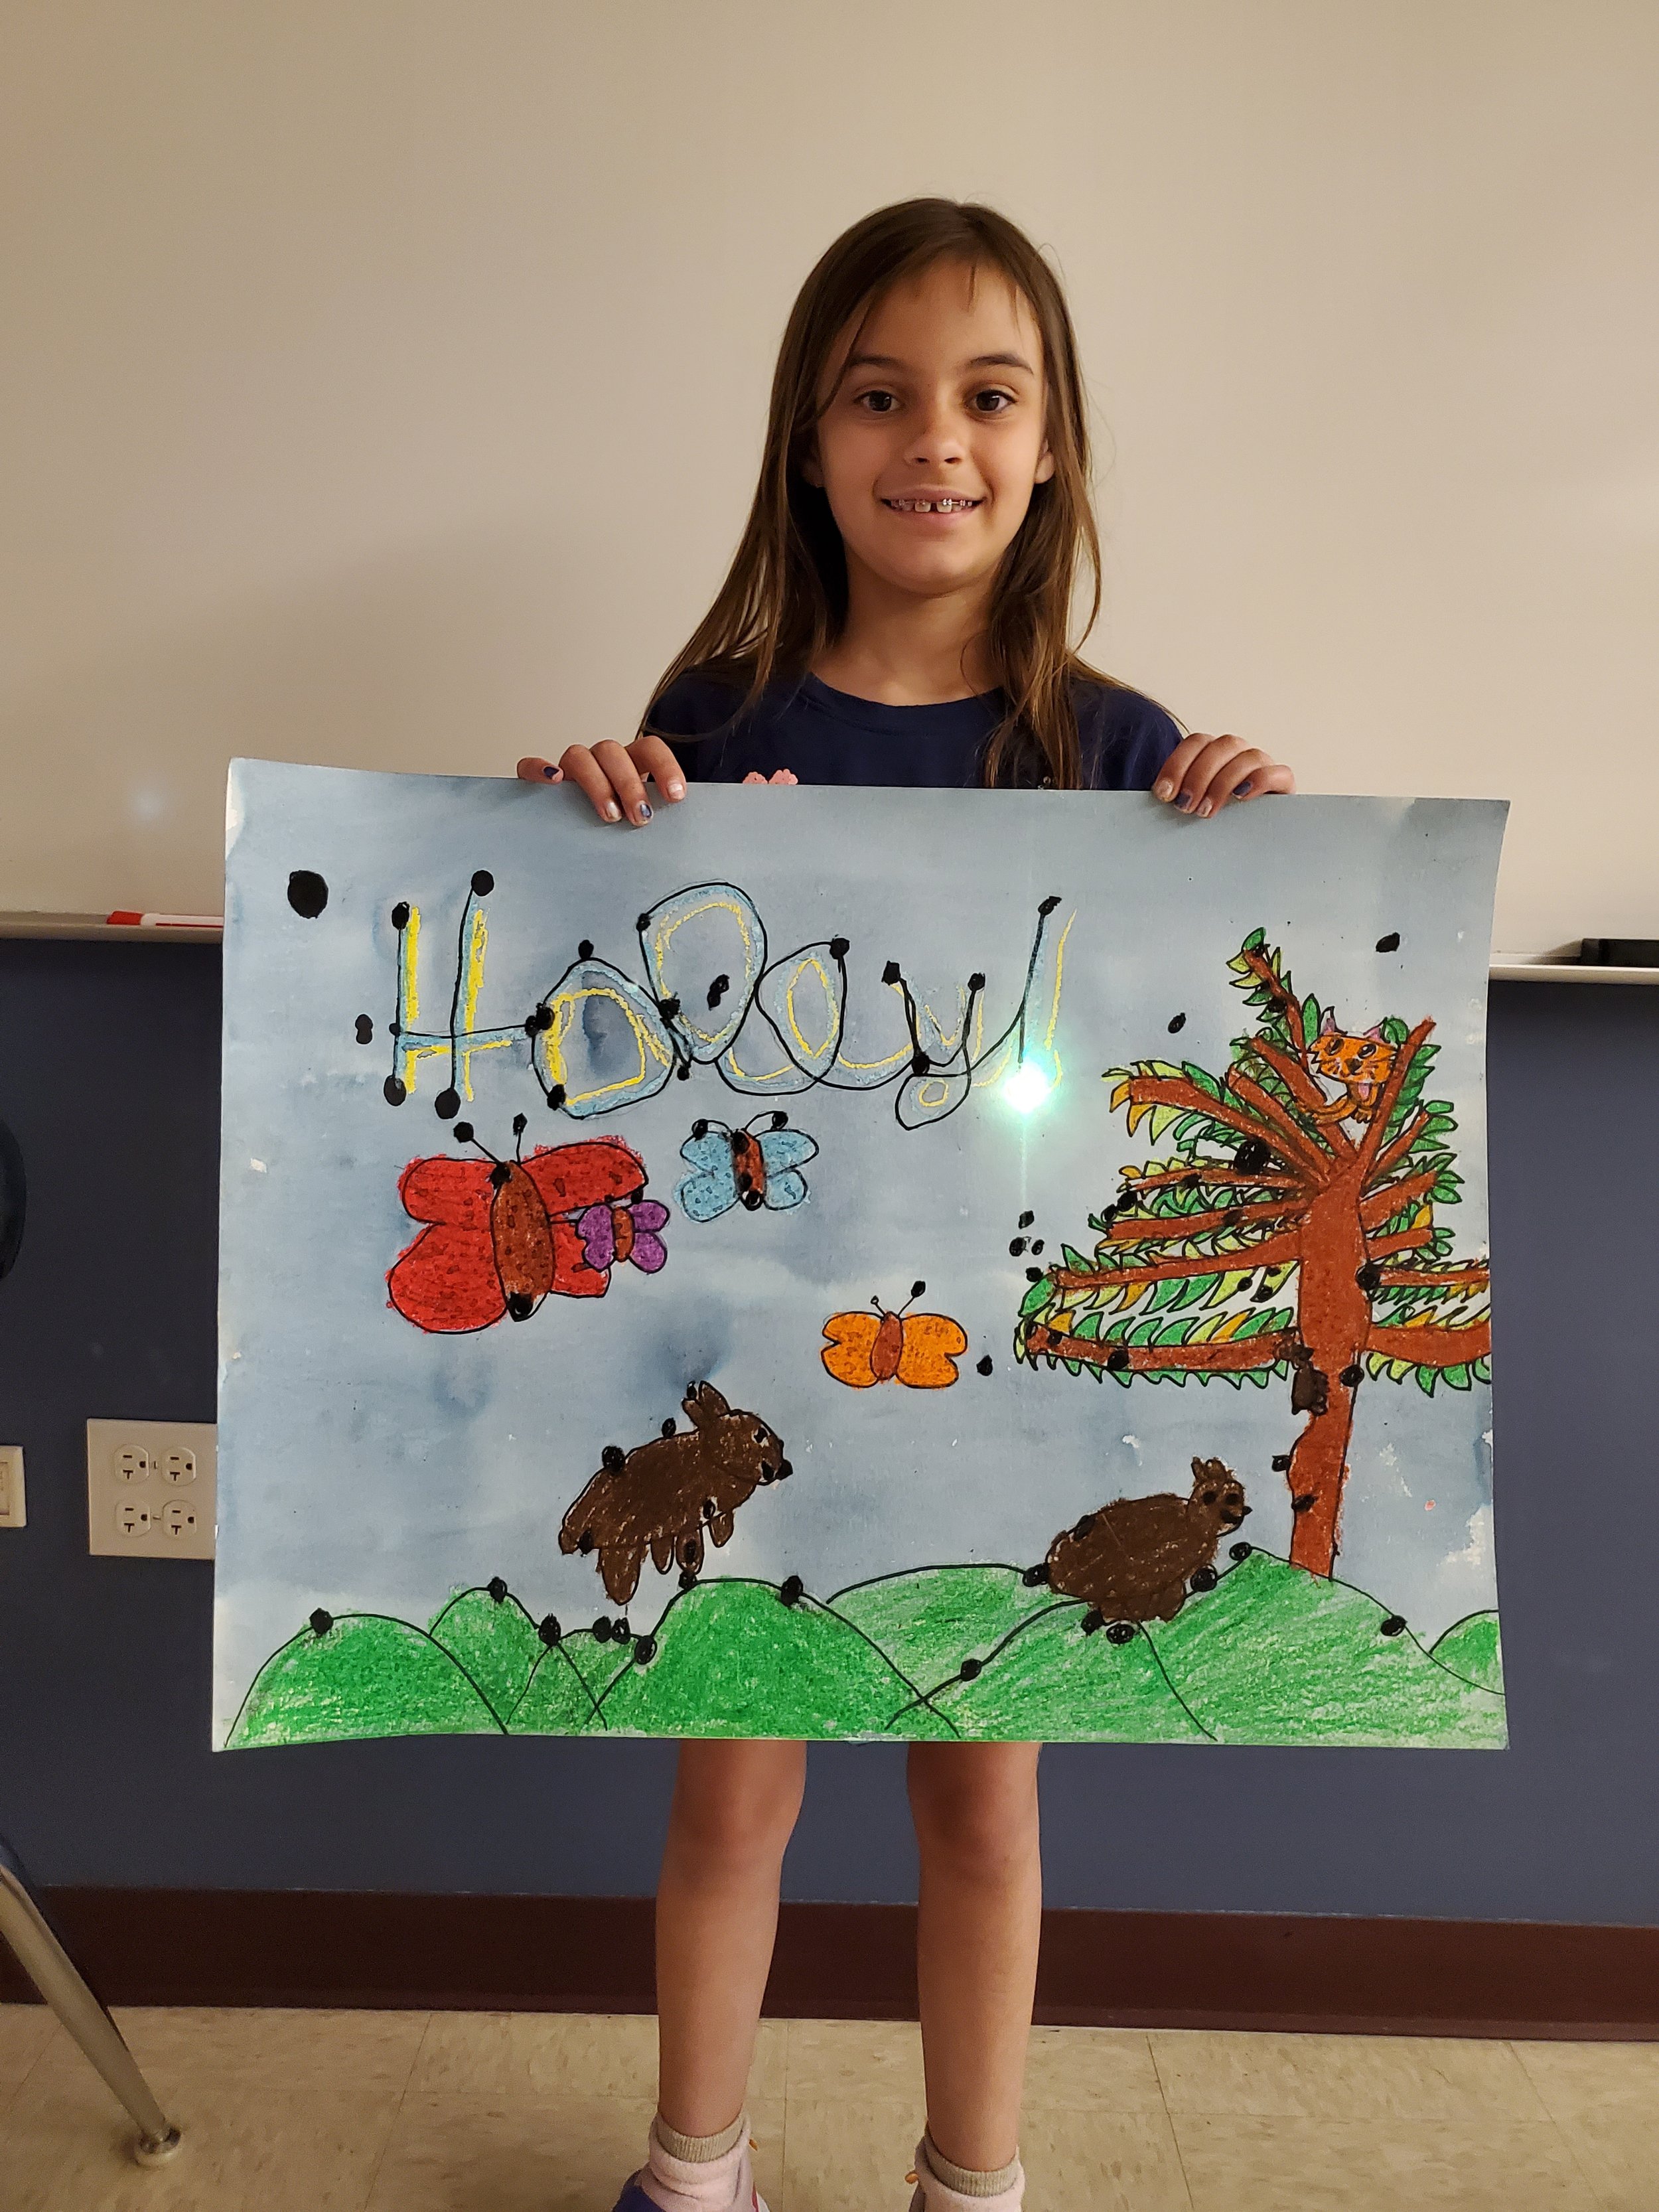
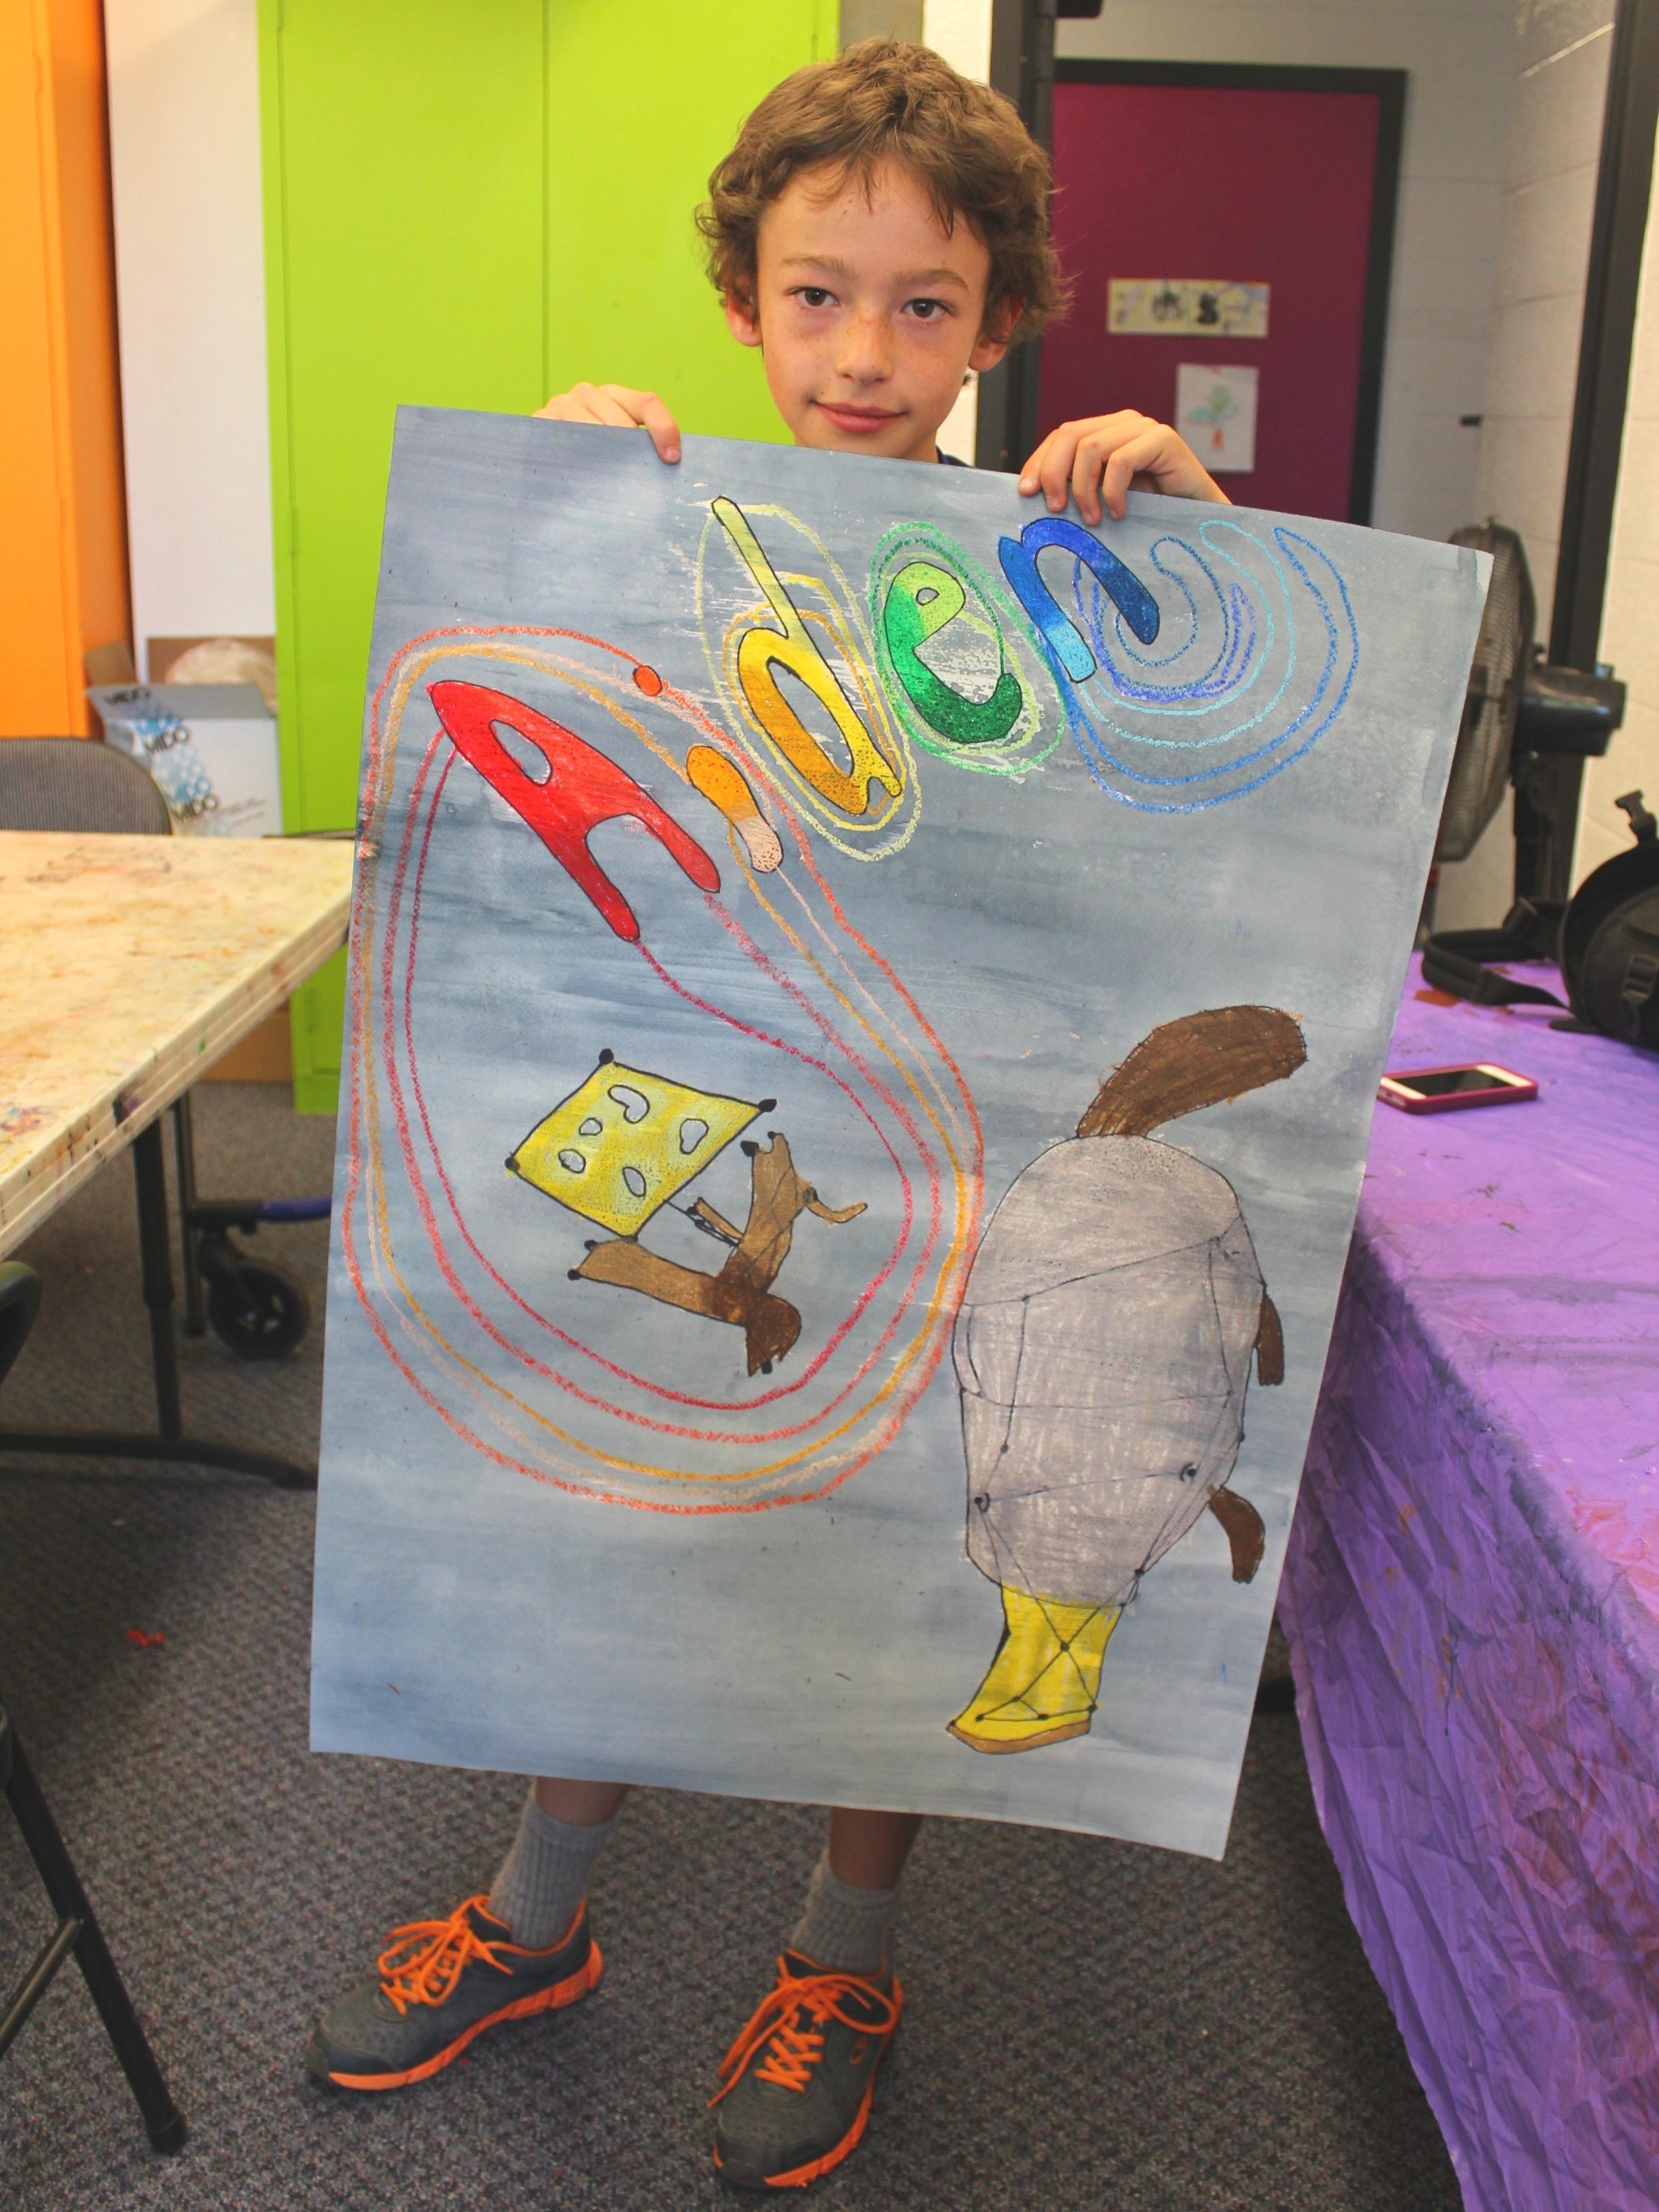
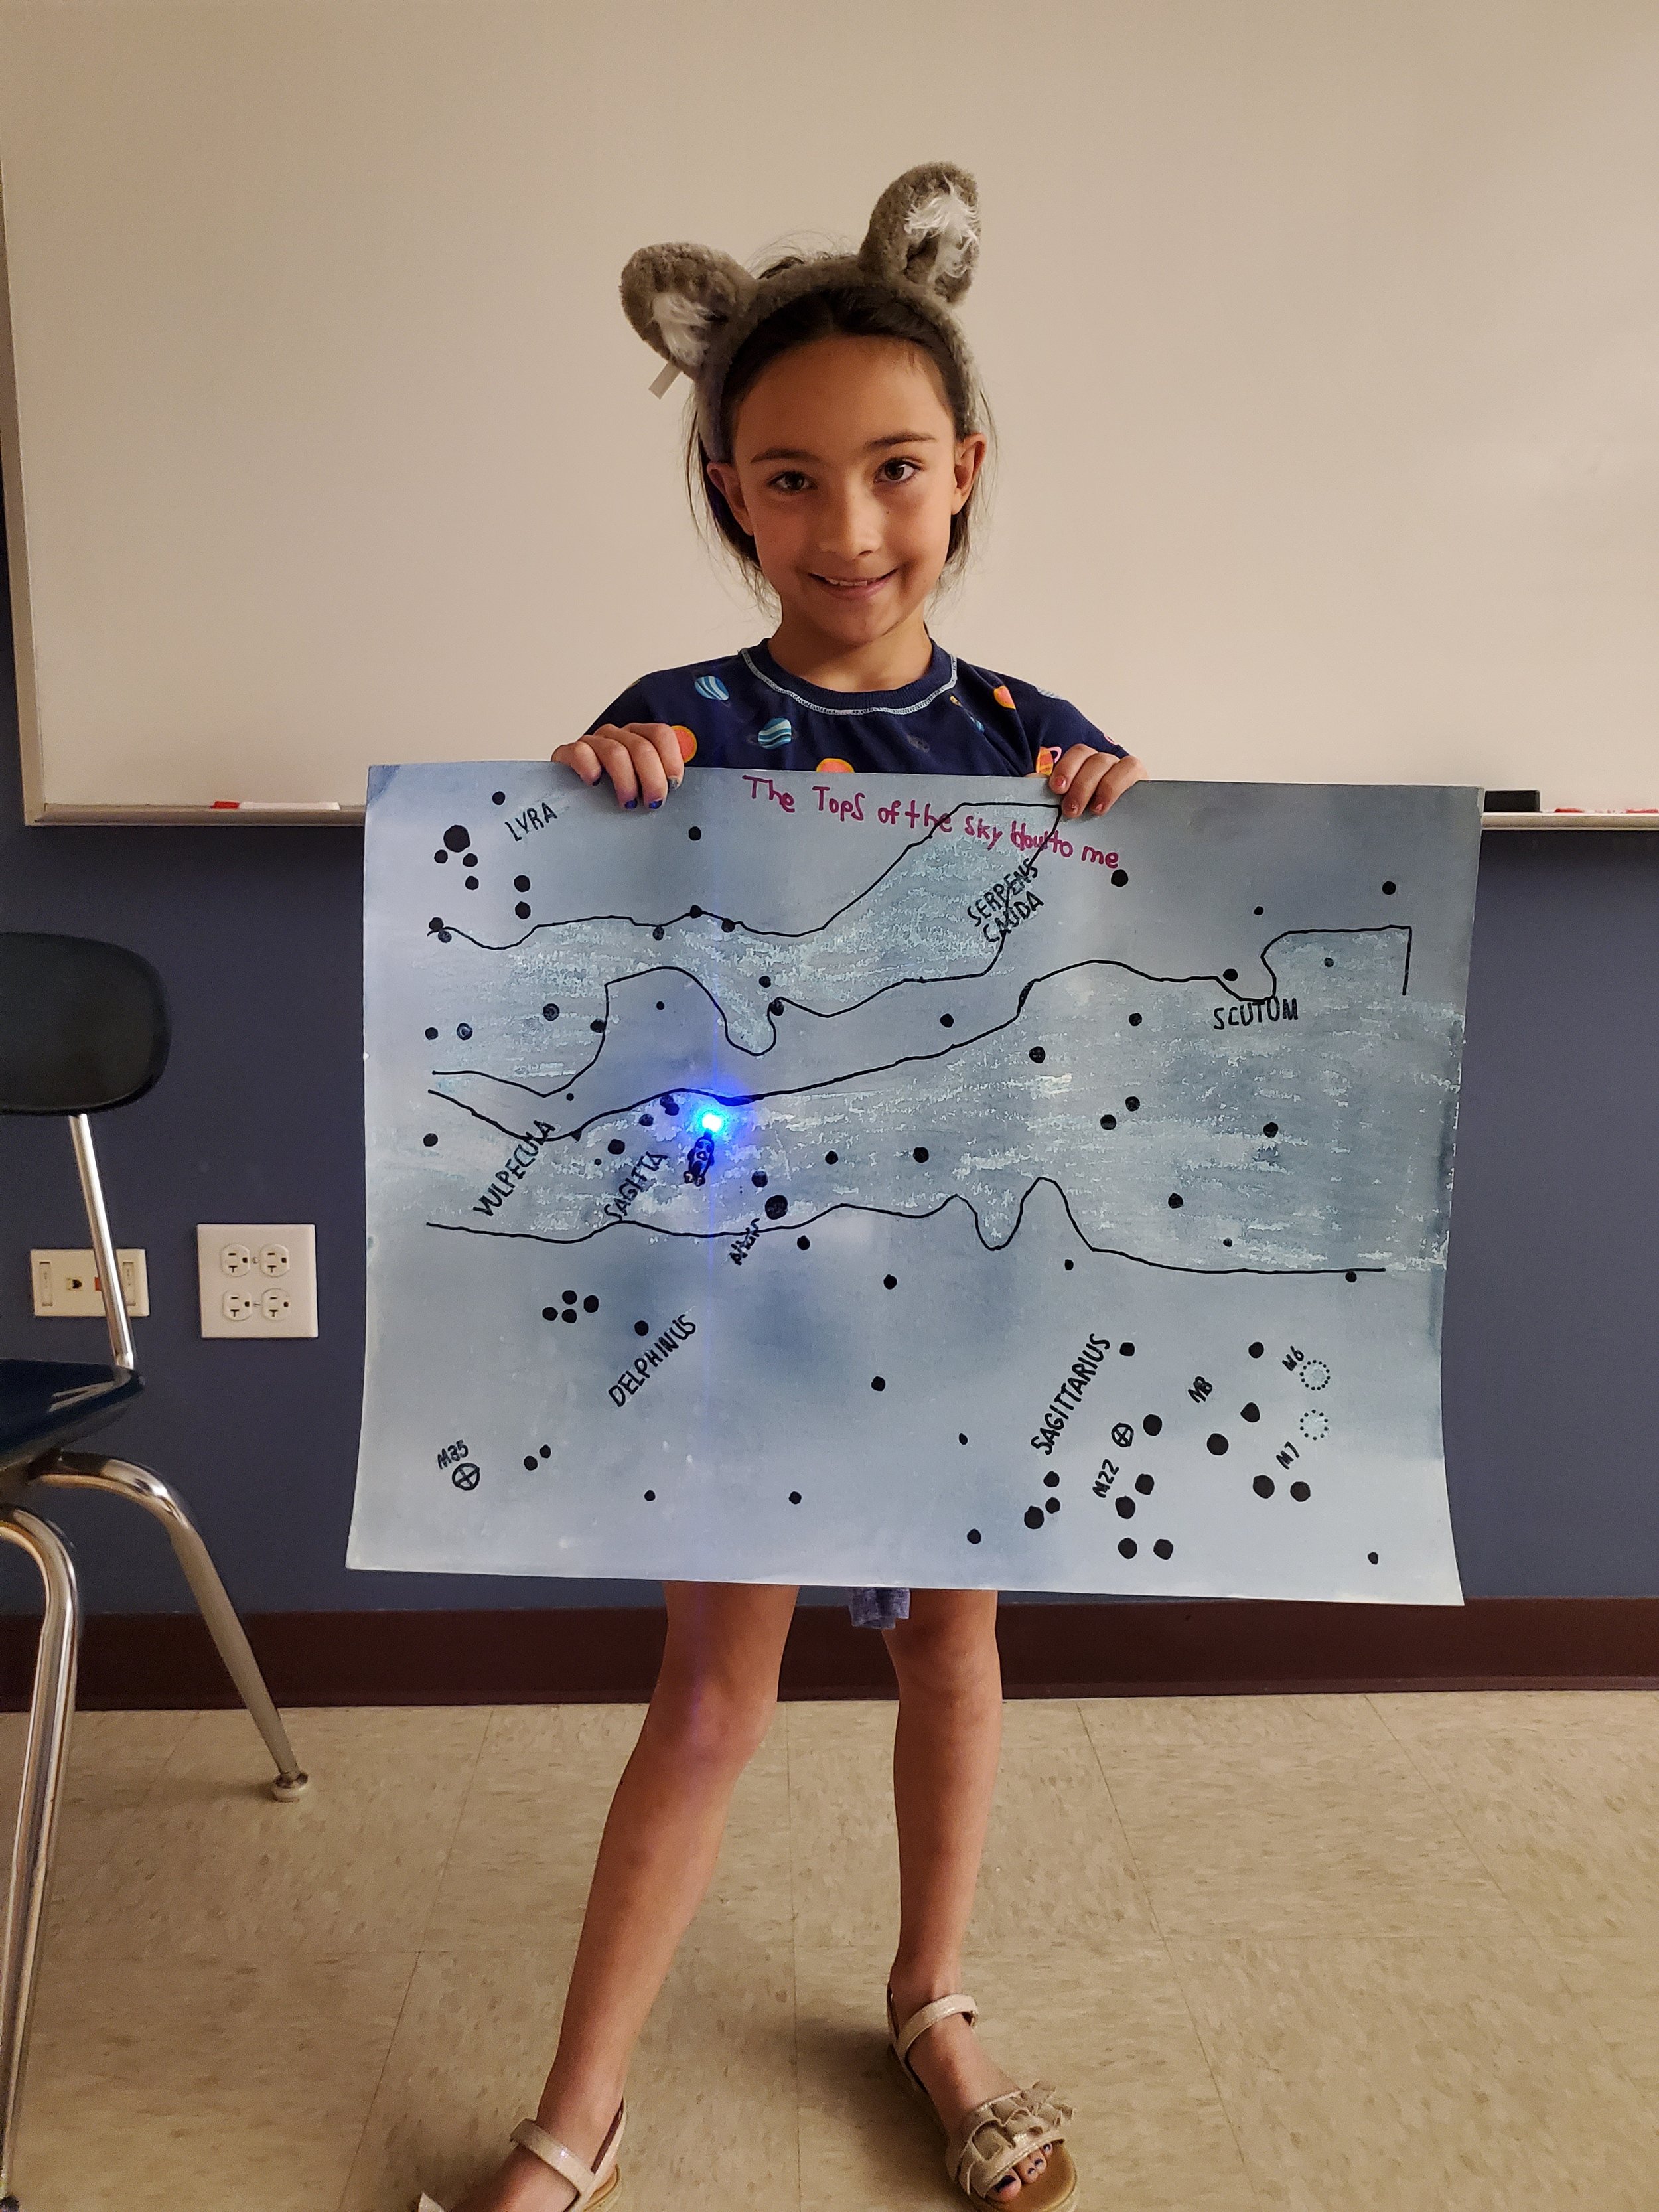
Have a ball exploring and creating with your learners. Check out our gallery of student work to get inspired!
Planners, Templates & Handouts
Get Resources
-
-
Download the following resources to get started.
-
Sky Charts With Lines
Print onto ledger or letter paper. Use for the sky puzzle activity only.Sky Charts Without Lines
Print onto ledger or letter paper. Use for the art activity.Zodiac Constellation Cards
Print onto letter paper. Fold in 1/2 & laminate.
Introductory Presentation
Watch the following deck to explore the program and make it your own.
Slideshow Instructions
Watch the slideshow with step-by-step instructions for implementing NASA’s Cosmic Constellations
We recommend chunking the activity in phases like the slideshow:
Puzzle Activity - Sketching - Transferring - Coloring - Painting - Sharing

Integrate this program with an investigation of the constellations and cultural sky lore. Explore books, videos and our constellation fun fact cards.
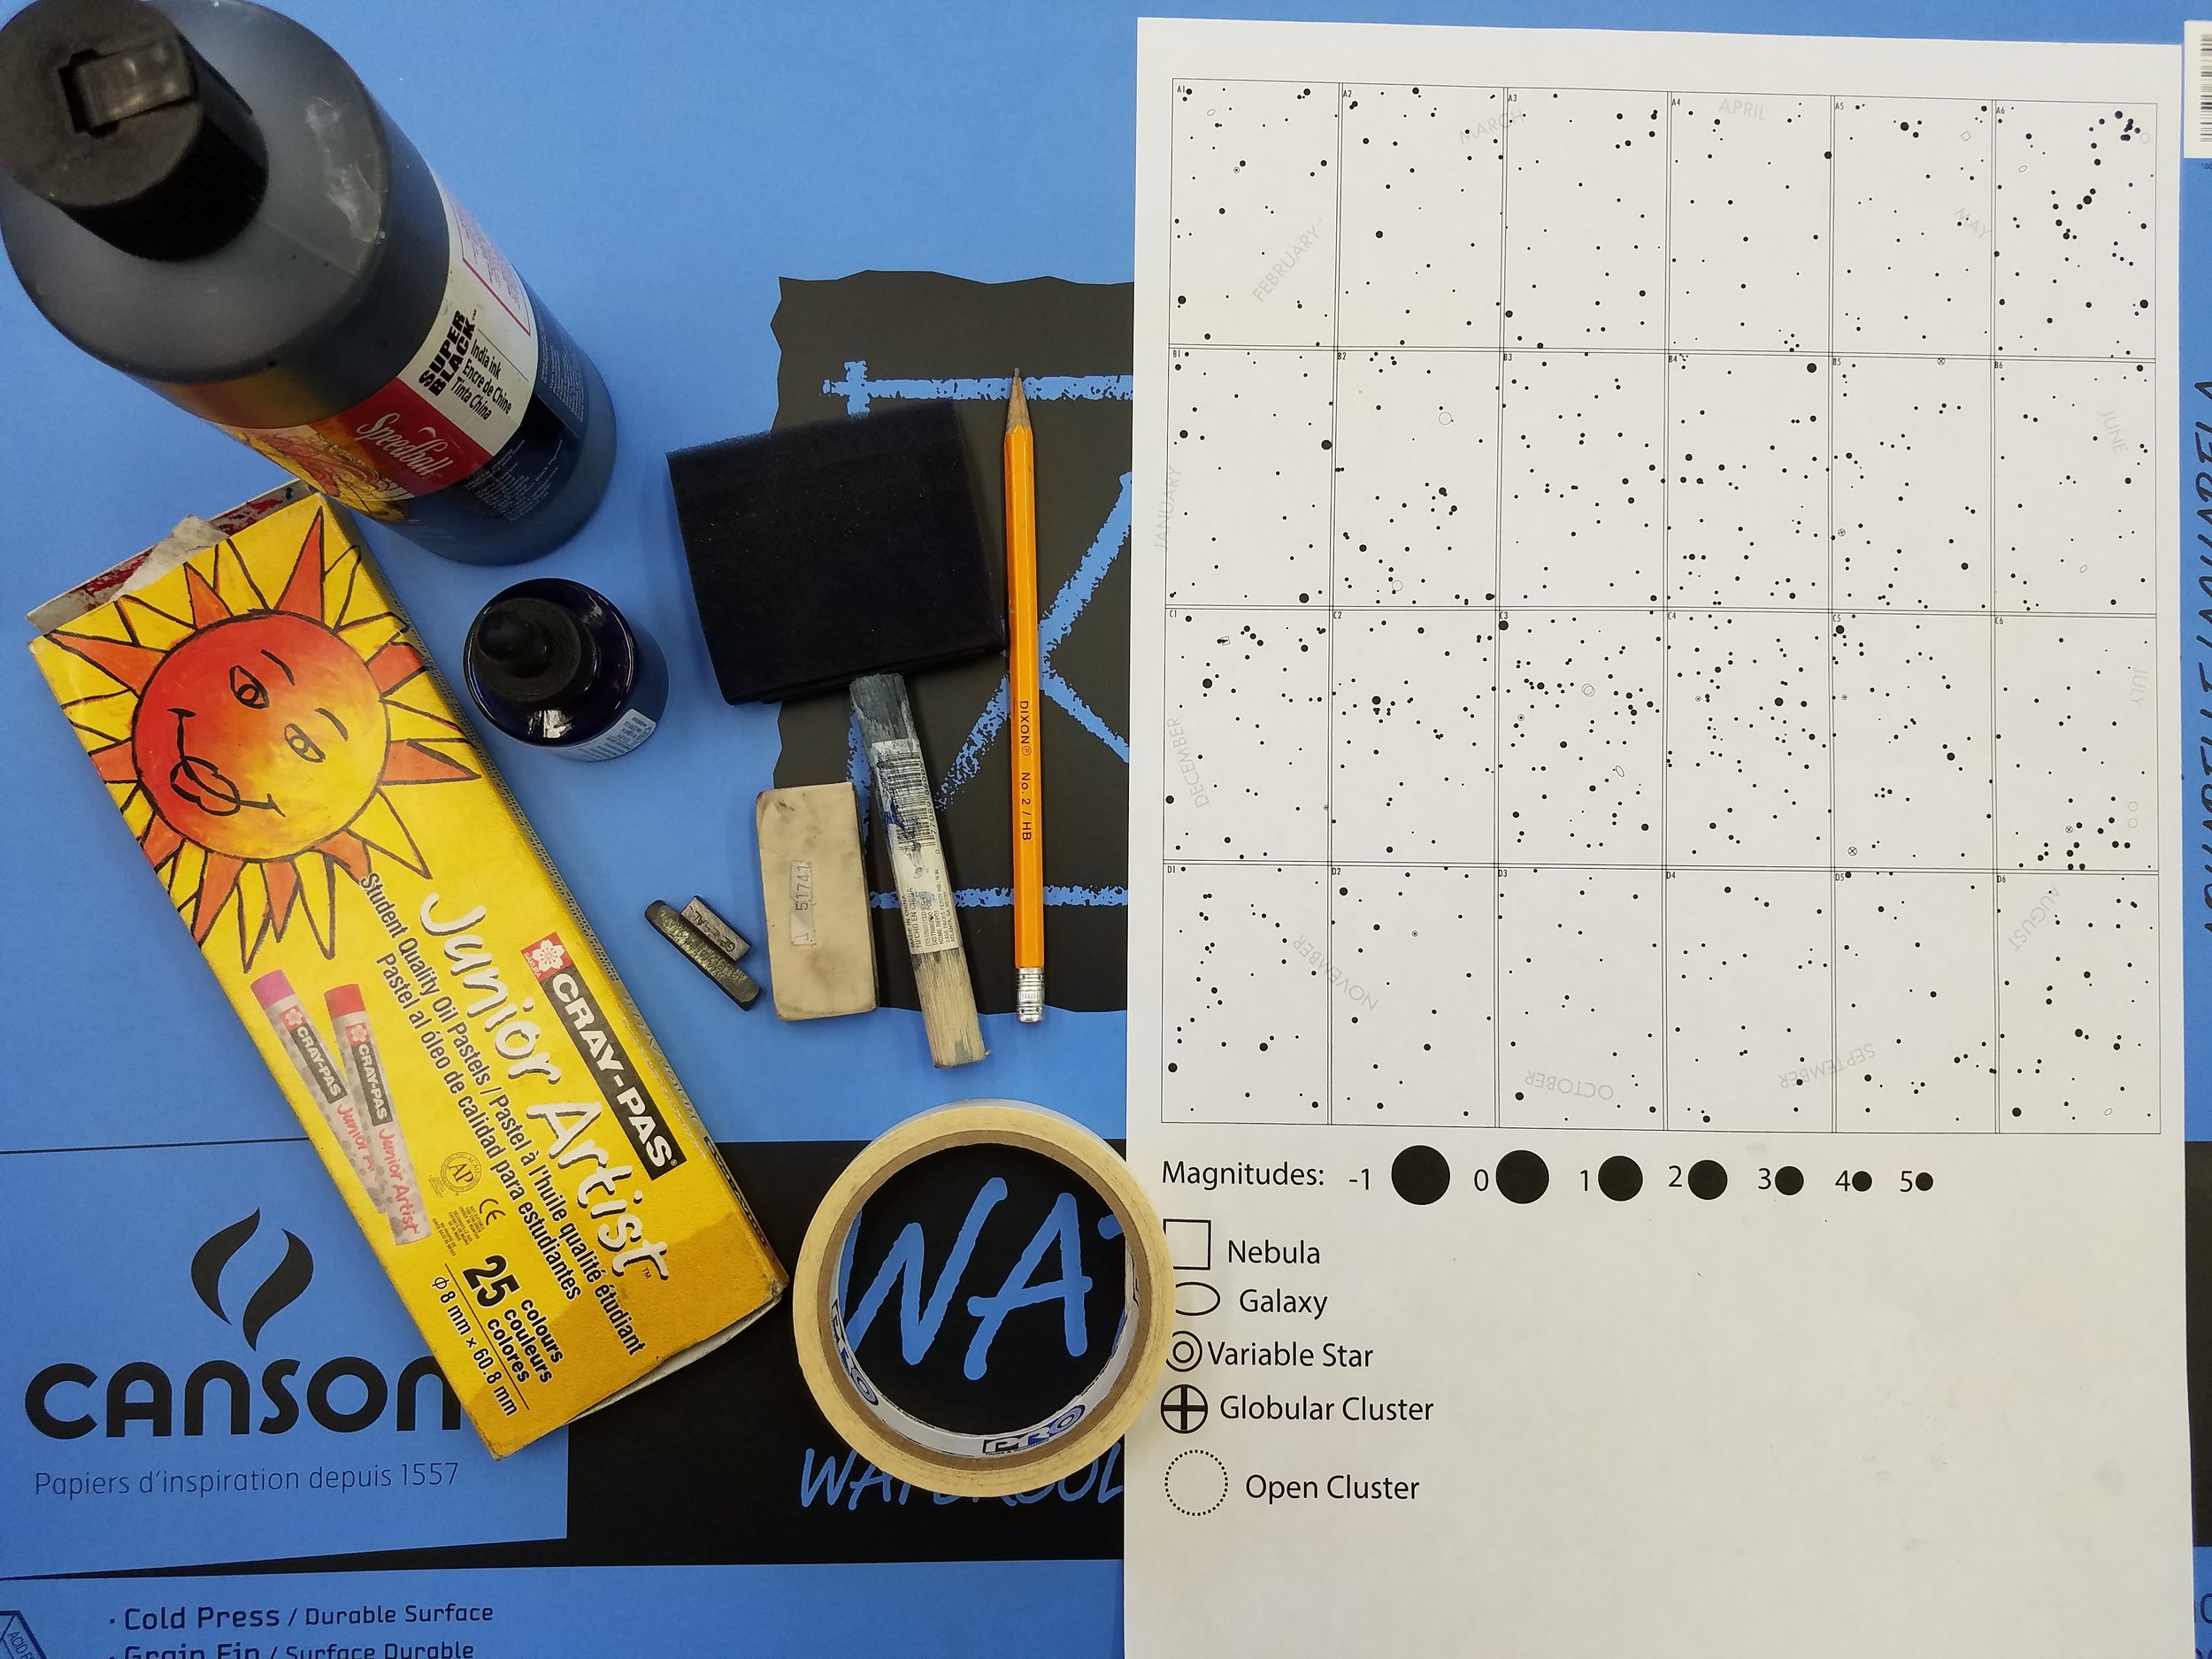
Use the Supply Planner to collect art material for class. Print the sky charts sets on 11" x 17" paper or 8 1/2" x 11" paper. Print both the set with lines and the set without lines. The first page of both sets is the Sky Key.
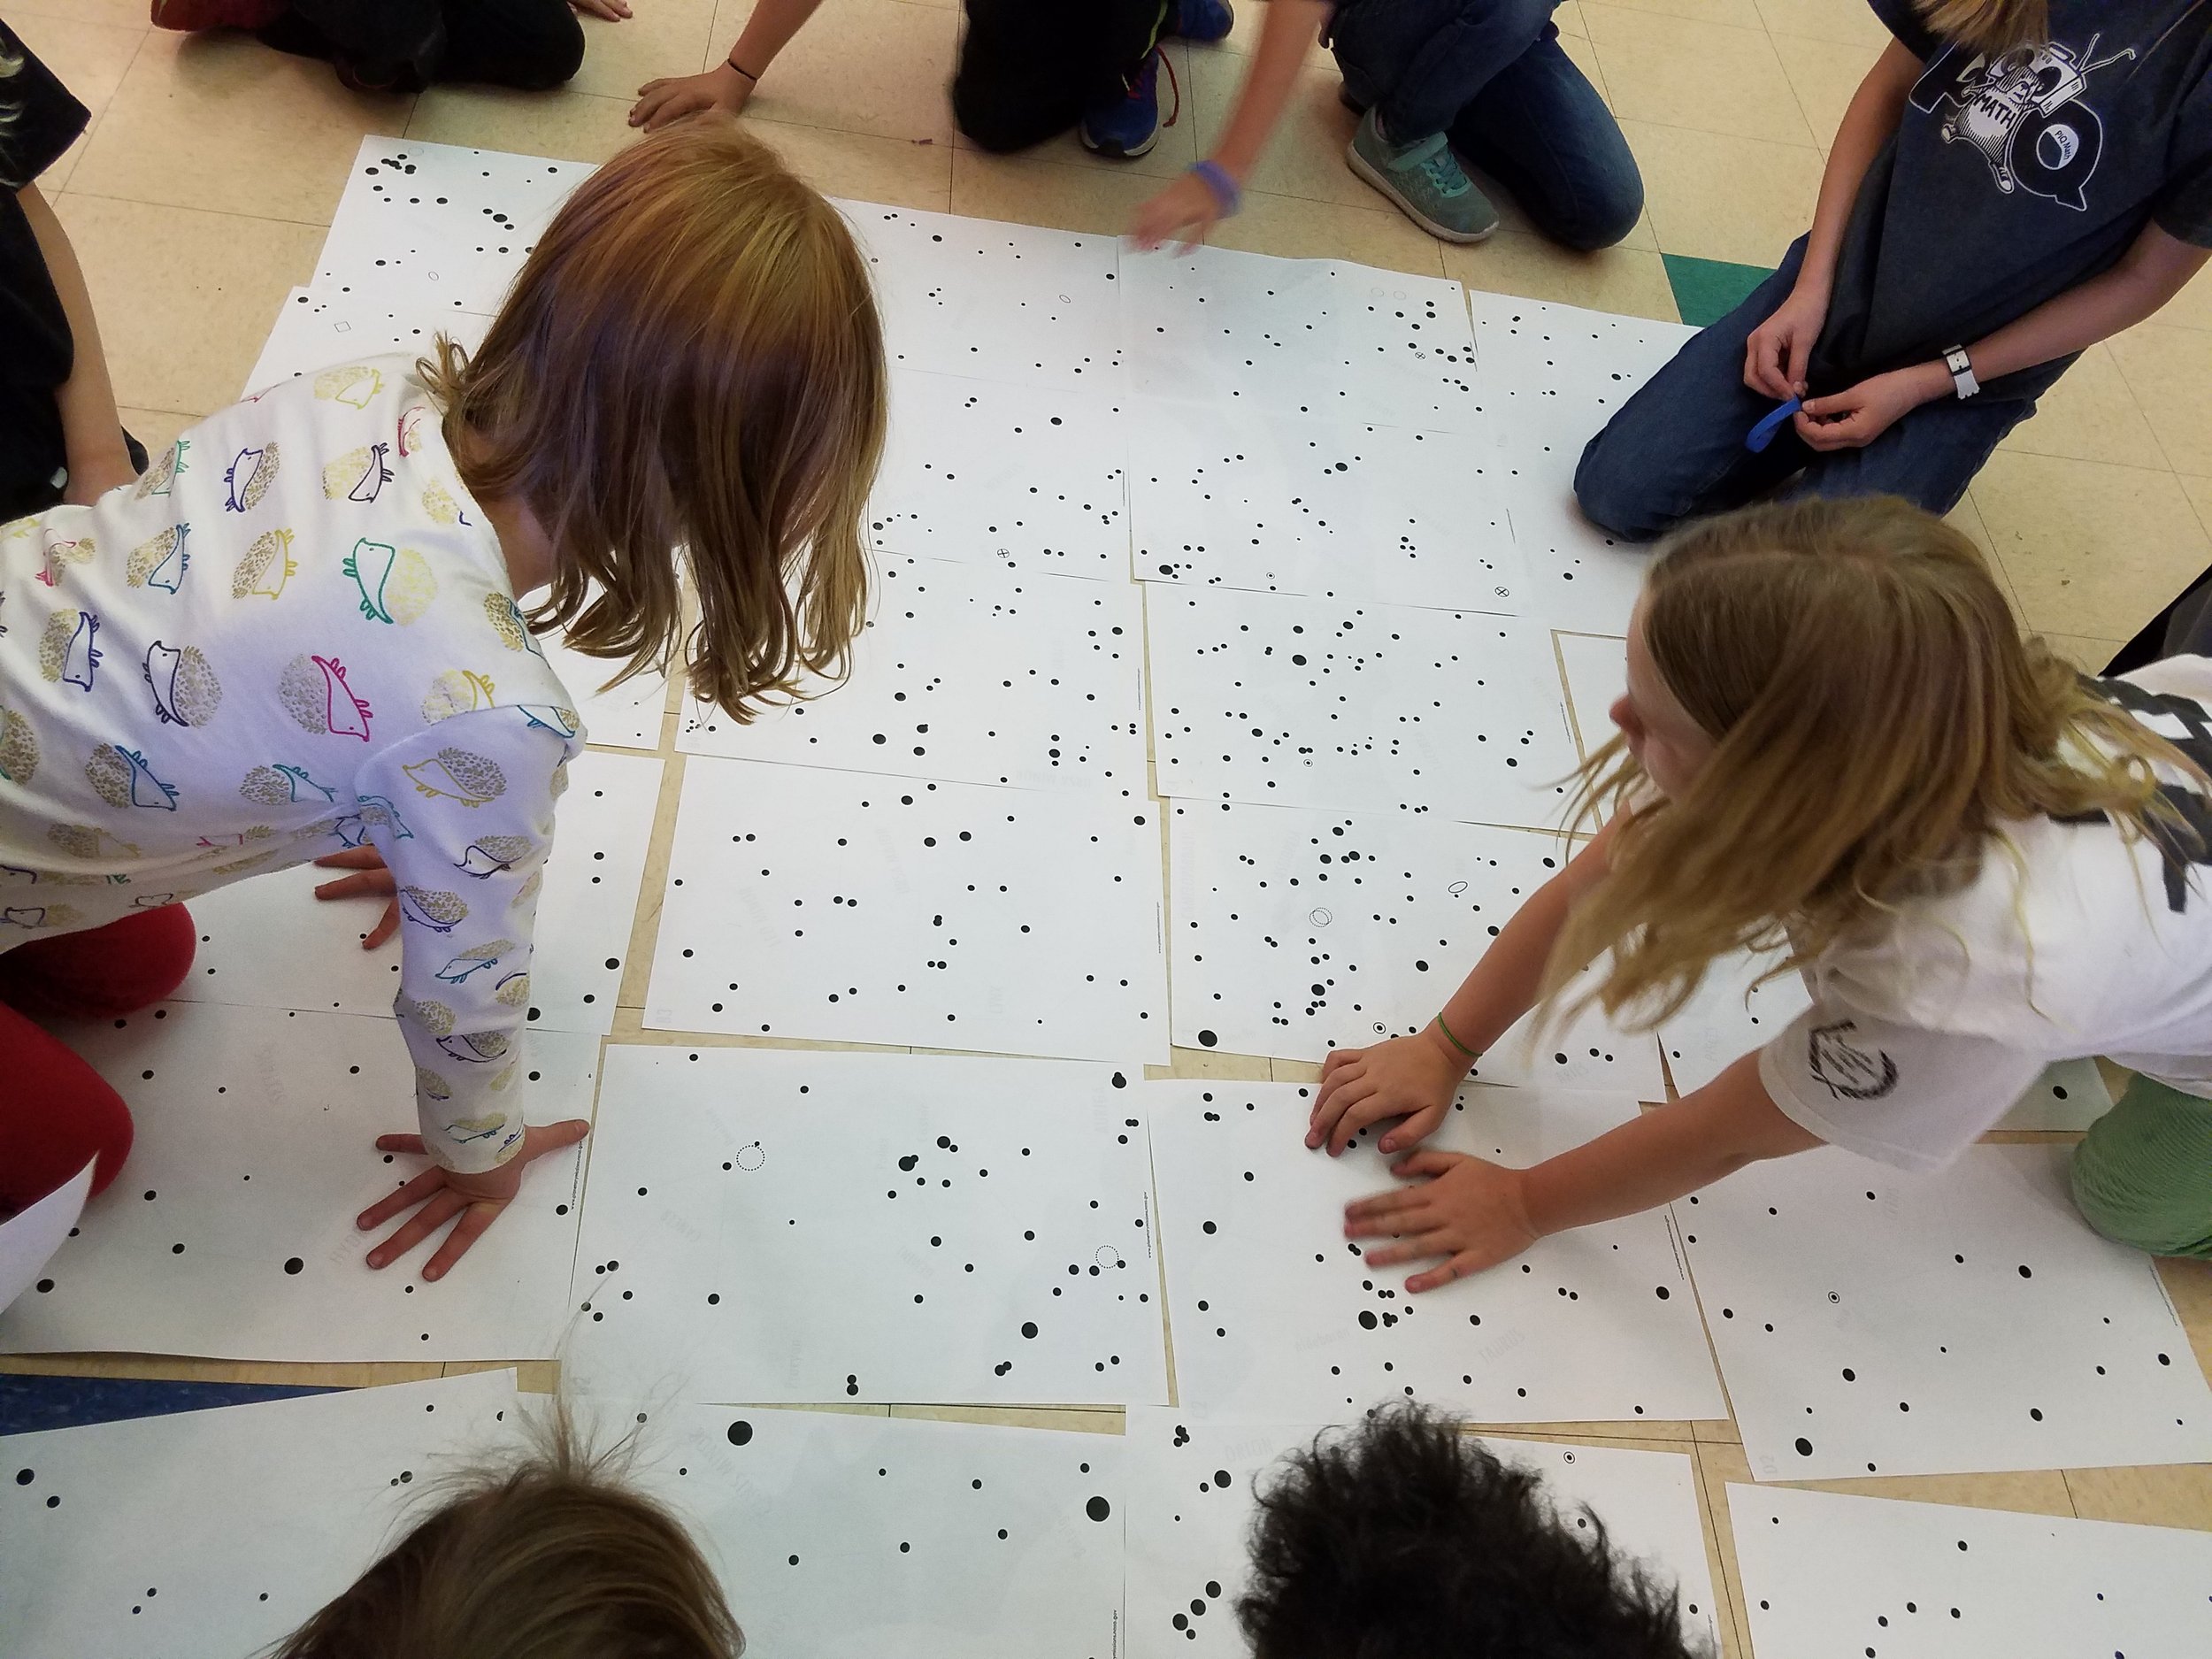
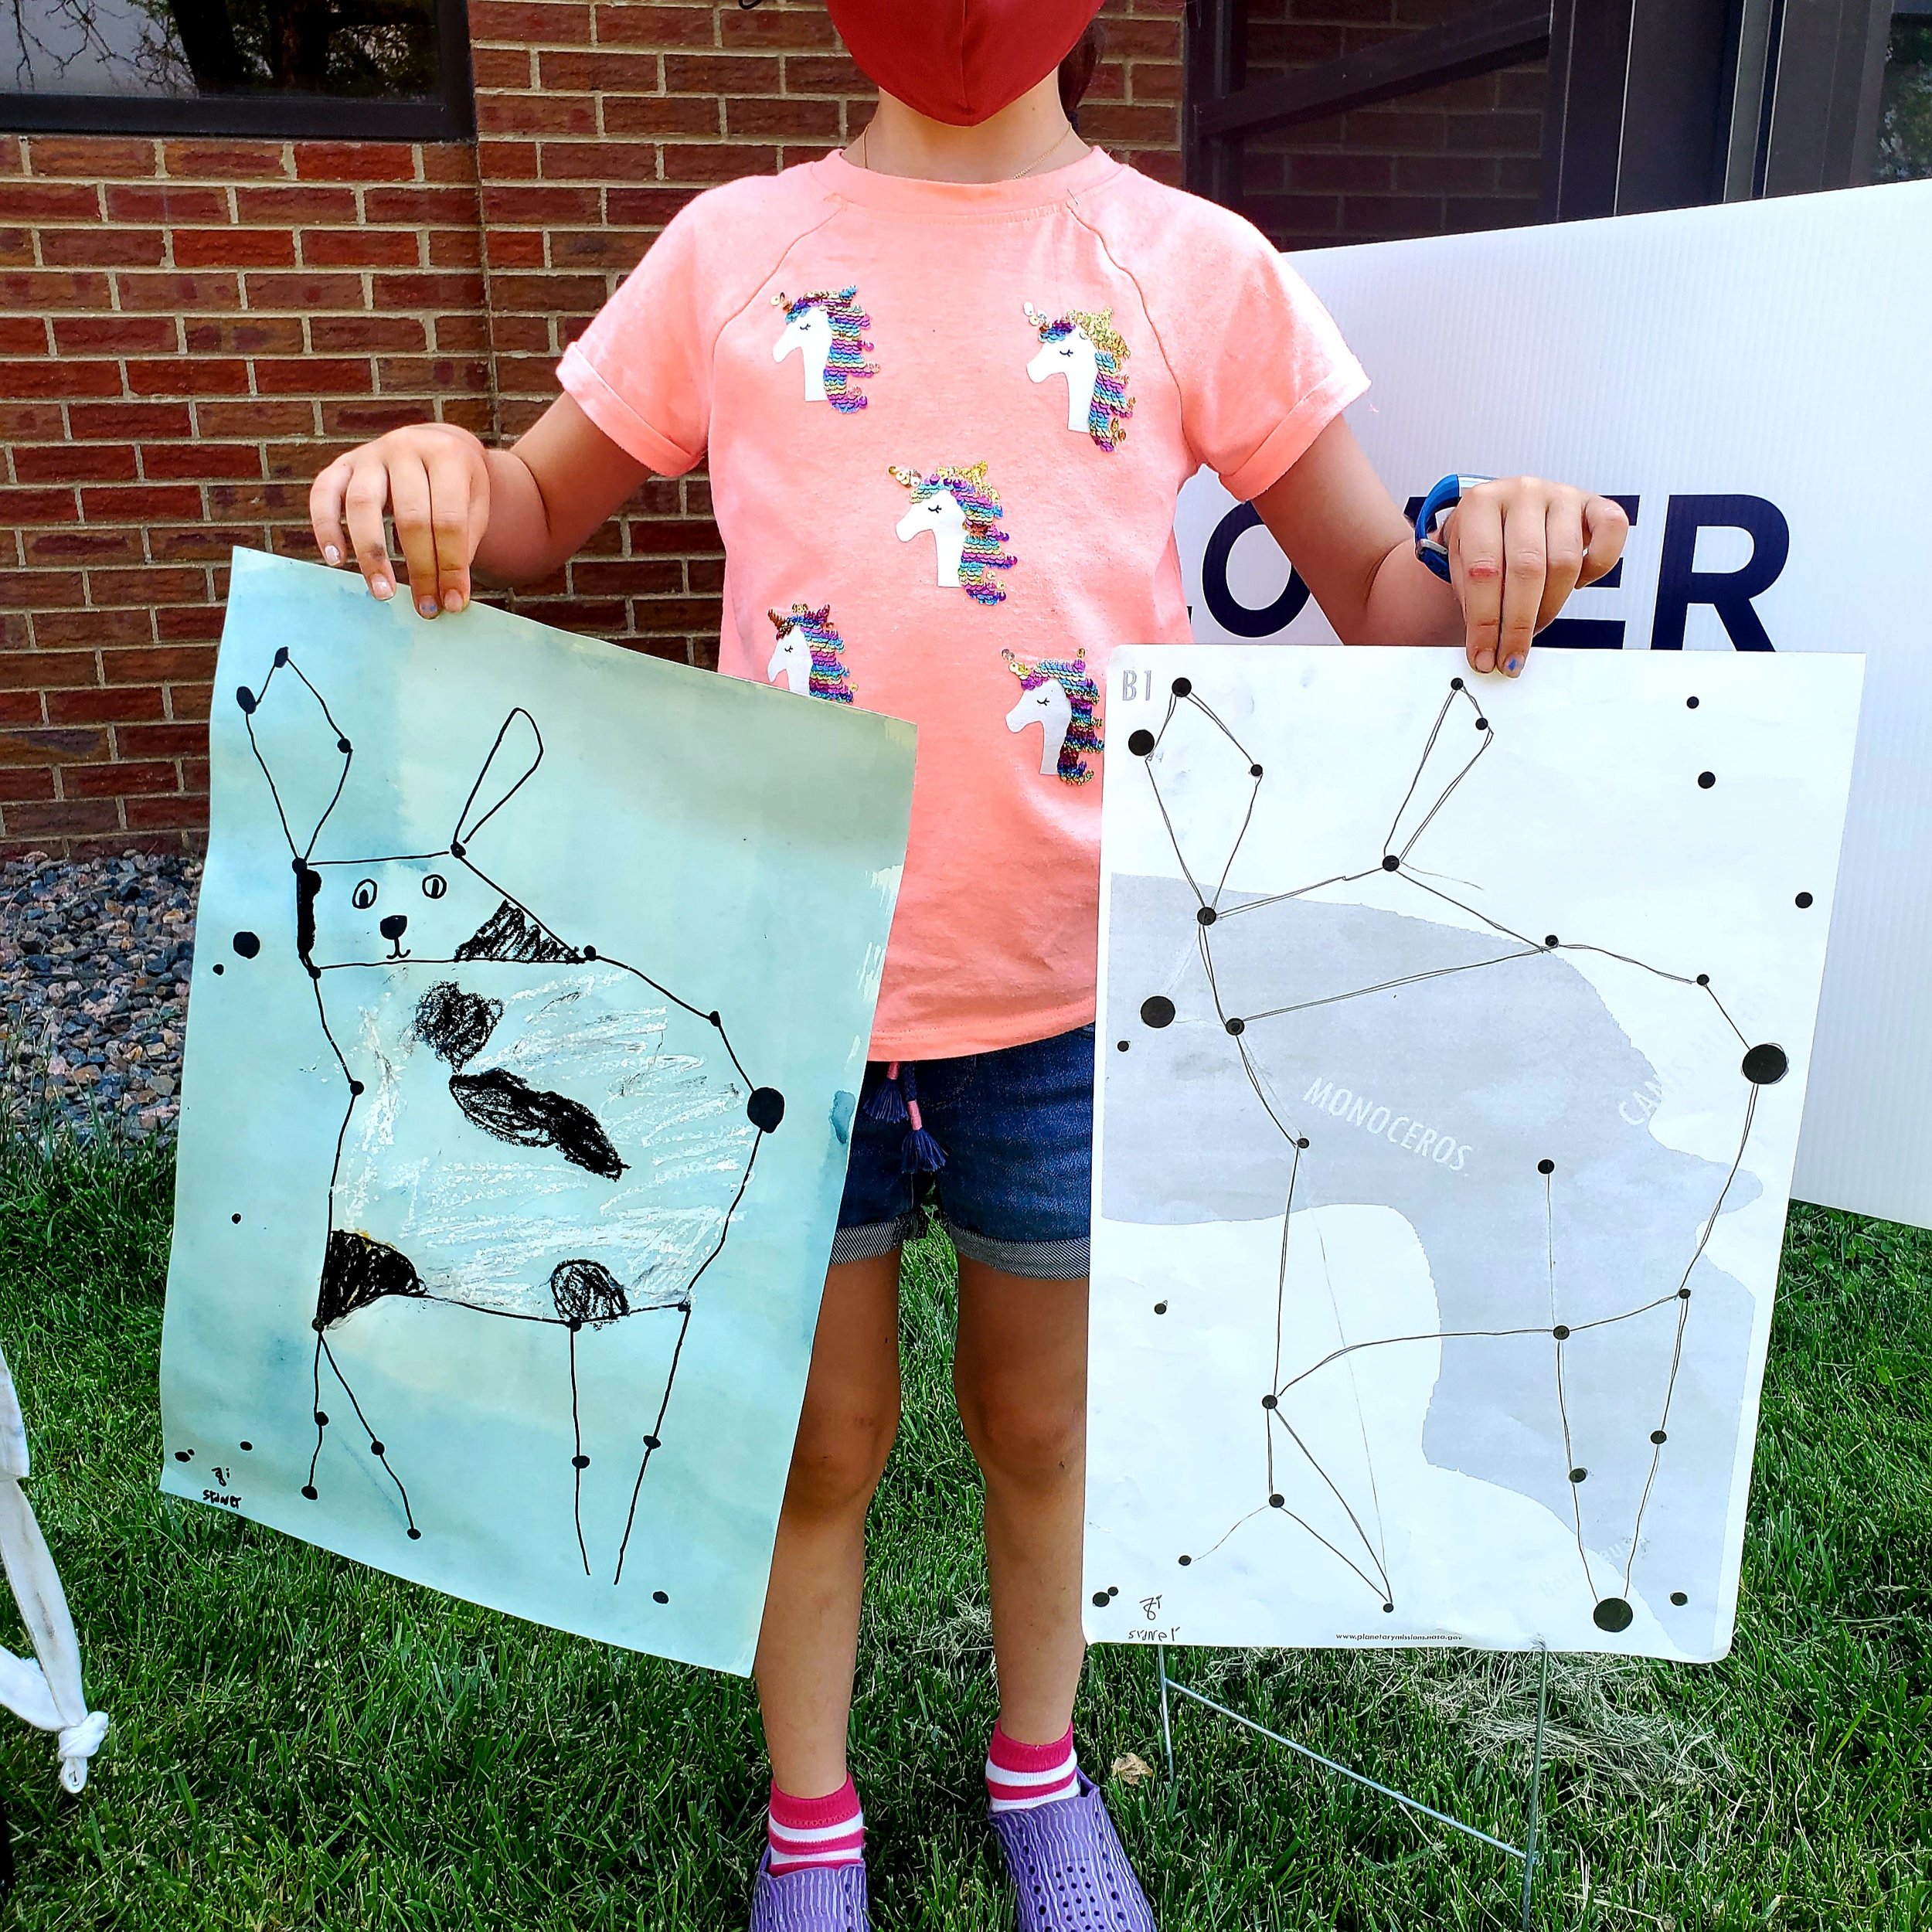
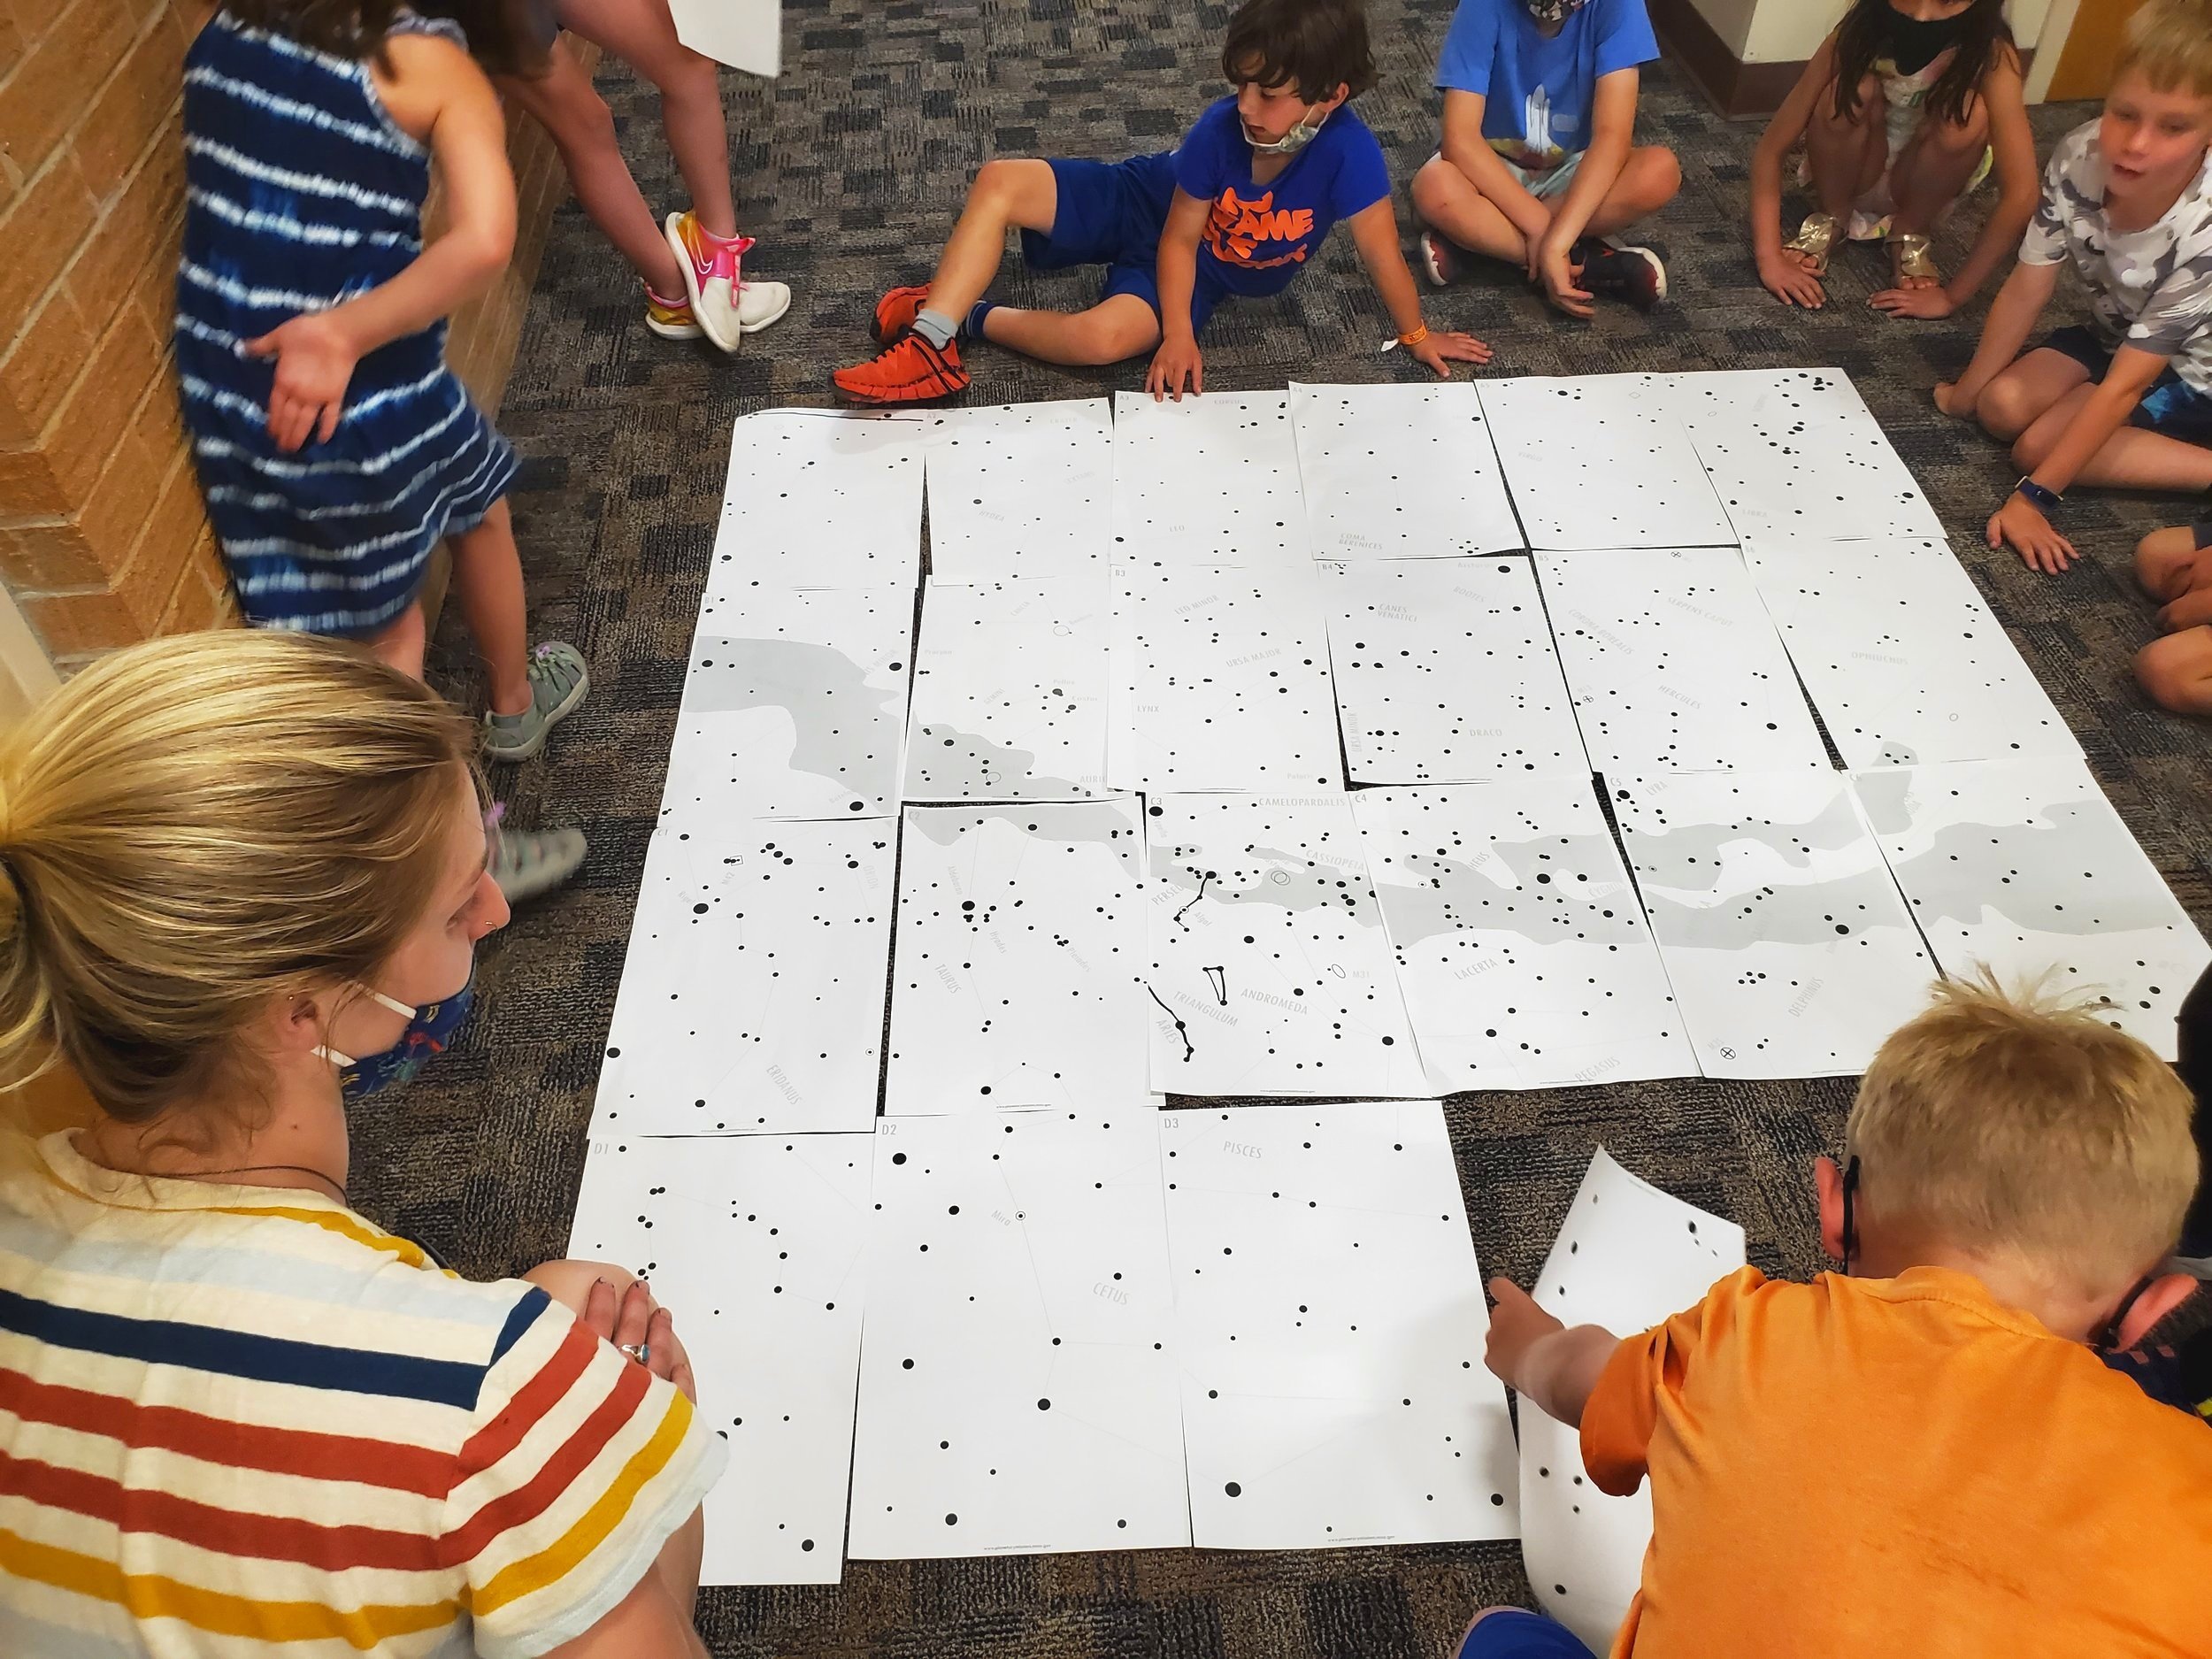
Start with the sky puzzle activity. Give students sky charts with the lines. Challenge them to assemble the night sky like a puzzle.
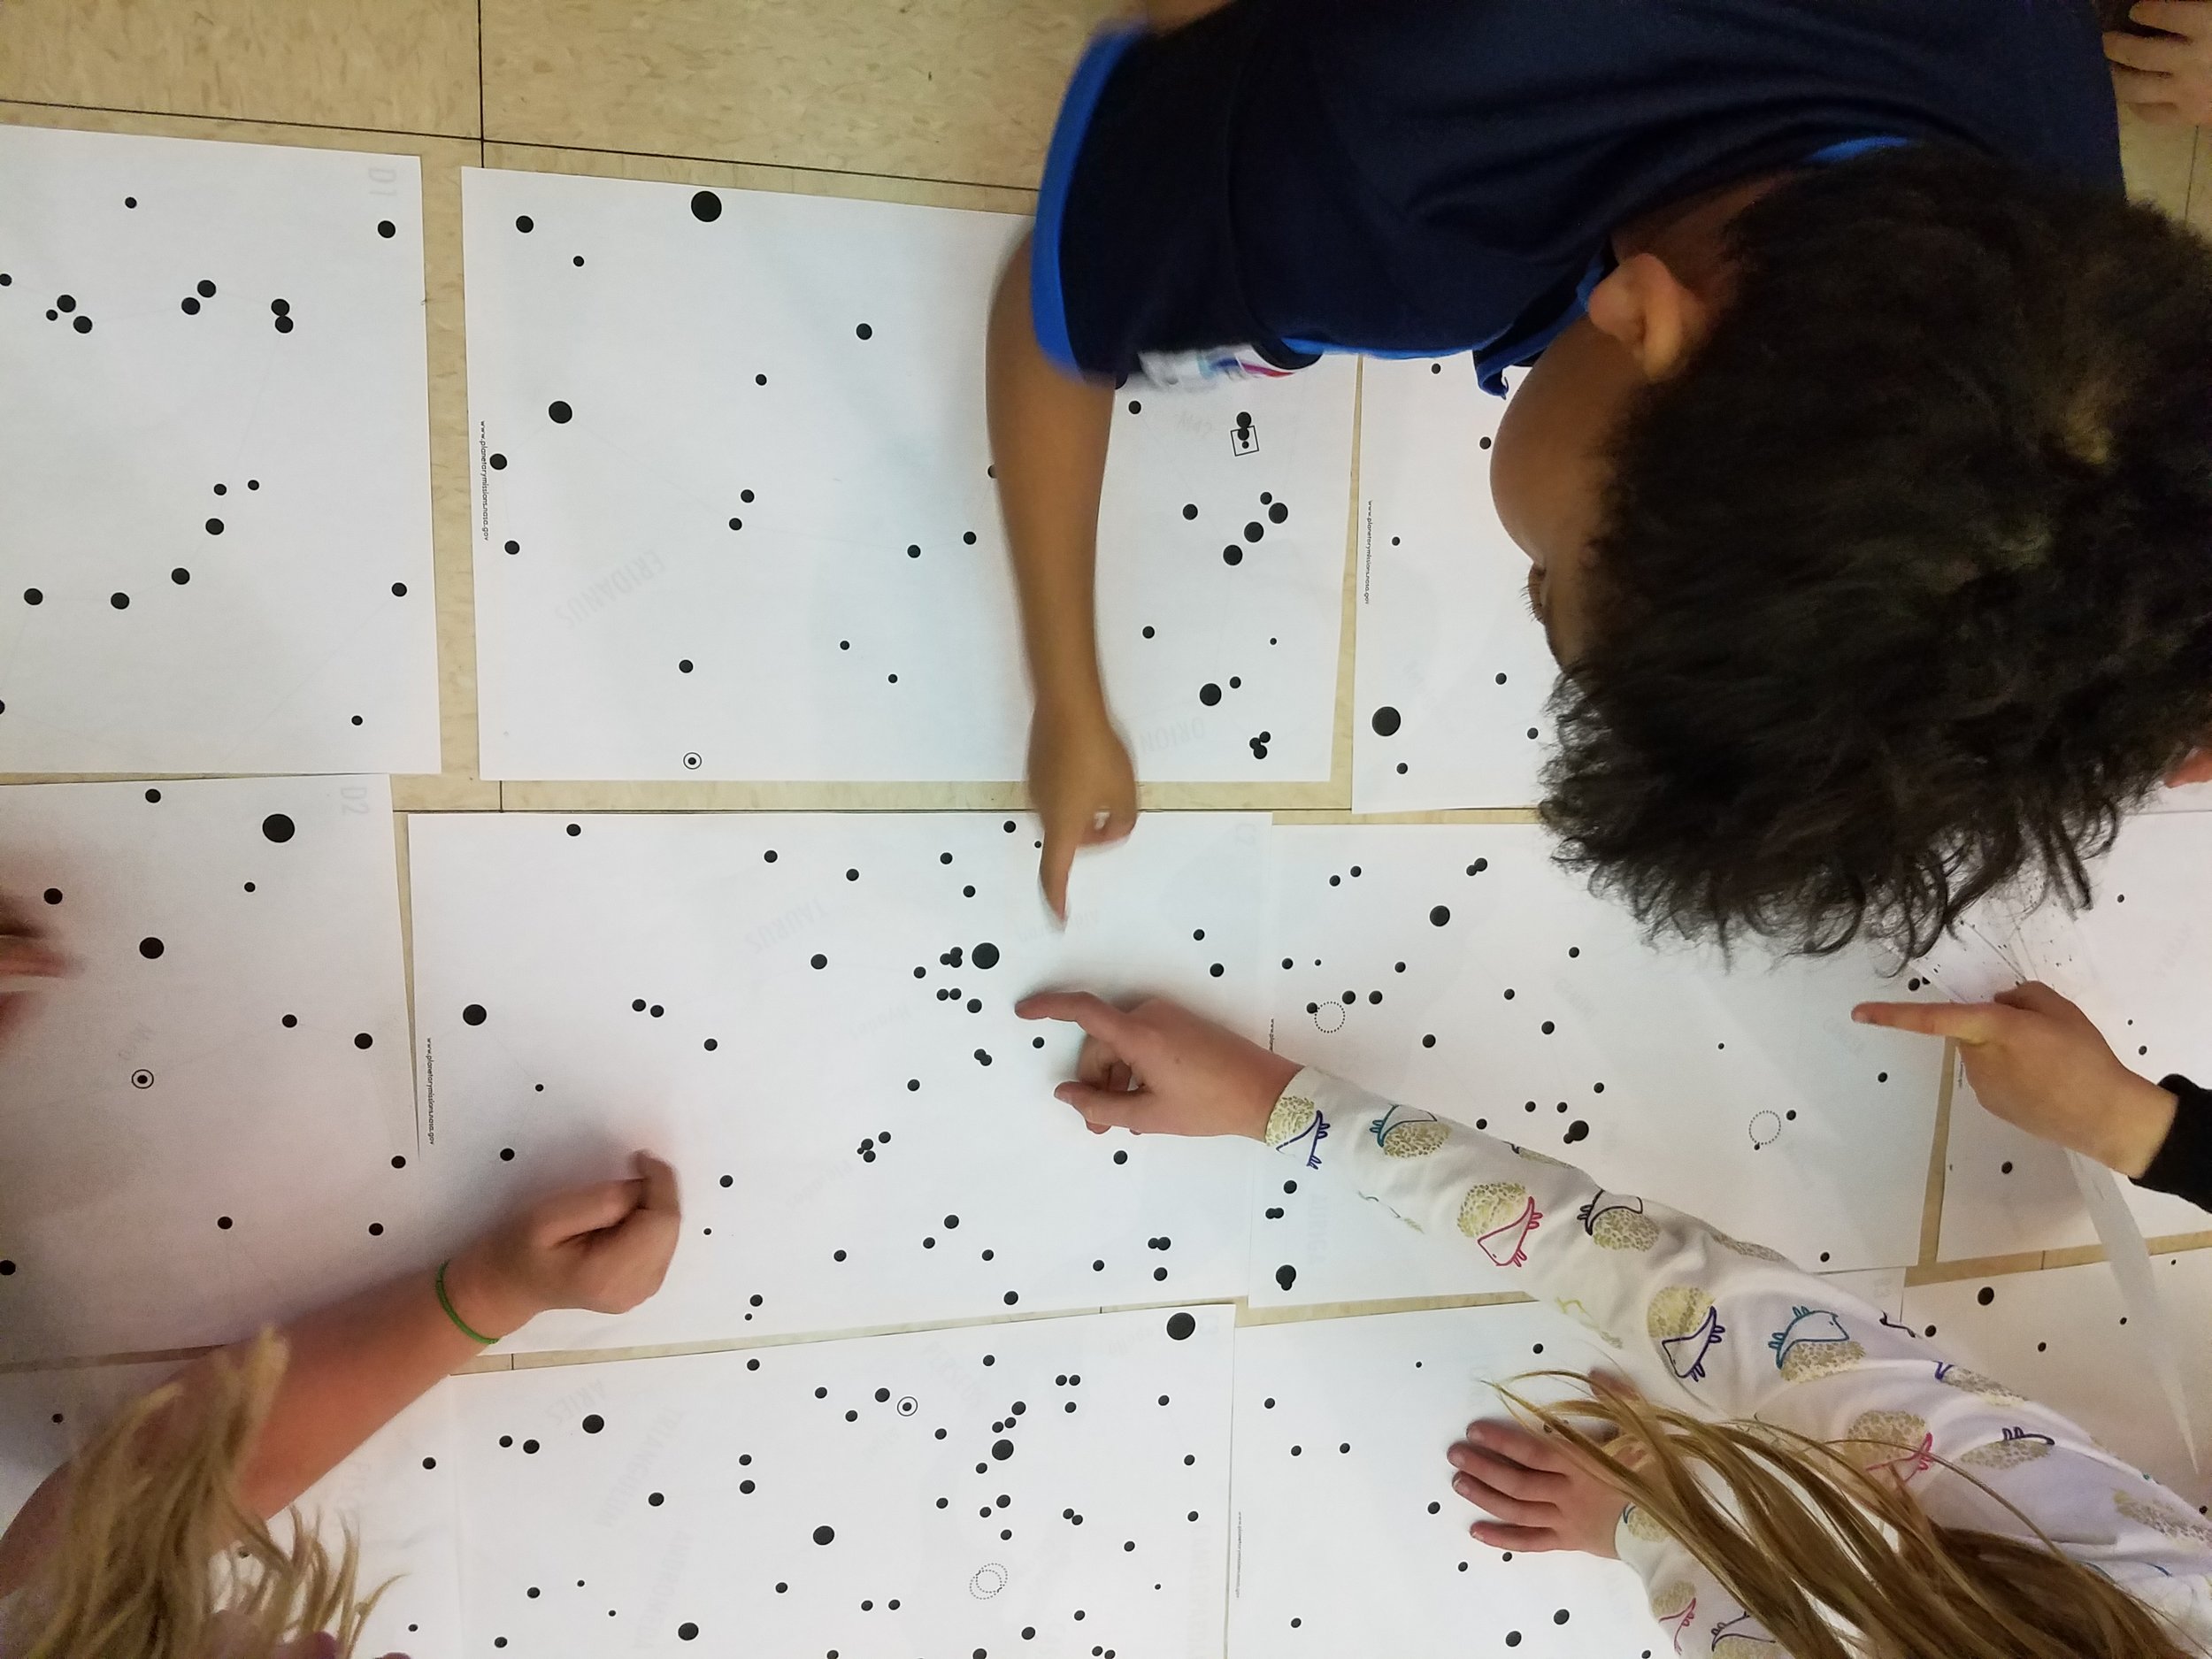
Refer to the Sky Key to assemble the charts in proper order. Each chart is labeled ~ A1, A2, A3, etc. They form a grid of the northern night sky. The large grey patch running through the grid is the Milky Way!
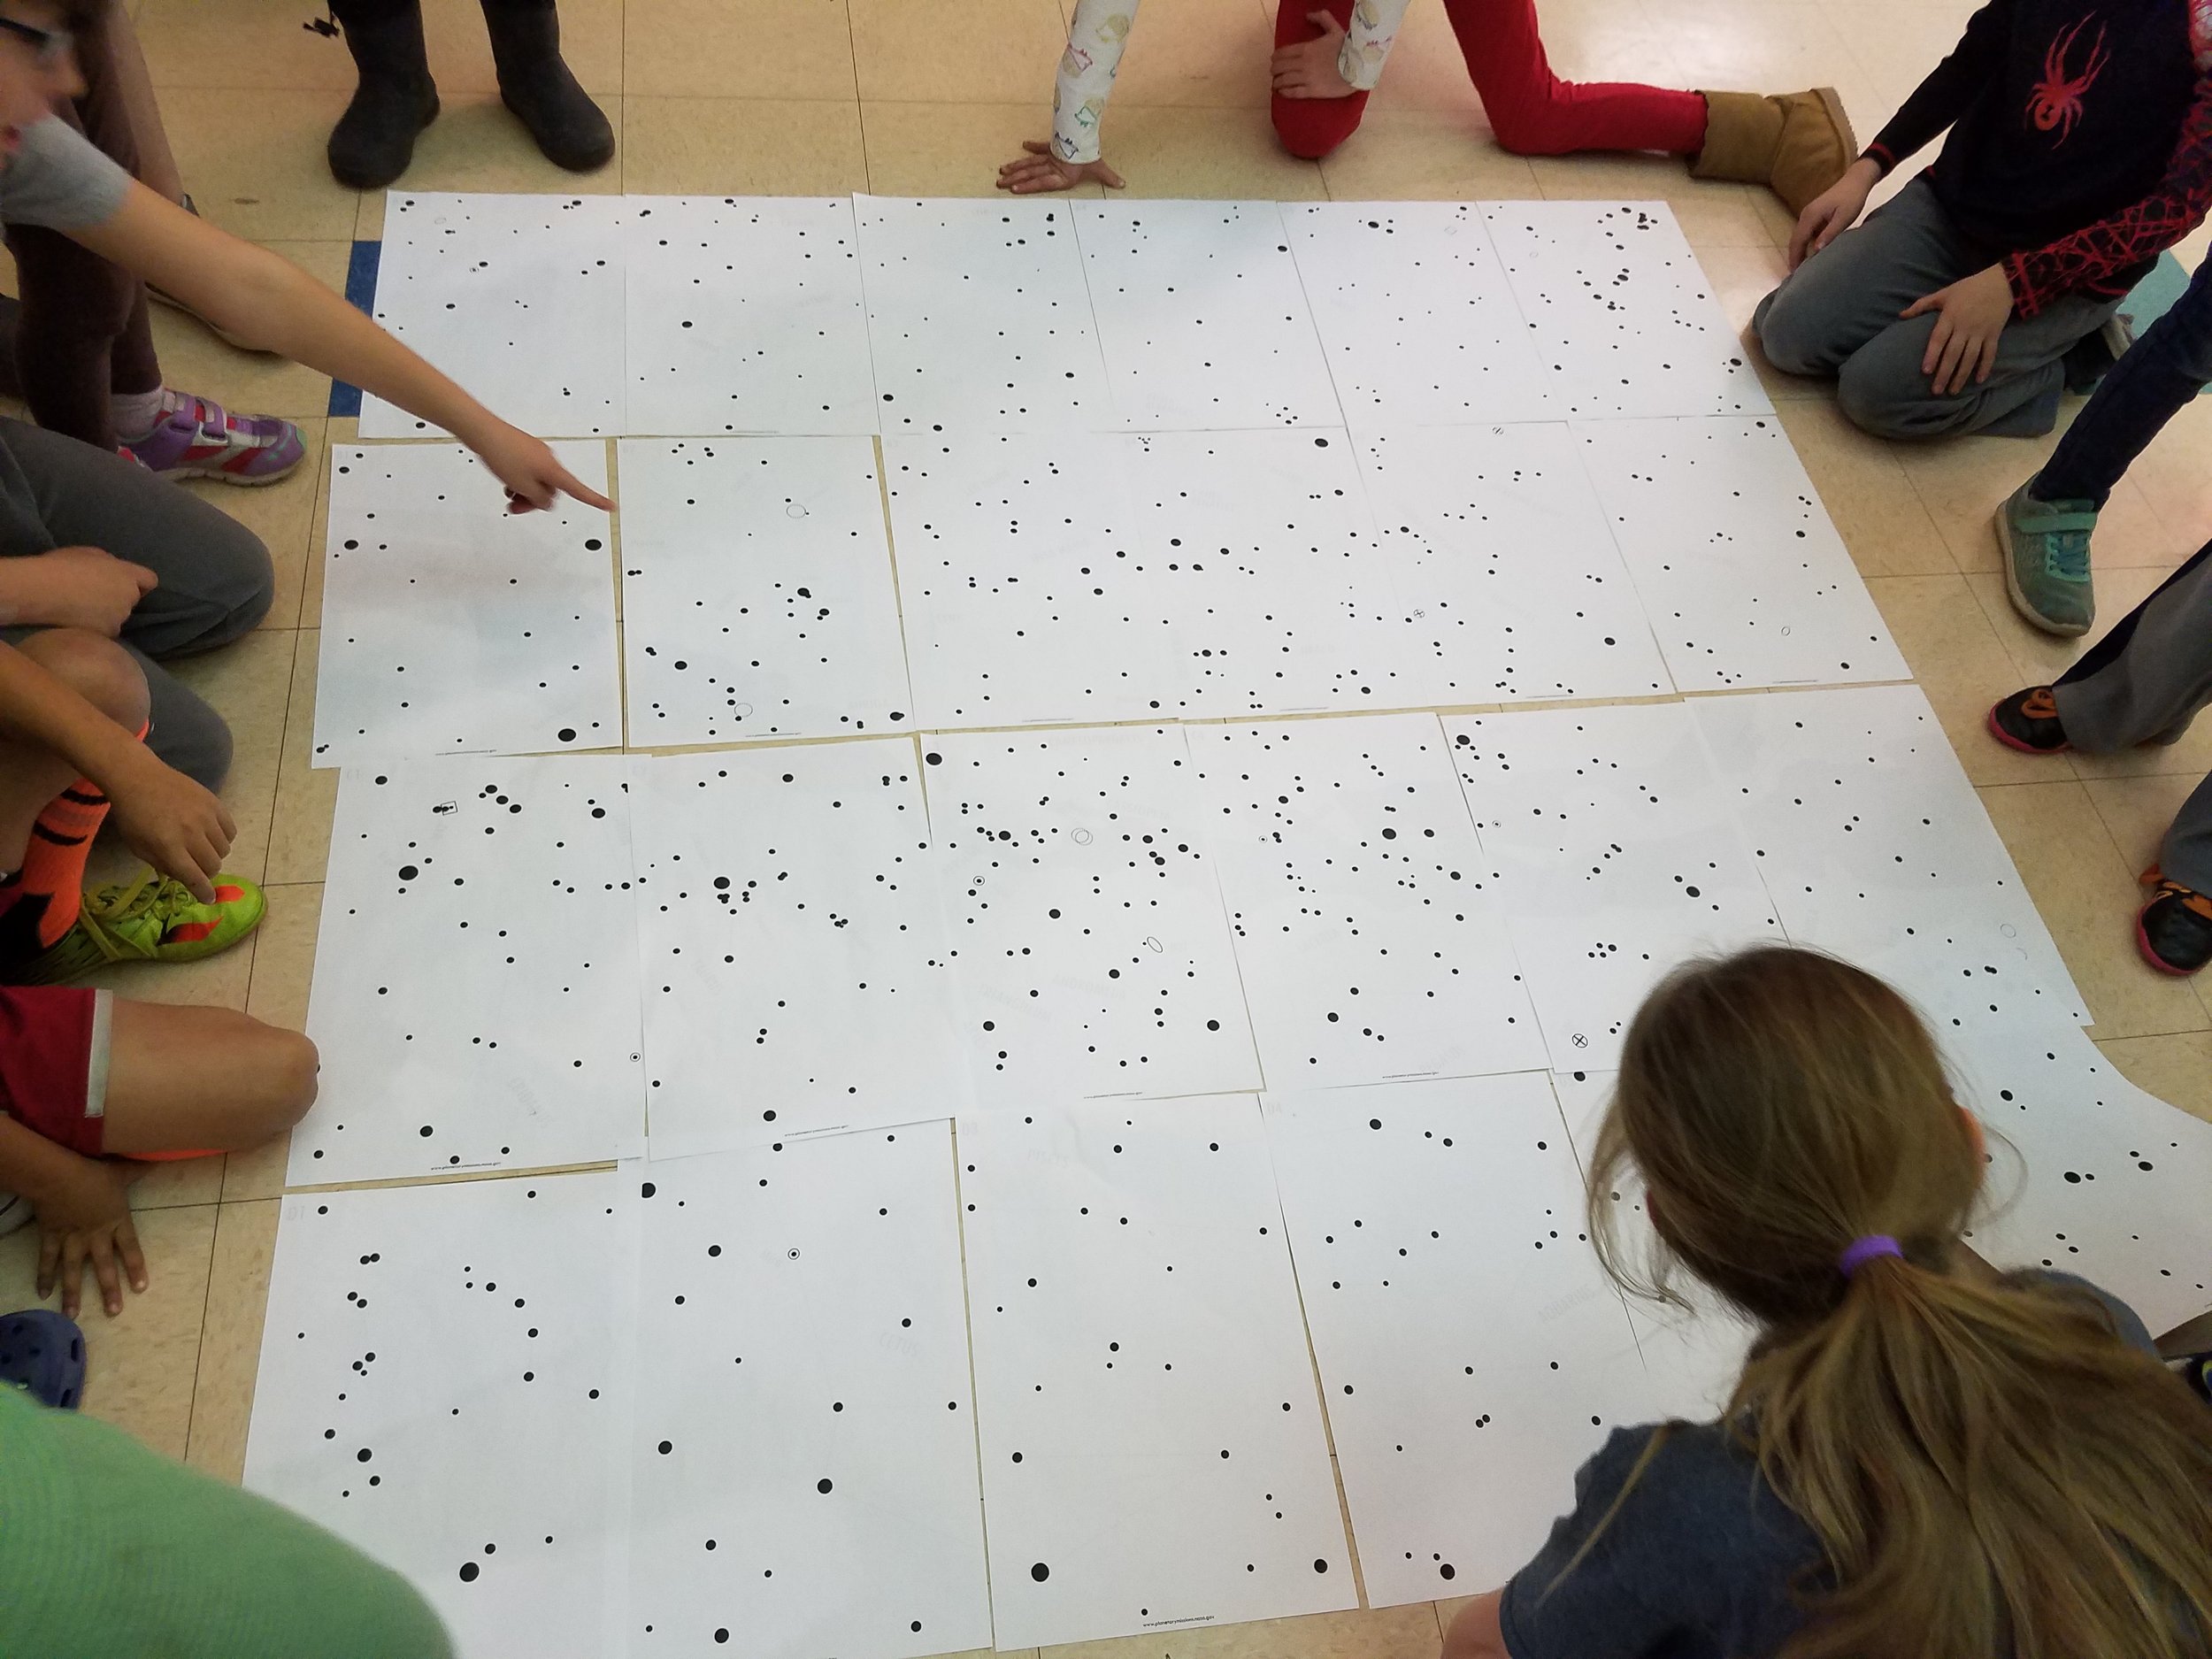
Sit around the completed puzzle and discuss. You will see major constellations, the Milky Way and key features. The Sky Key will explain what the symbols mean ~ galaxies, magnitude, clusters, etc. Explore both the science and mythology behind the night sky.
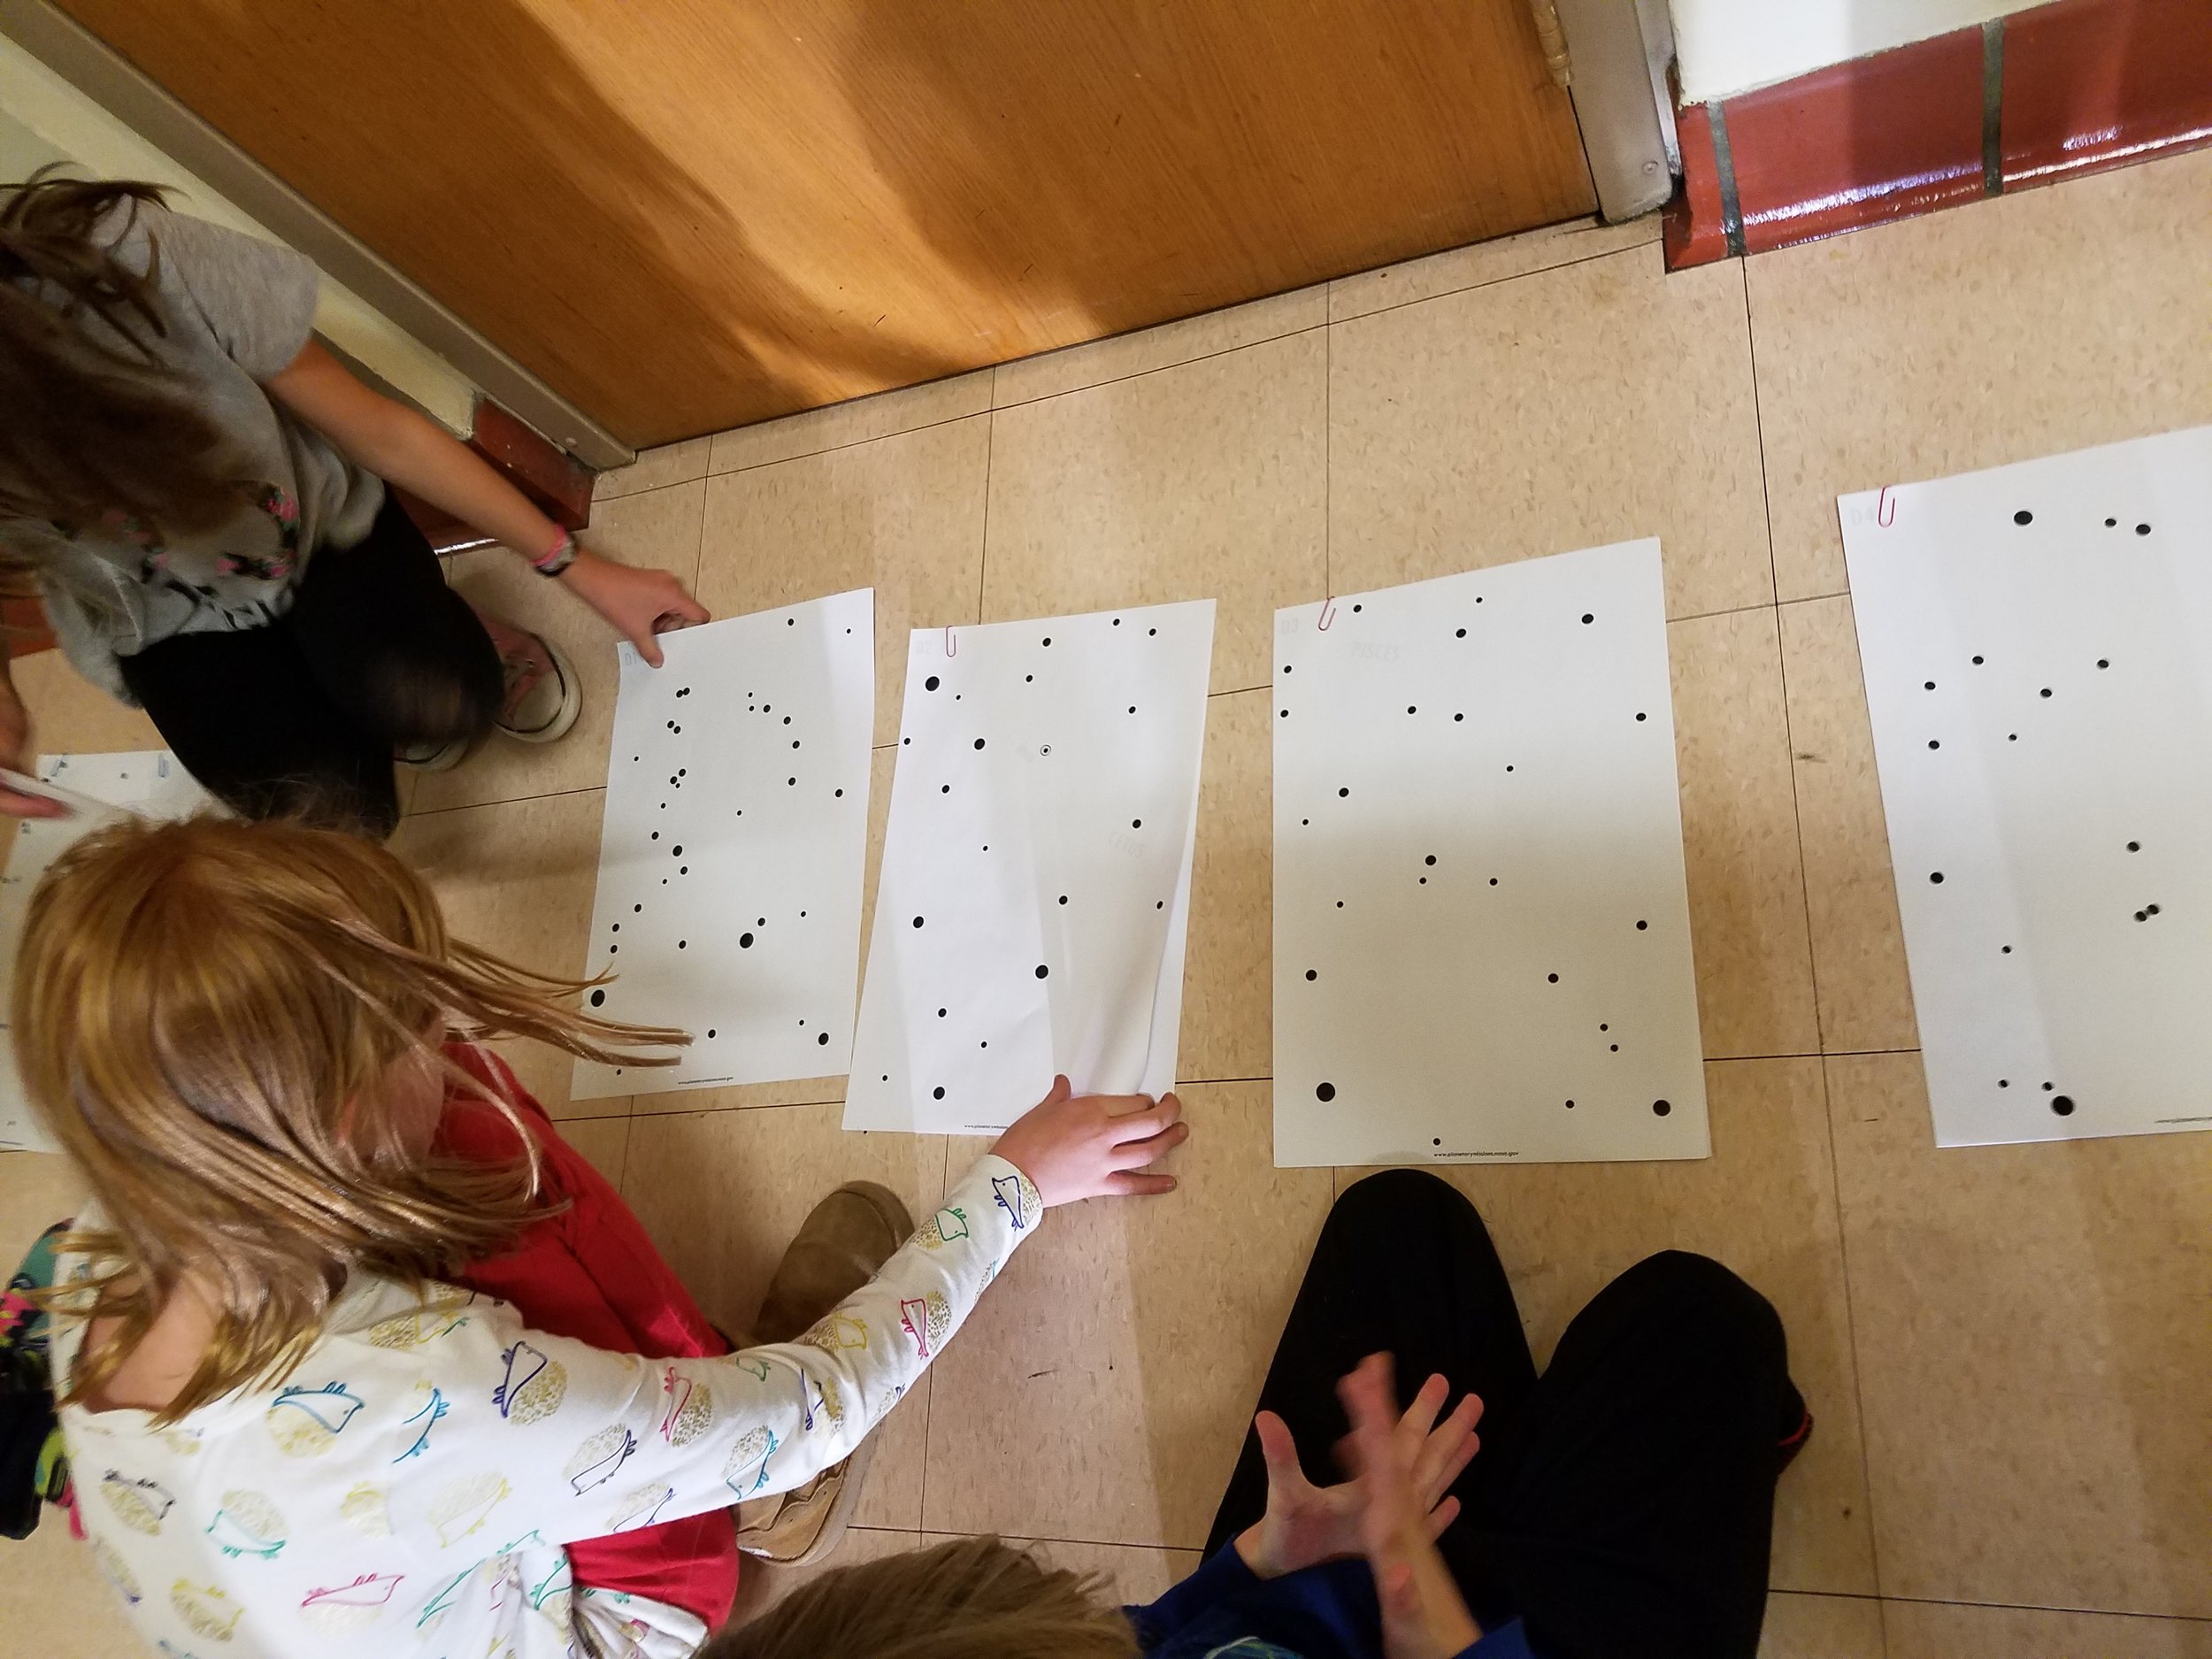
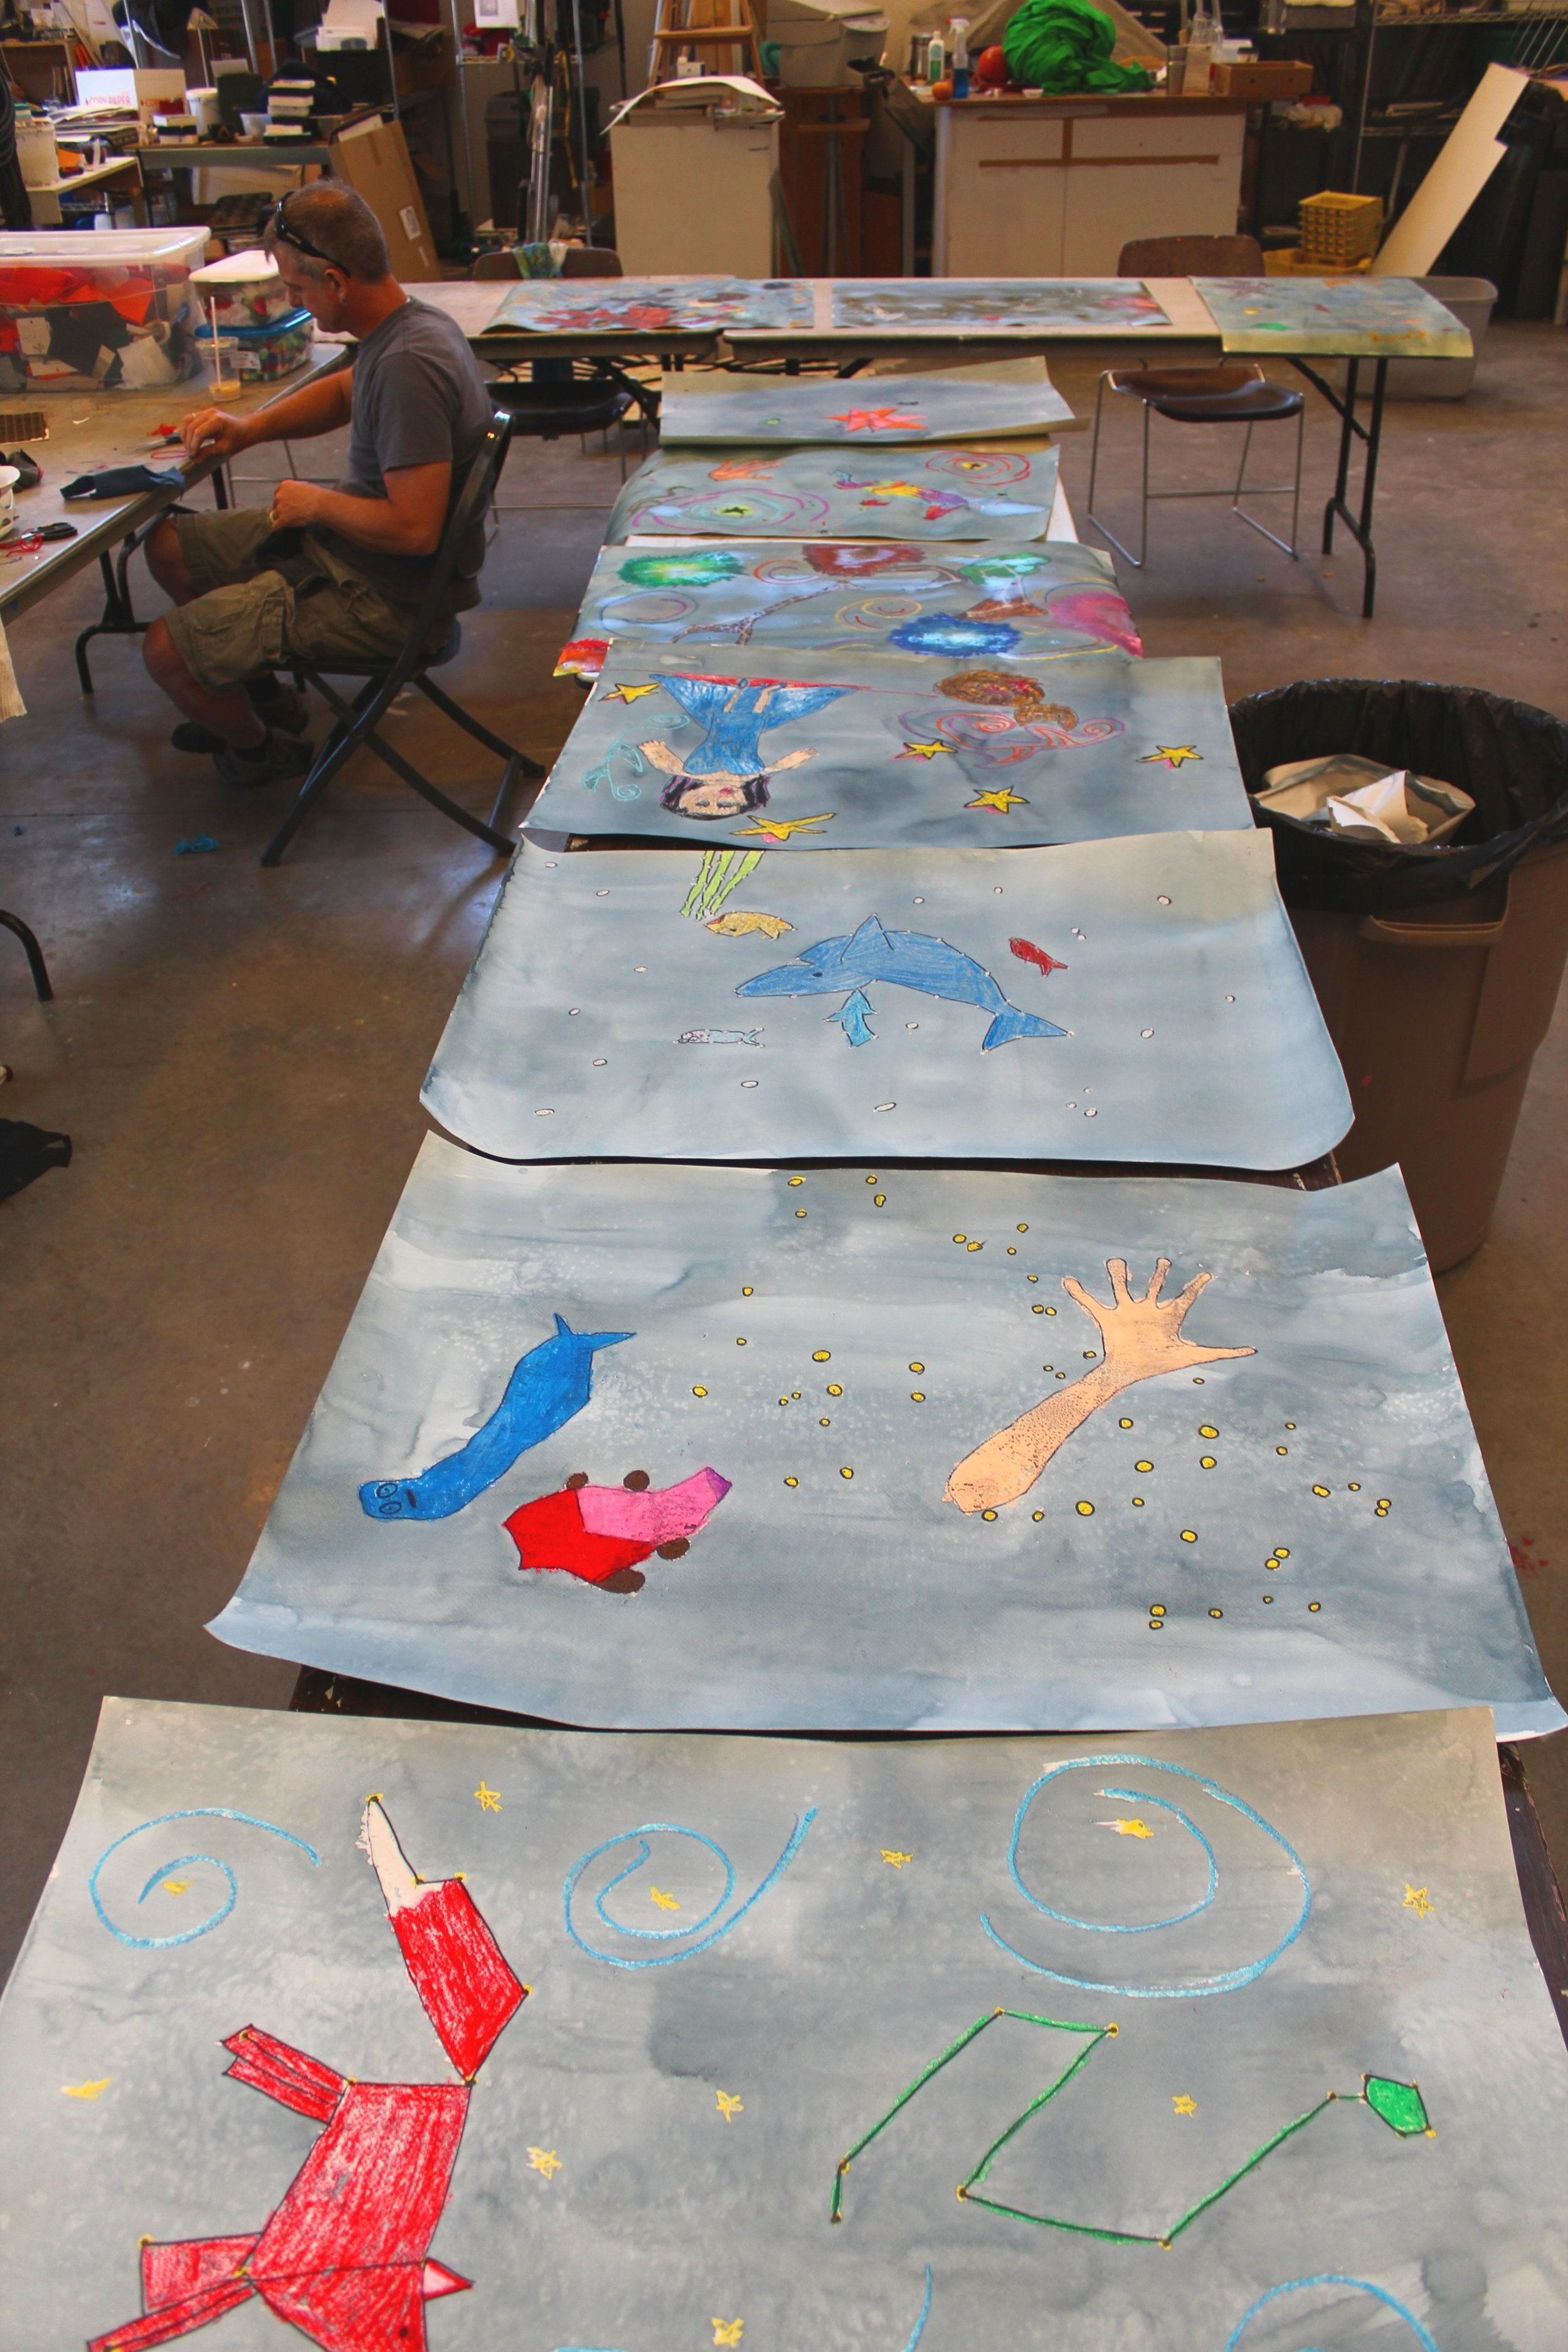
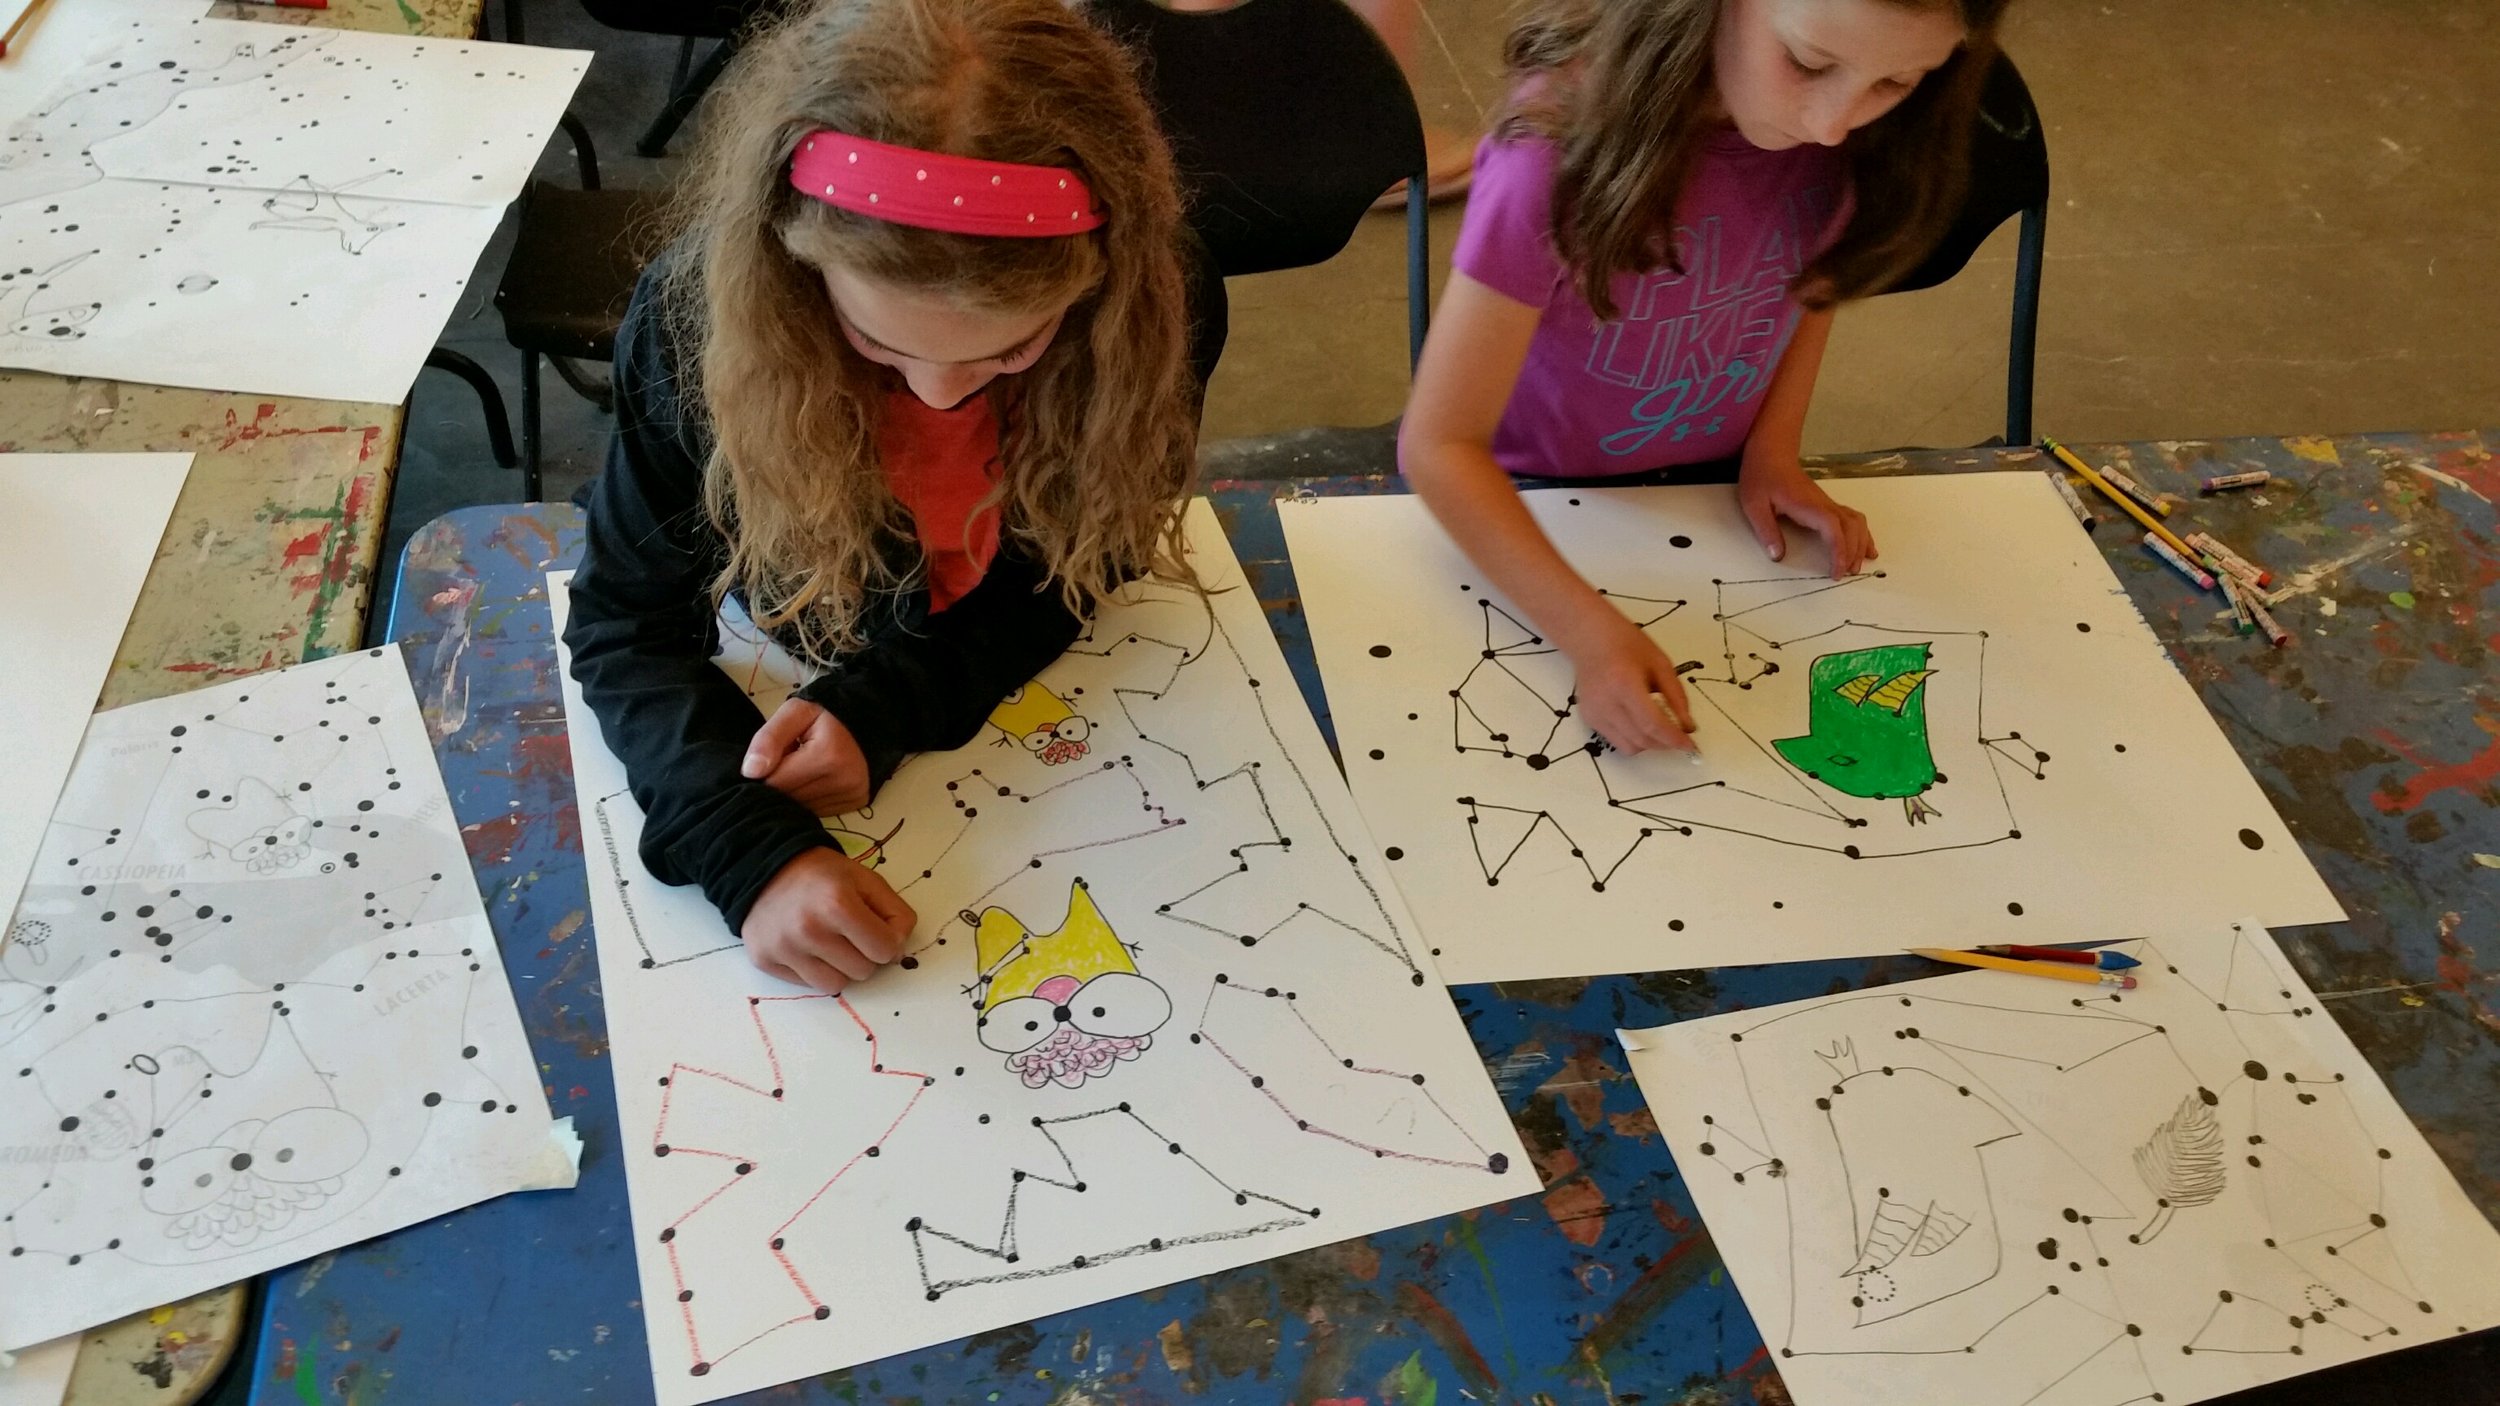
It's time to start the art activity. Place the sky charts without lines on the floor. Have students pick 1-2 charts to inspire the art activity.
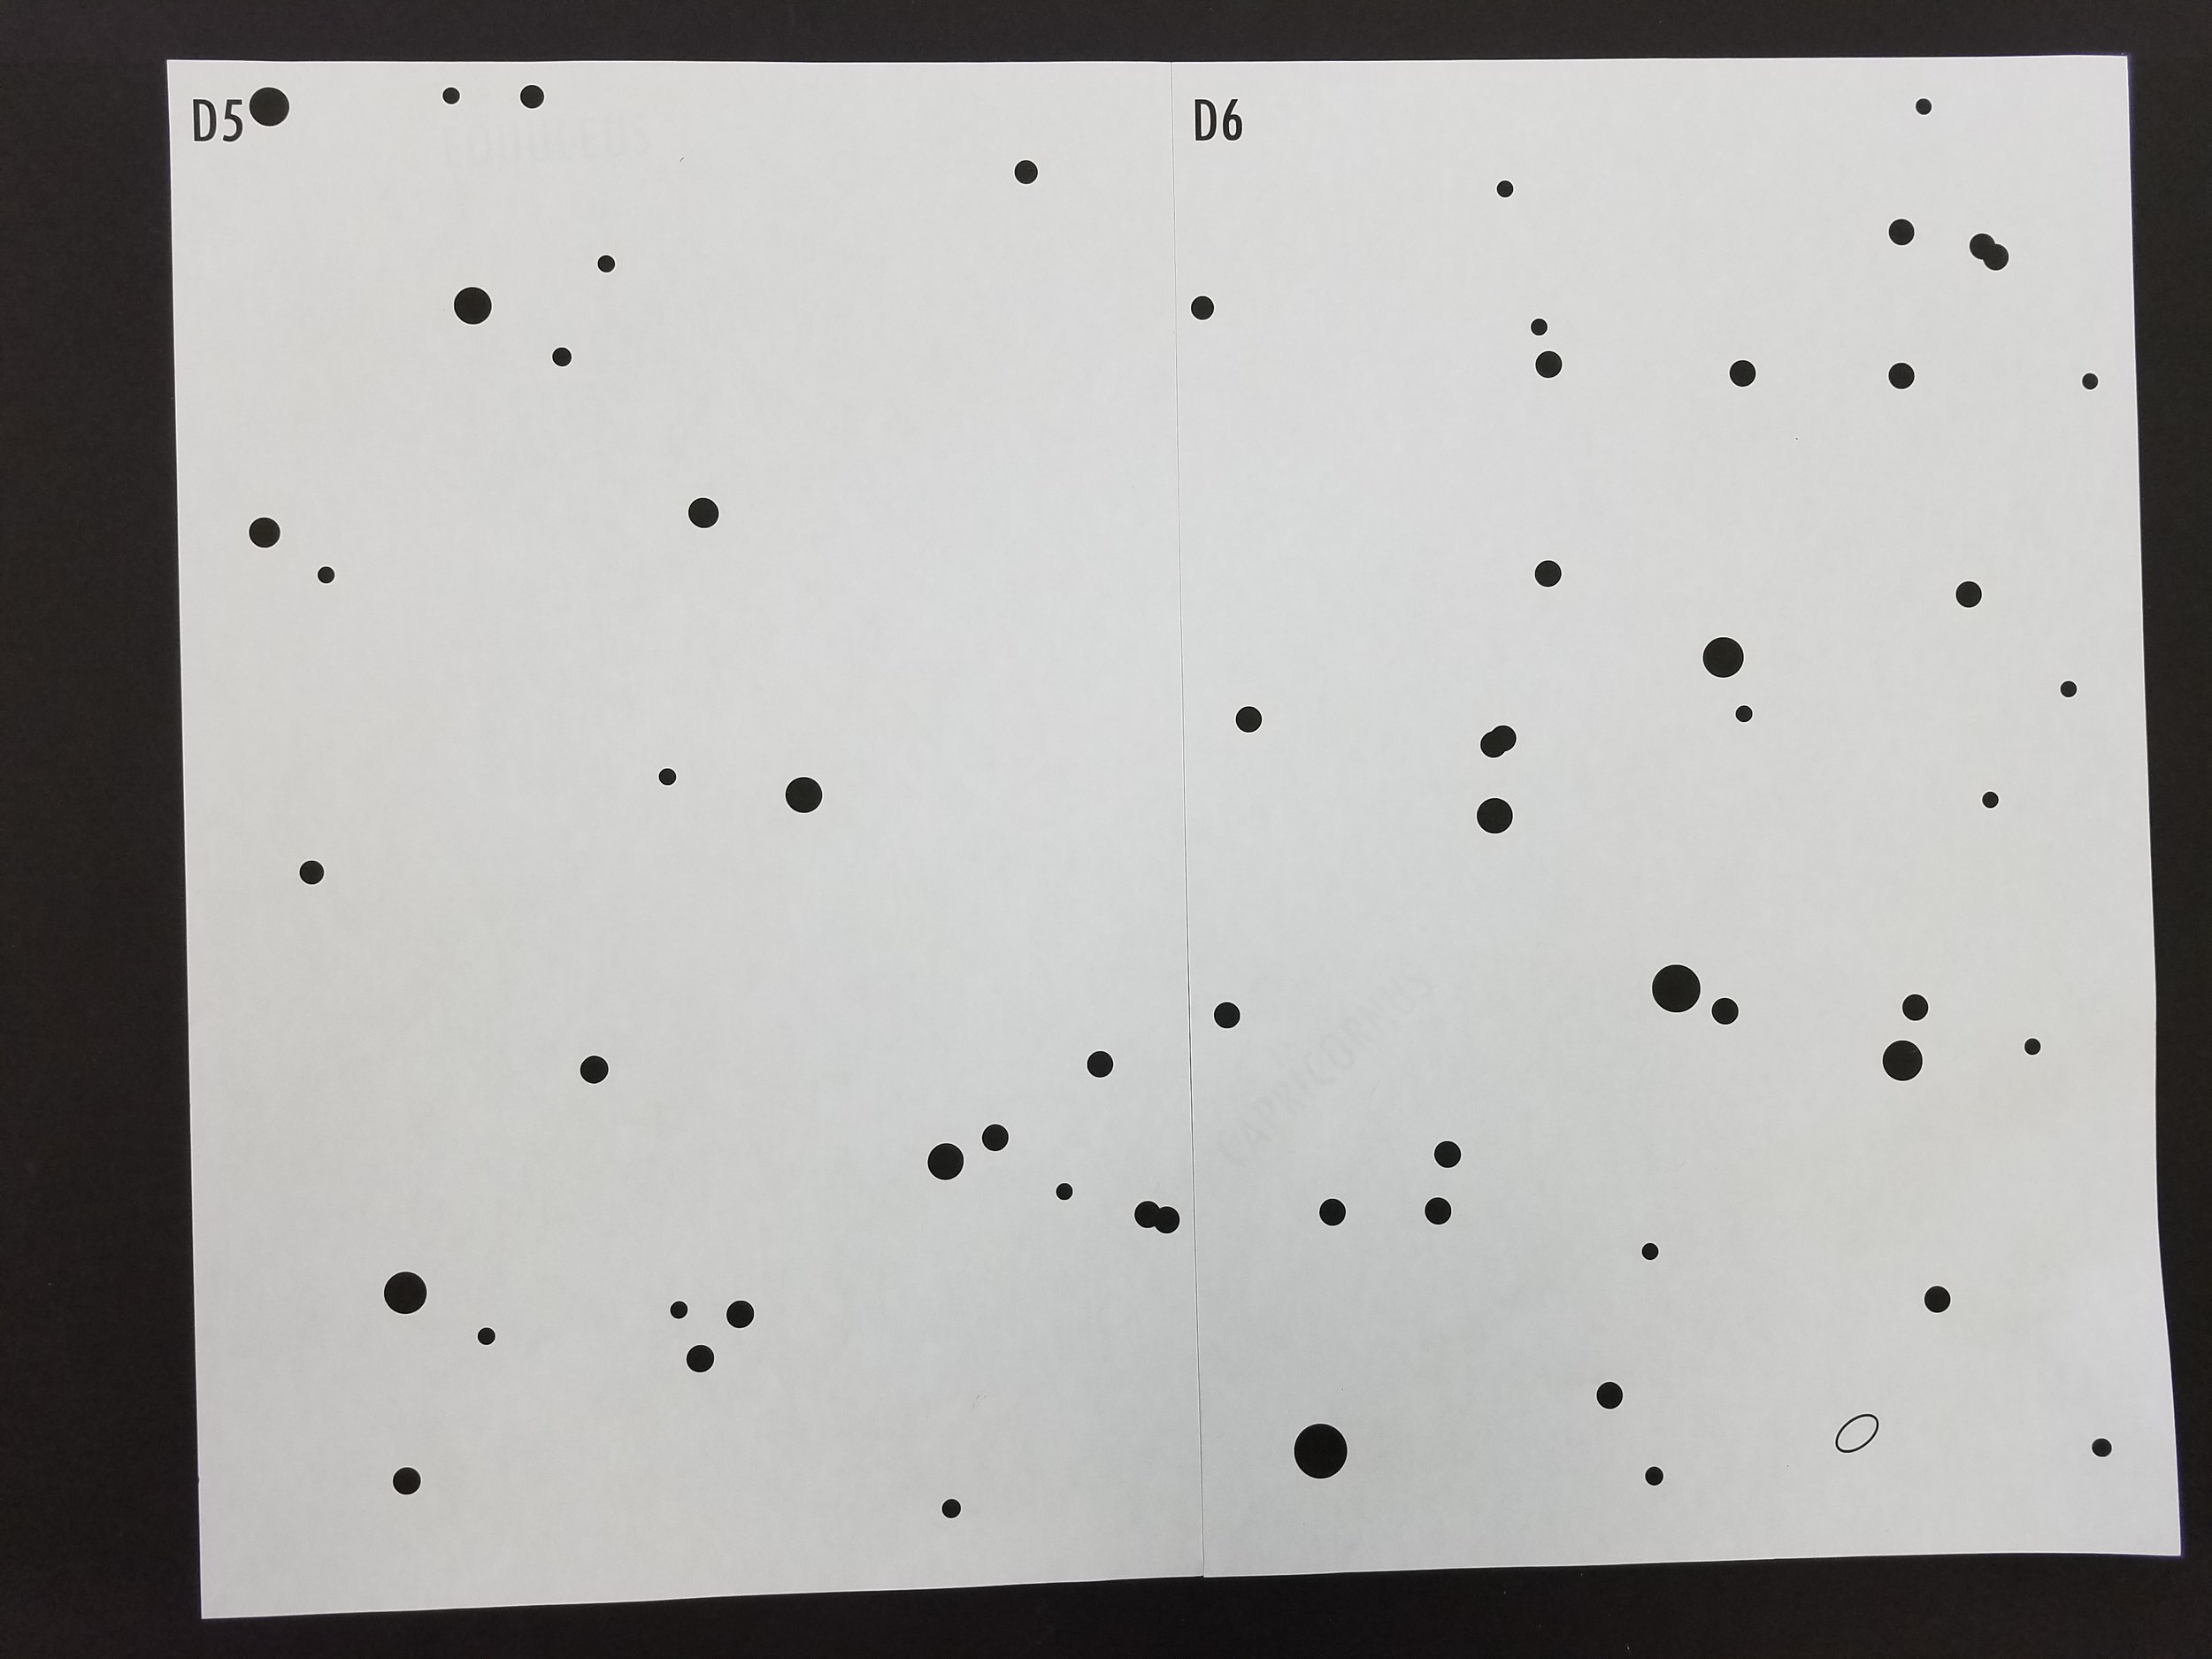
We have removed the lines so students can design their own, unique constellation. They can use one chart. Or, they can combine matching charts for a larger drawing.
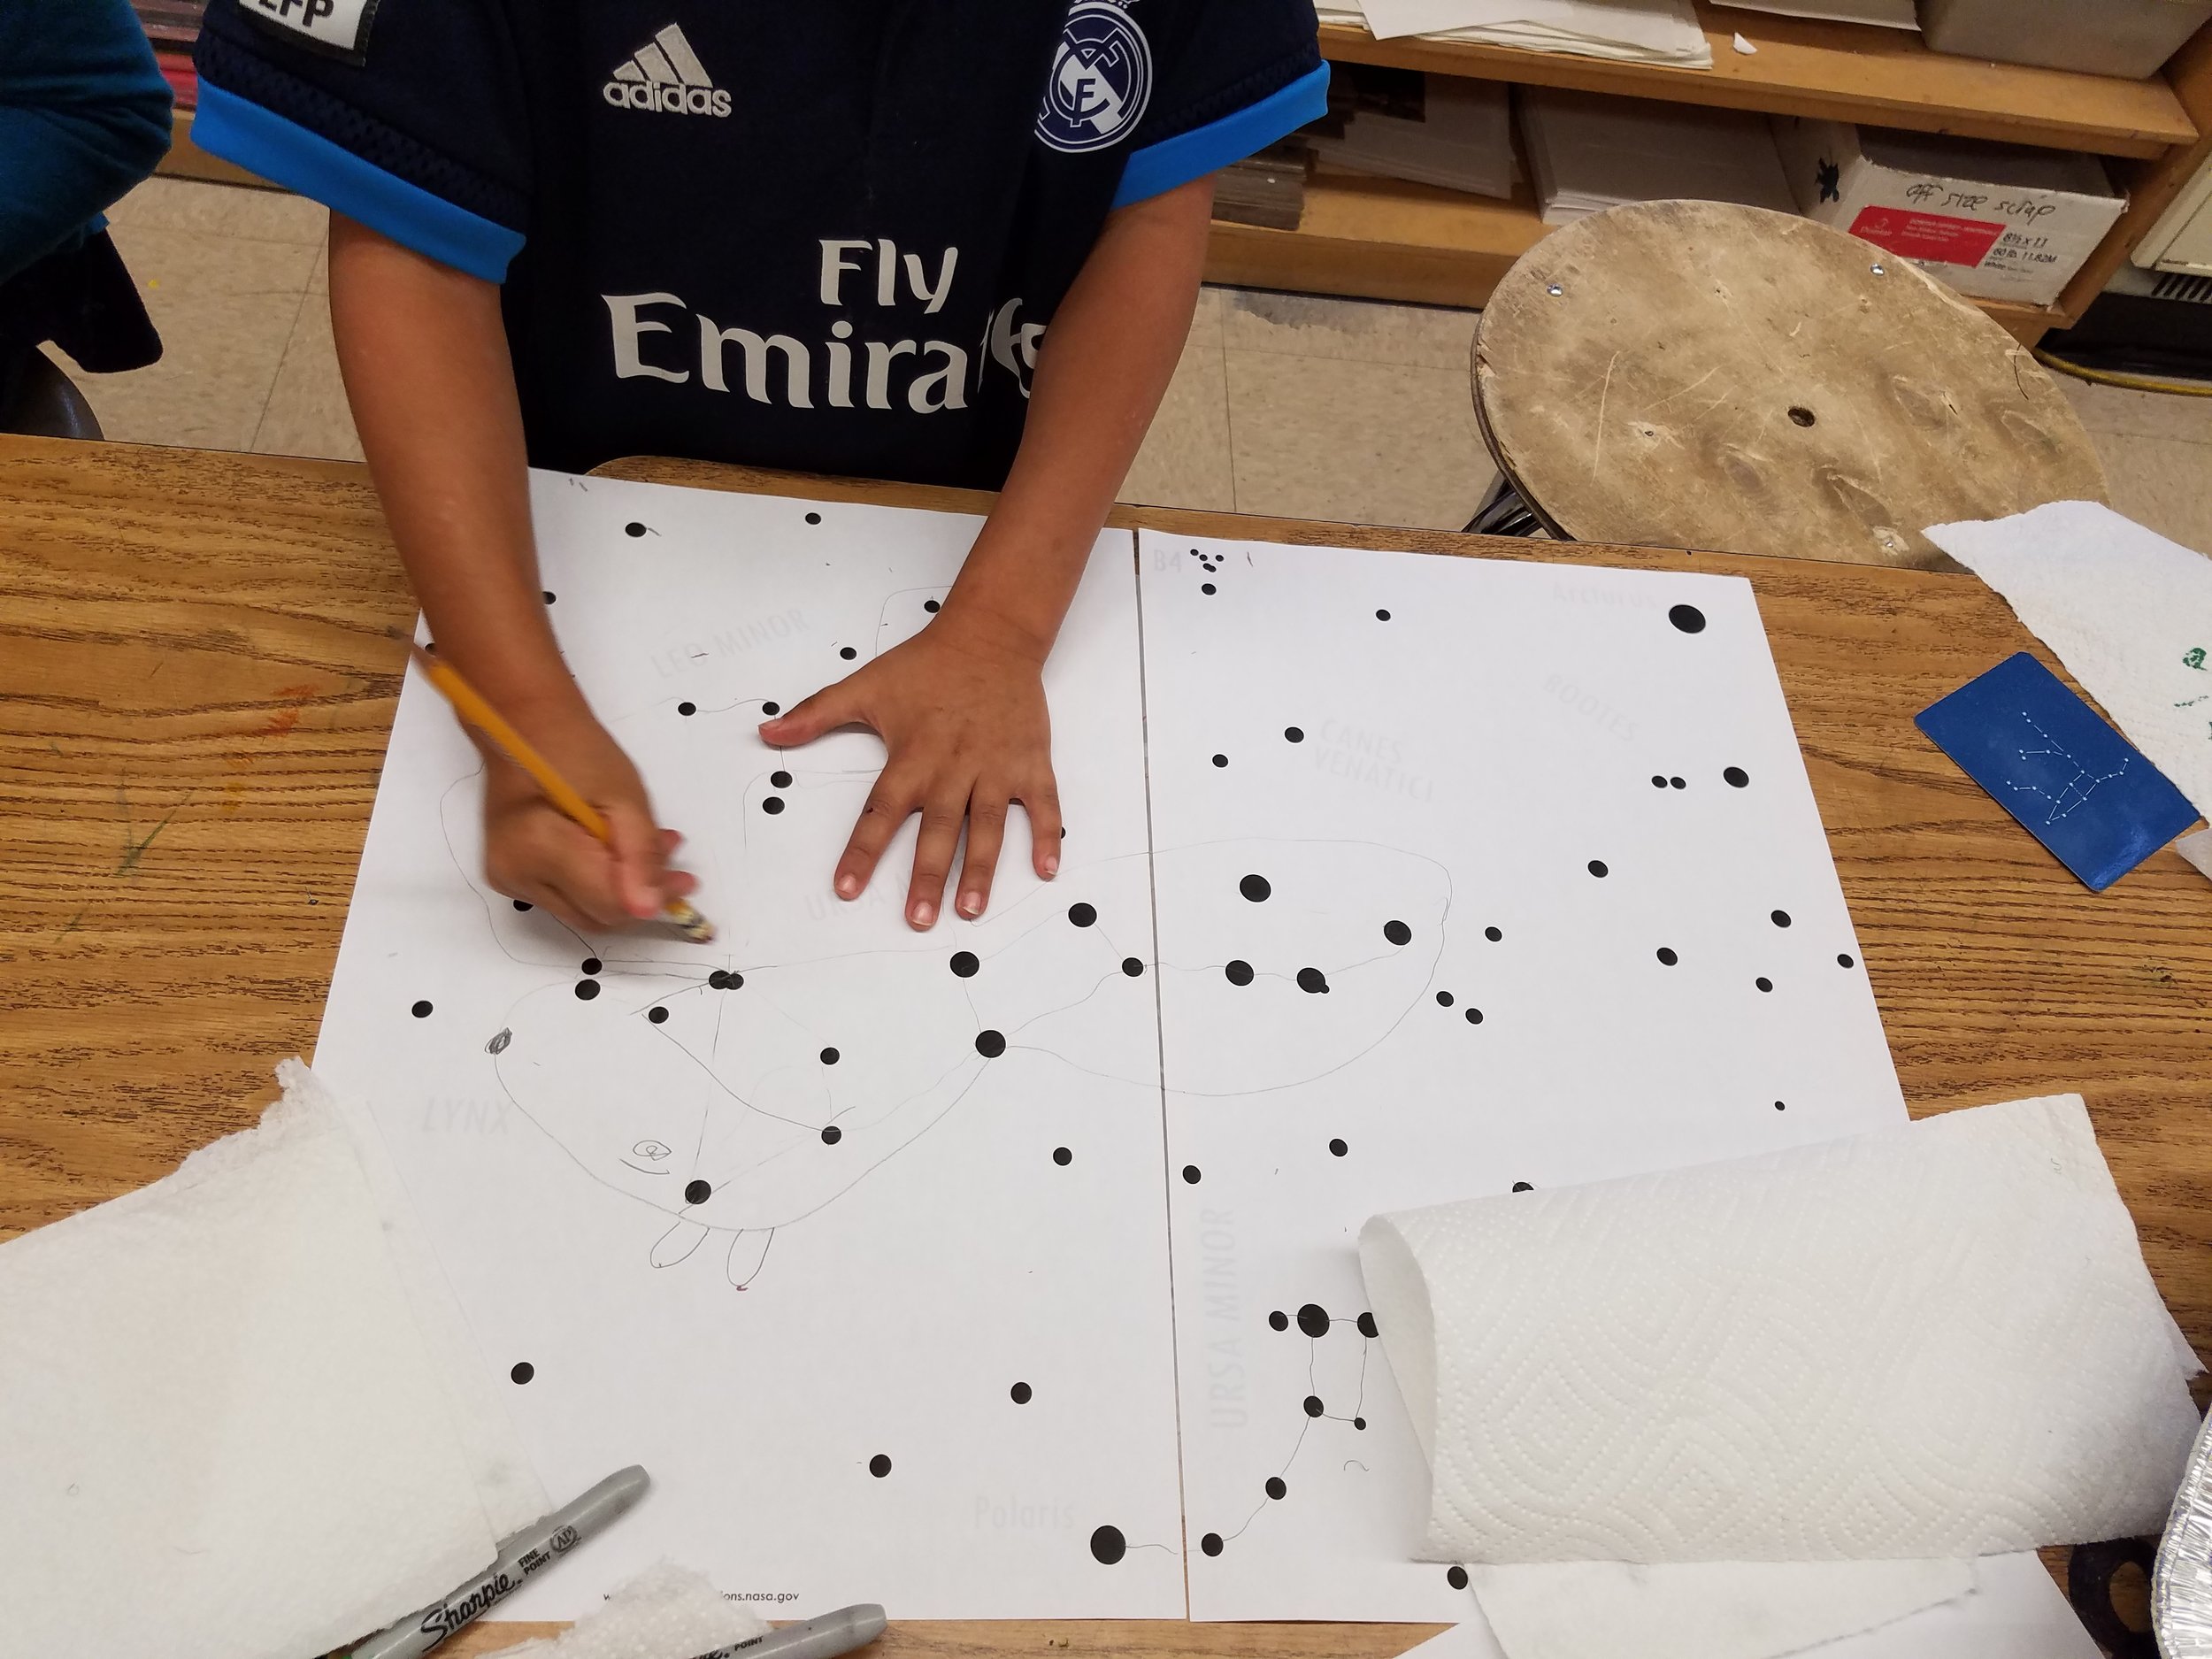
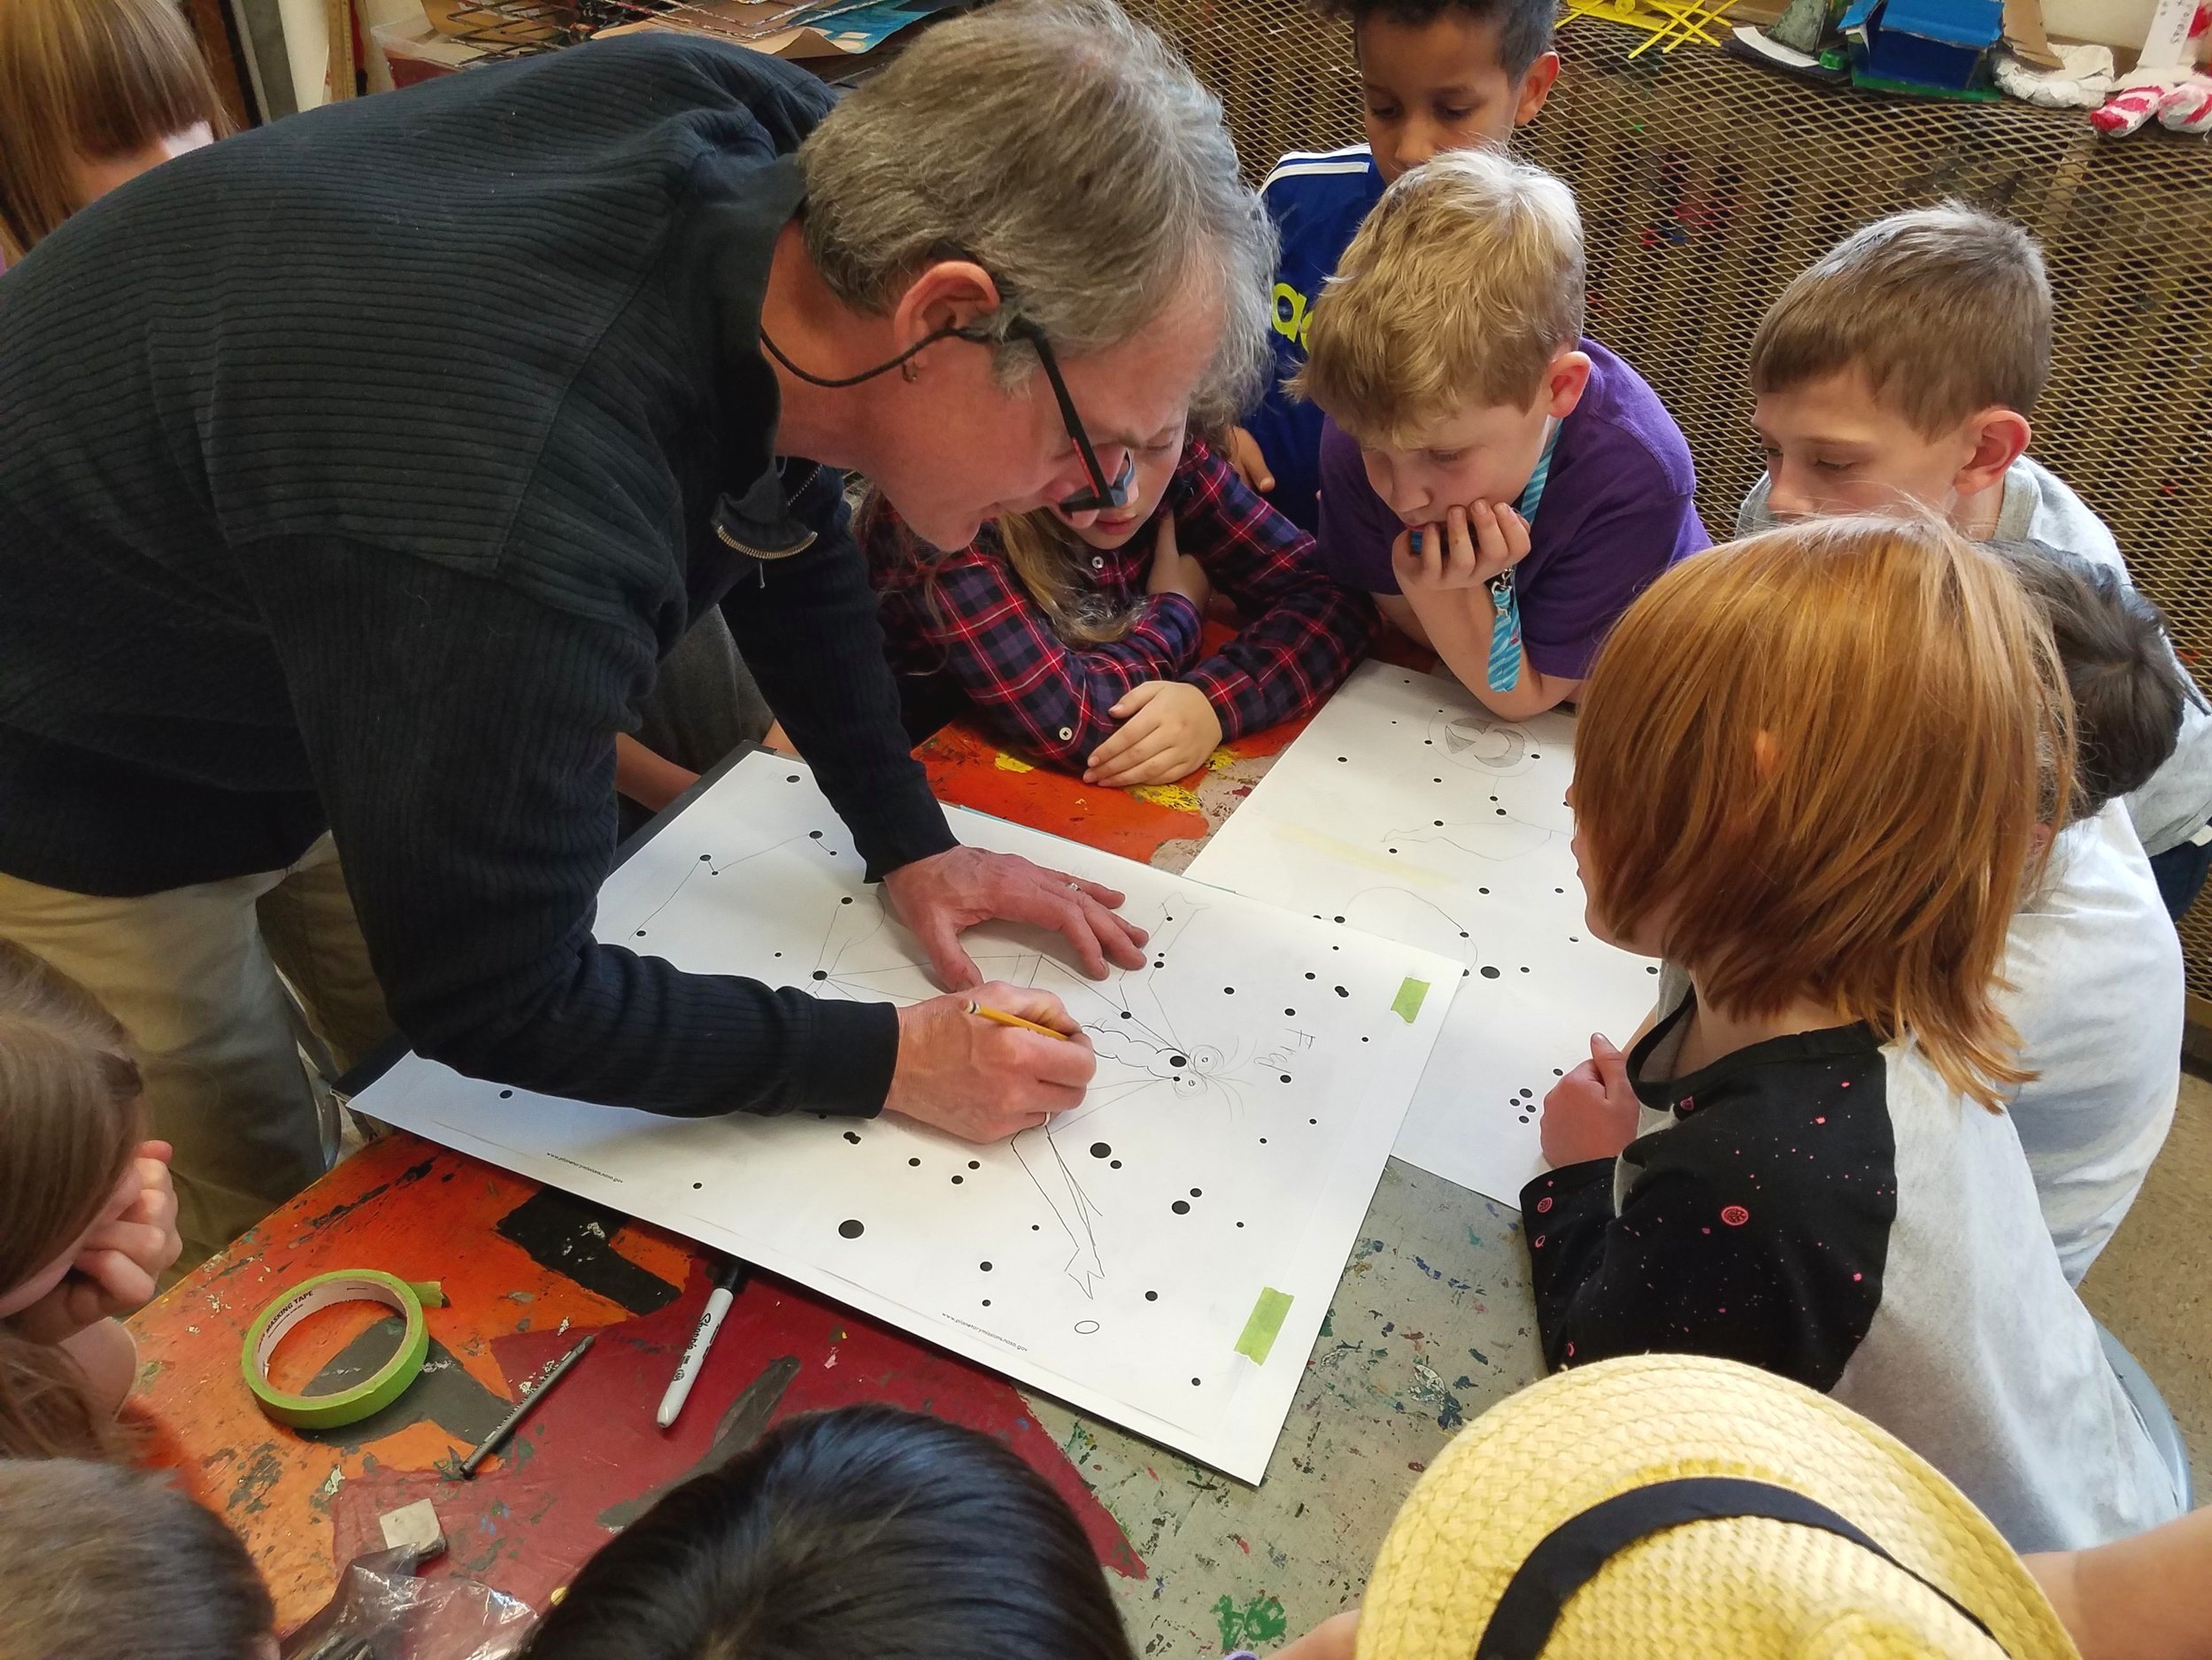
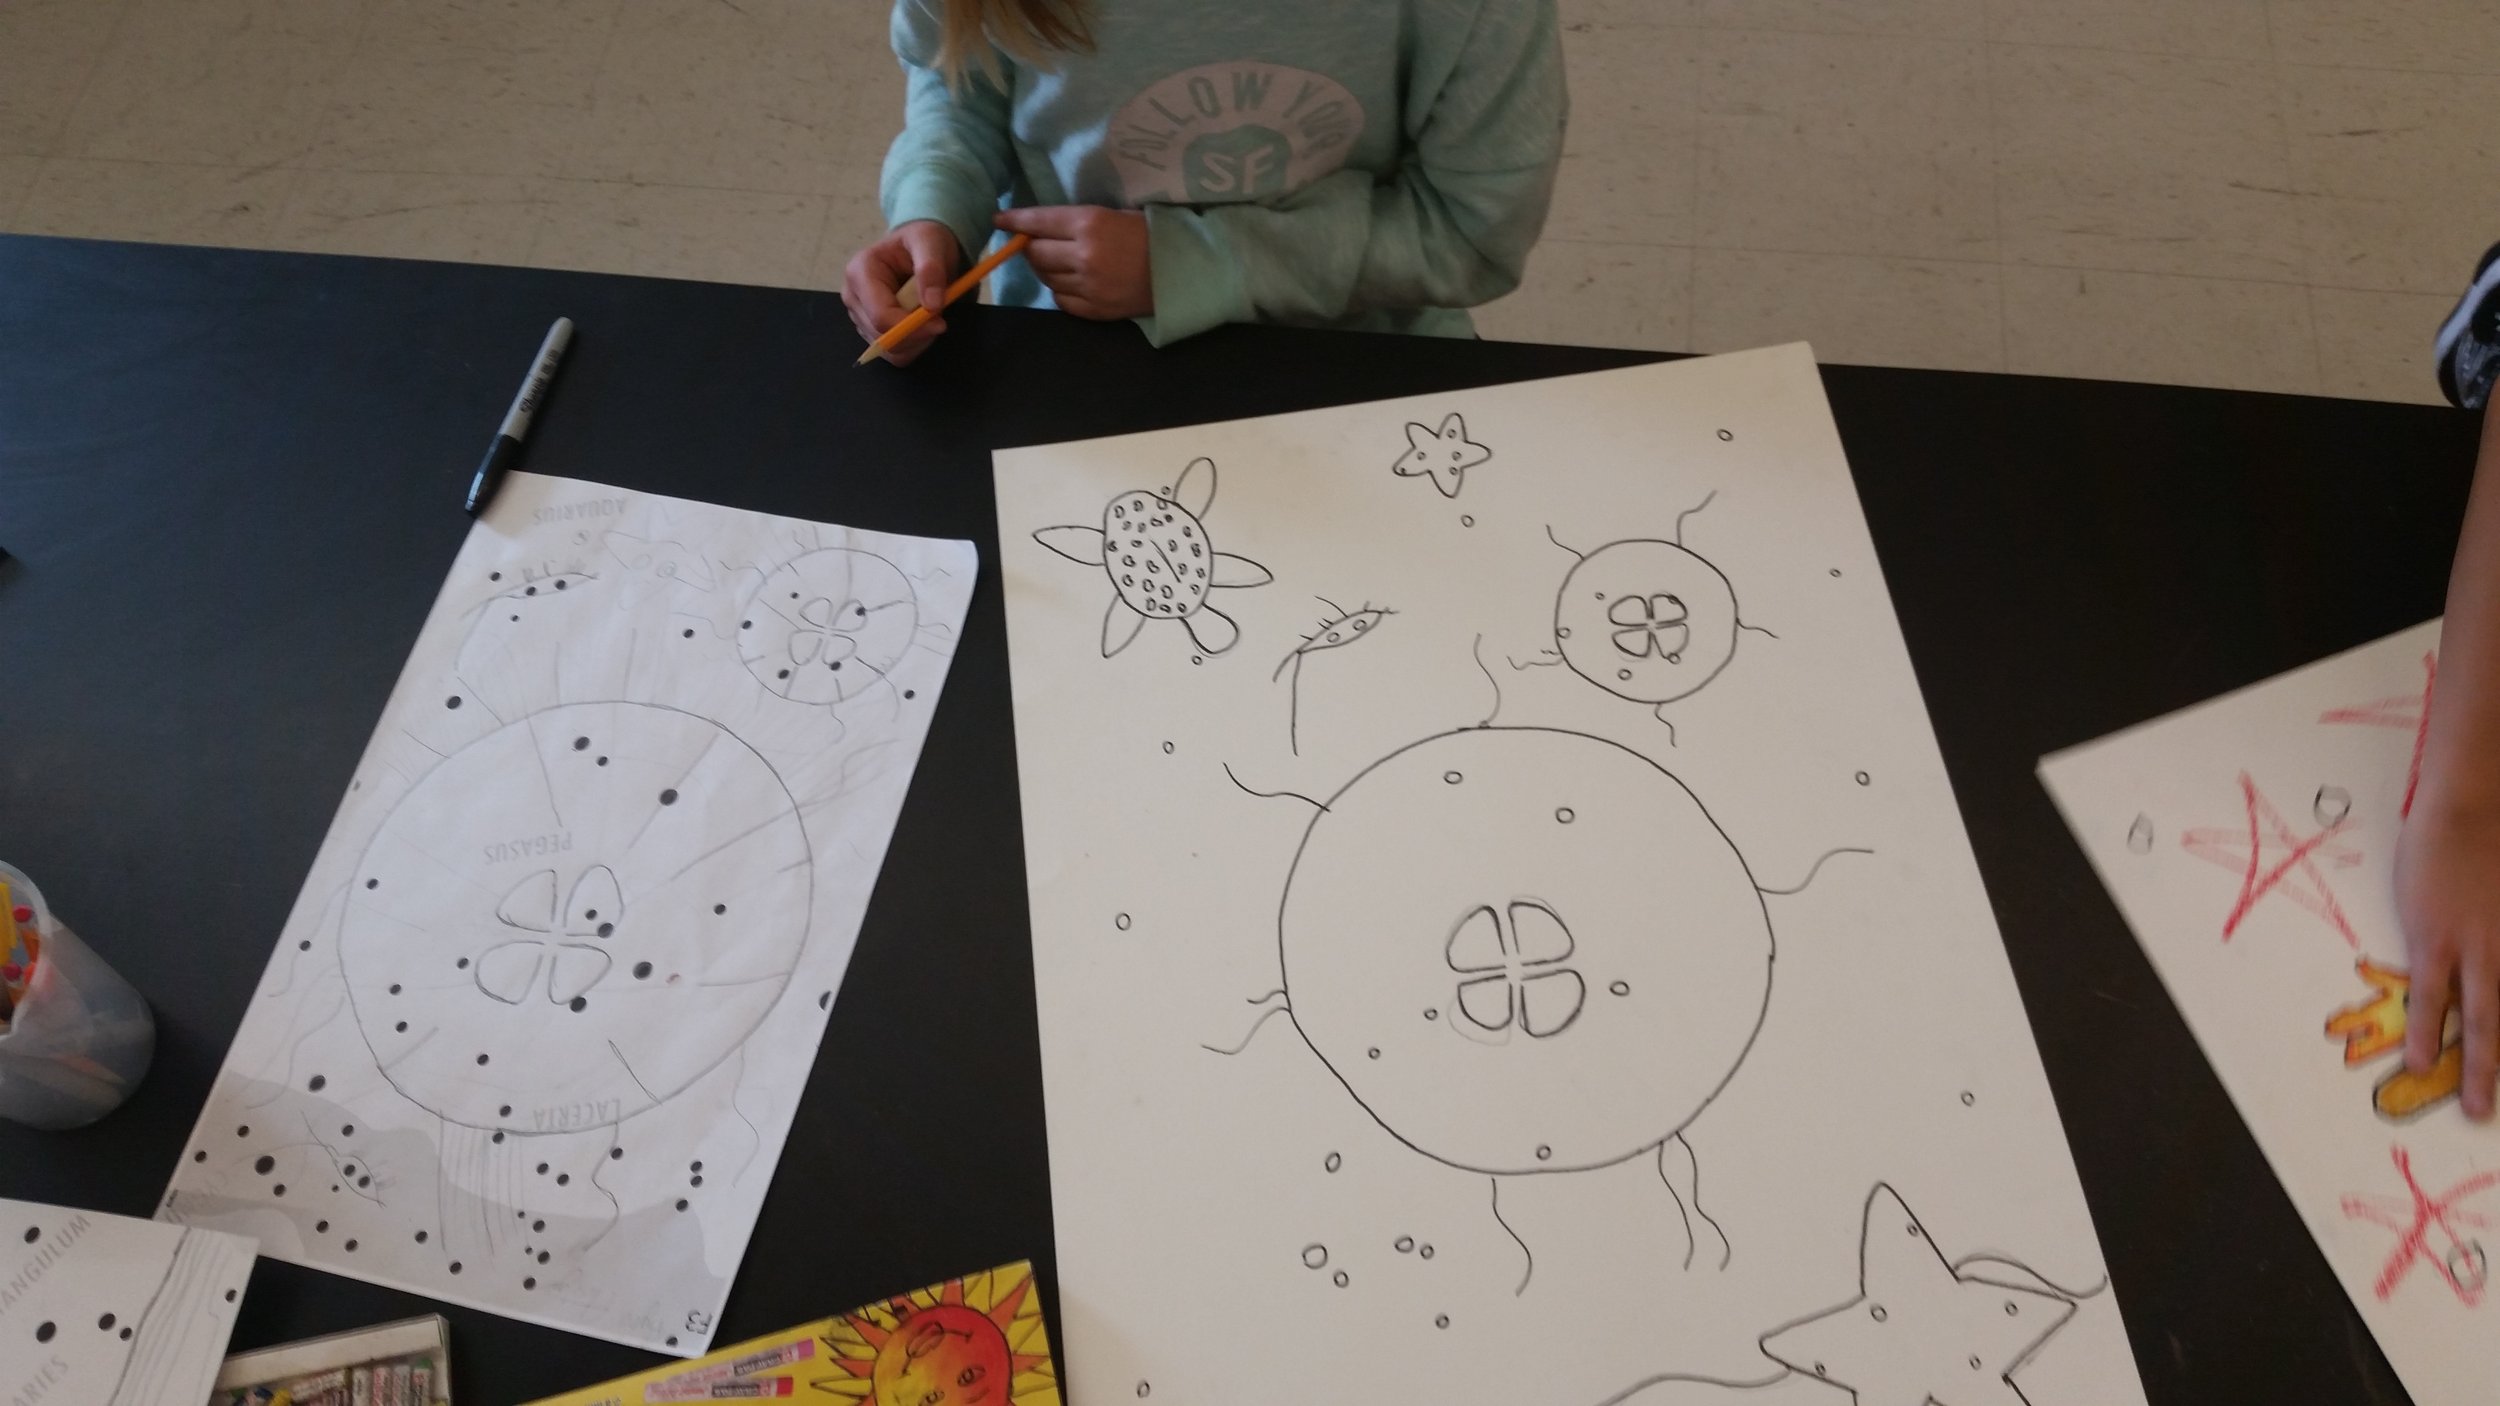
Have students design and sketch their own creative constellation. They can draw directly onto the charts.
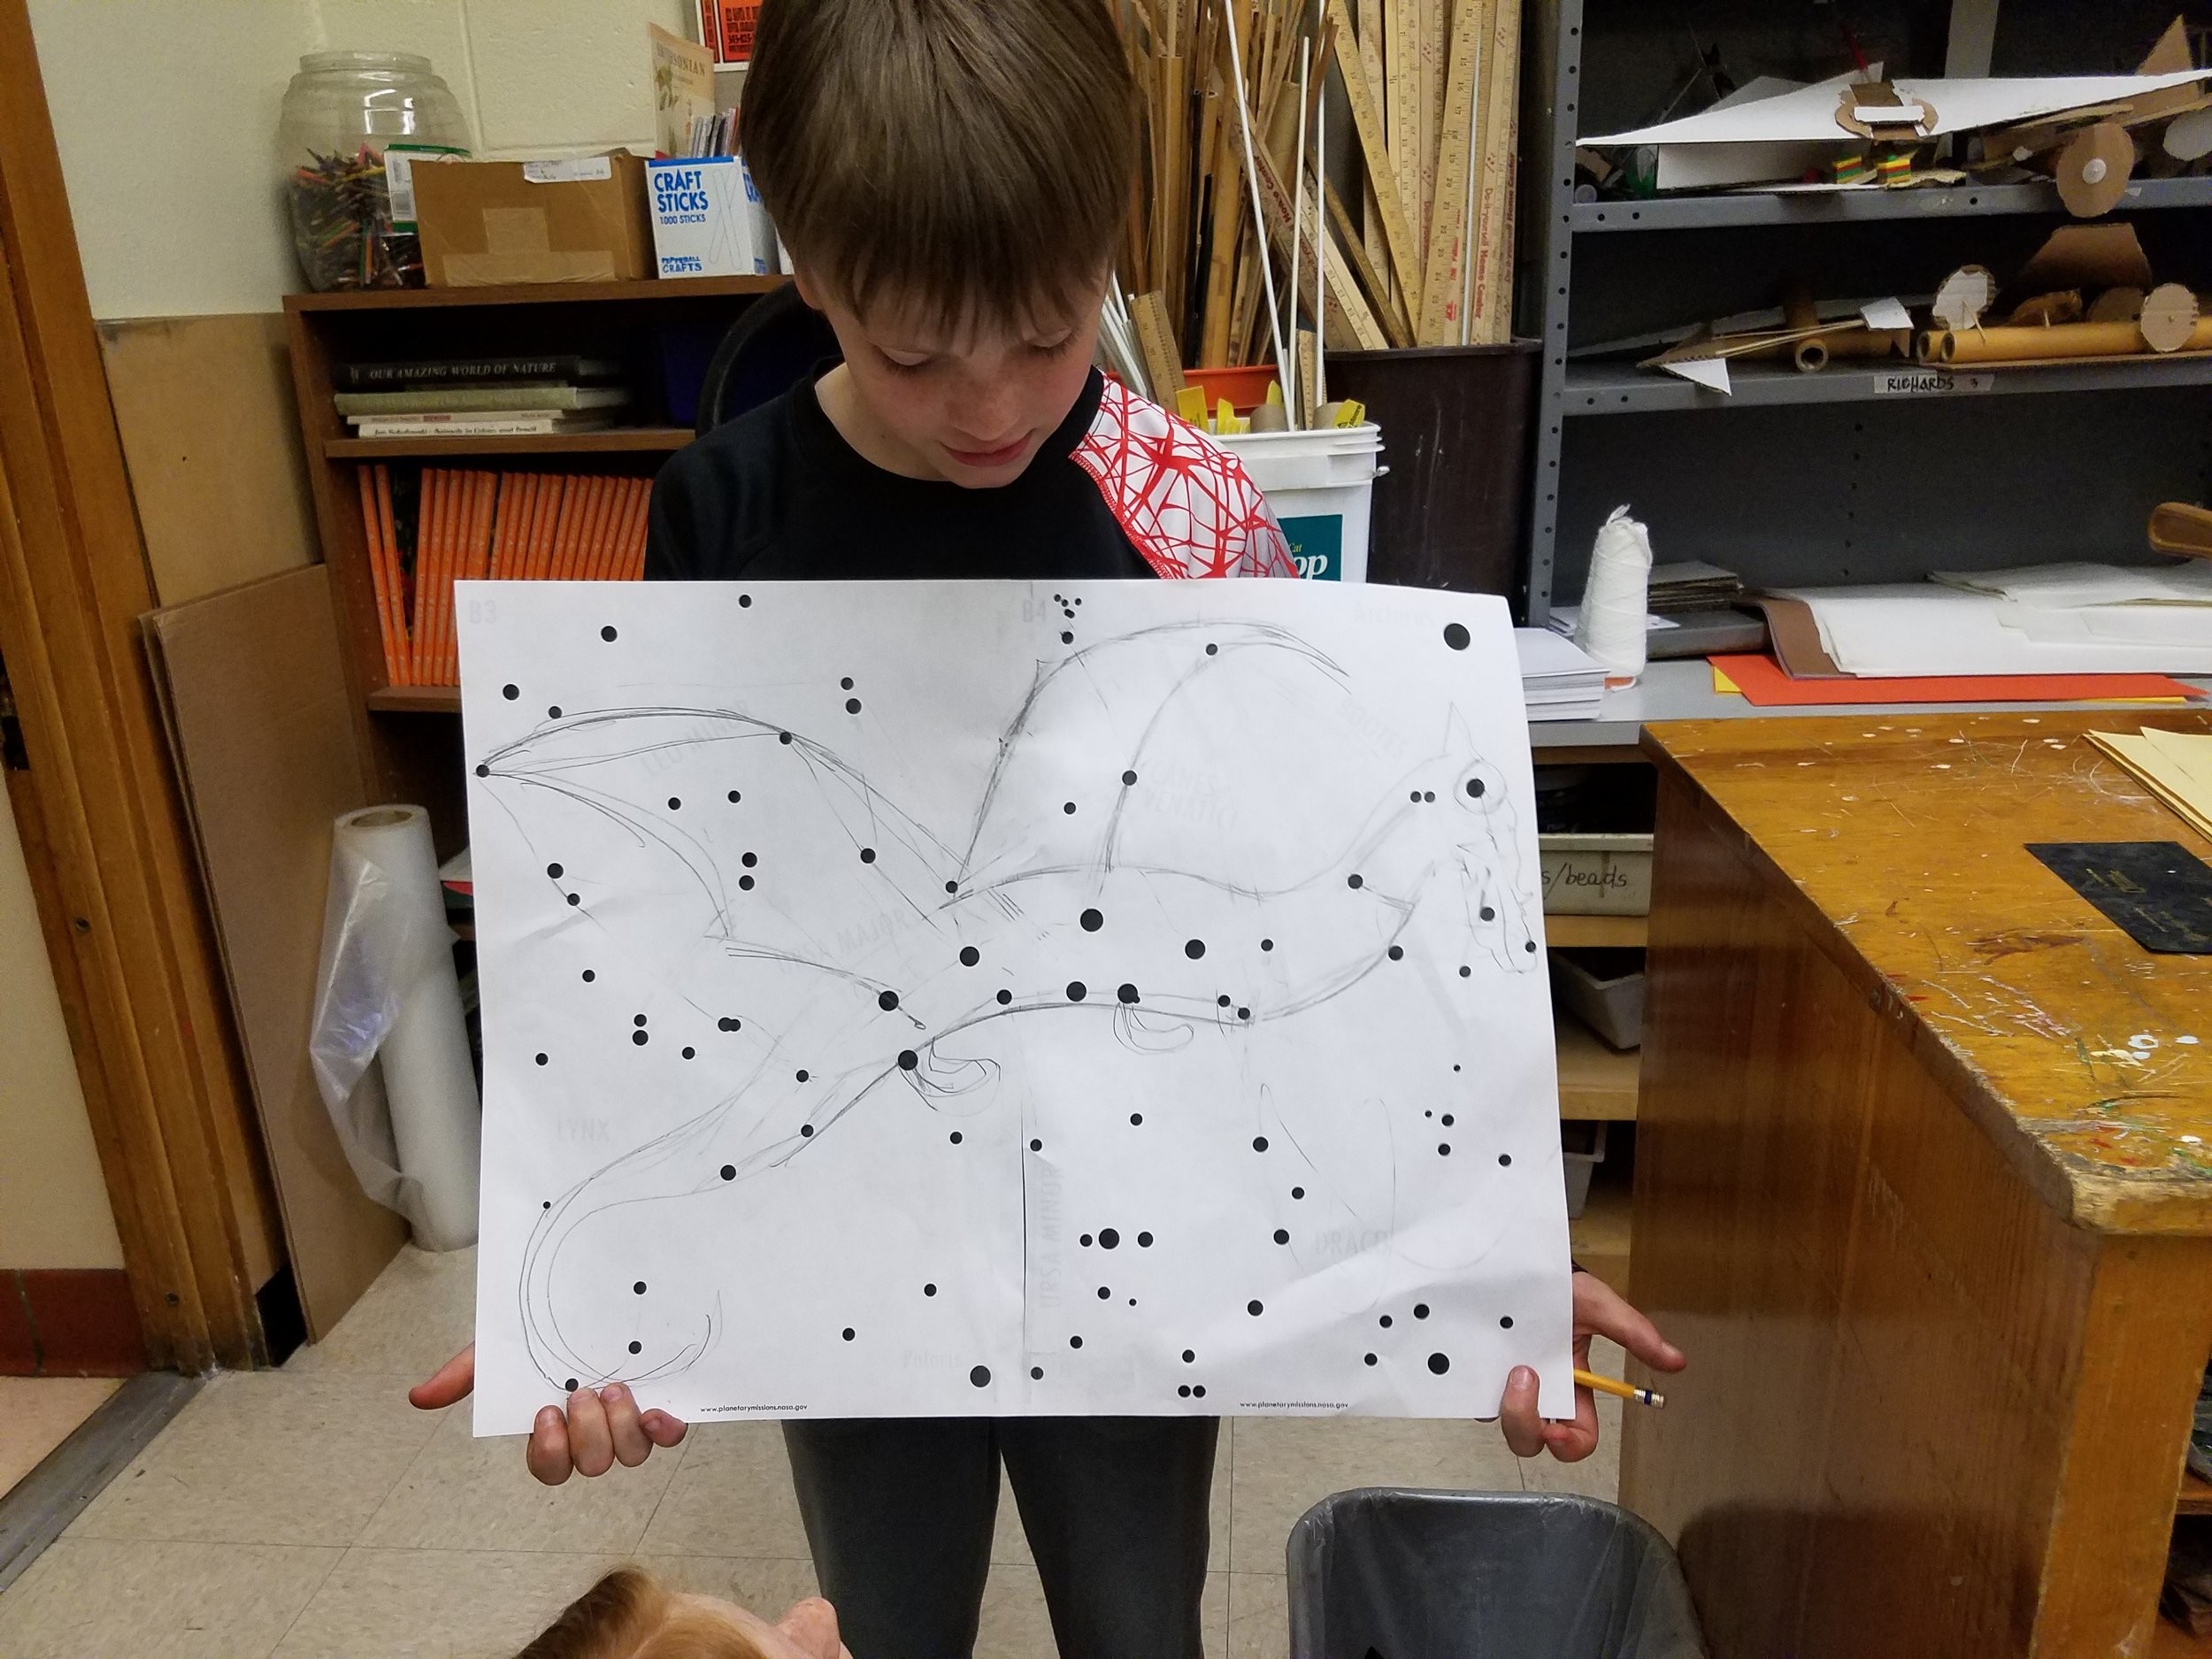
These are just sketches, not the final piece. They can draw organic shapes around the stars.
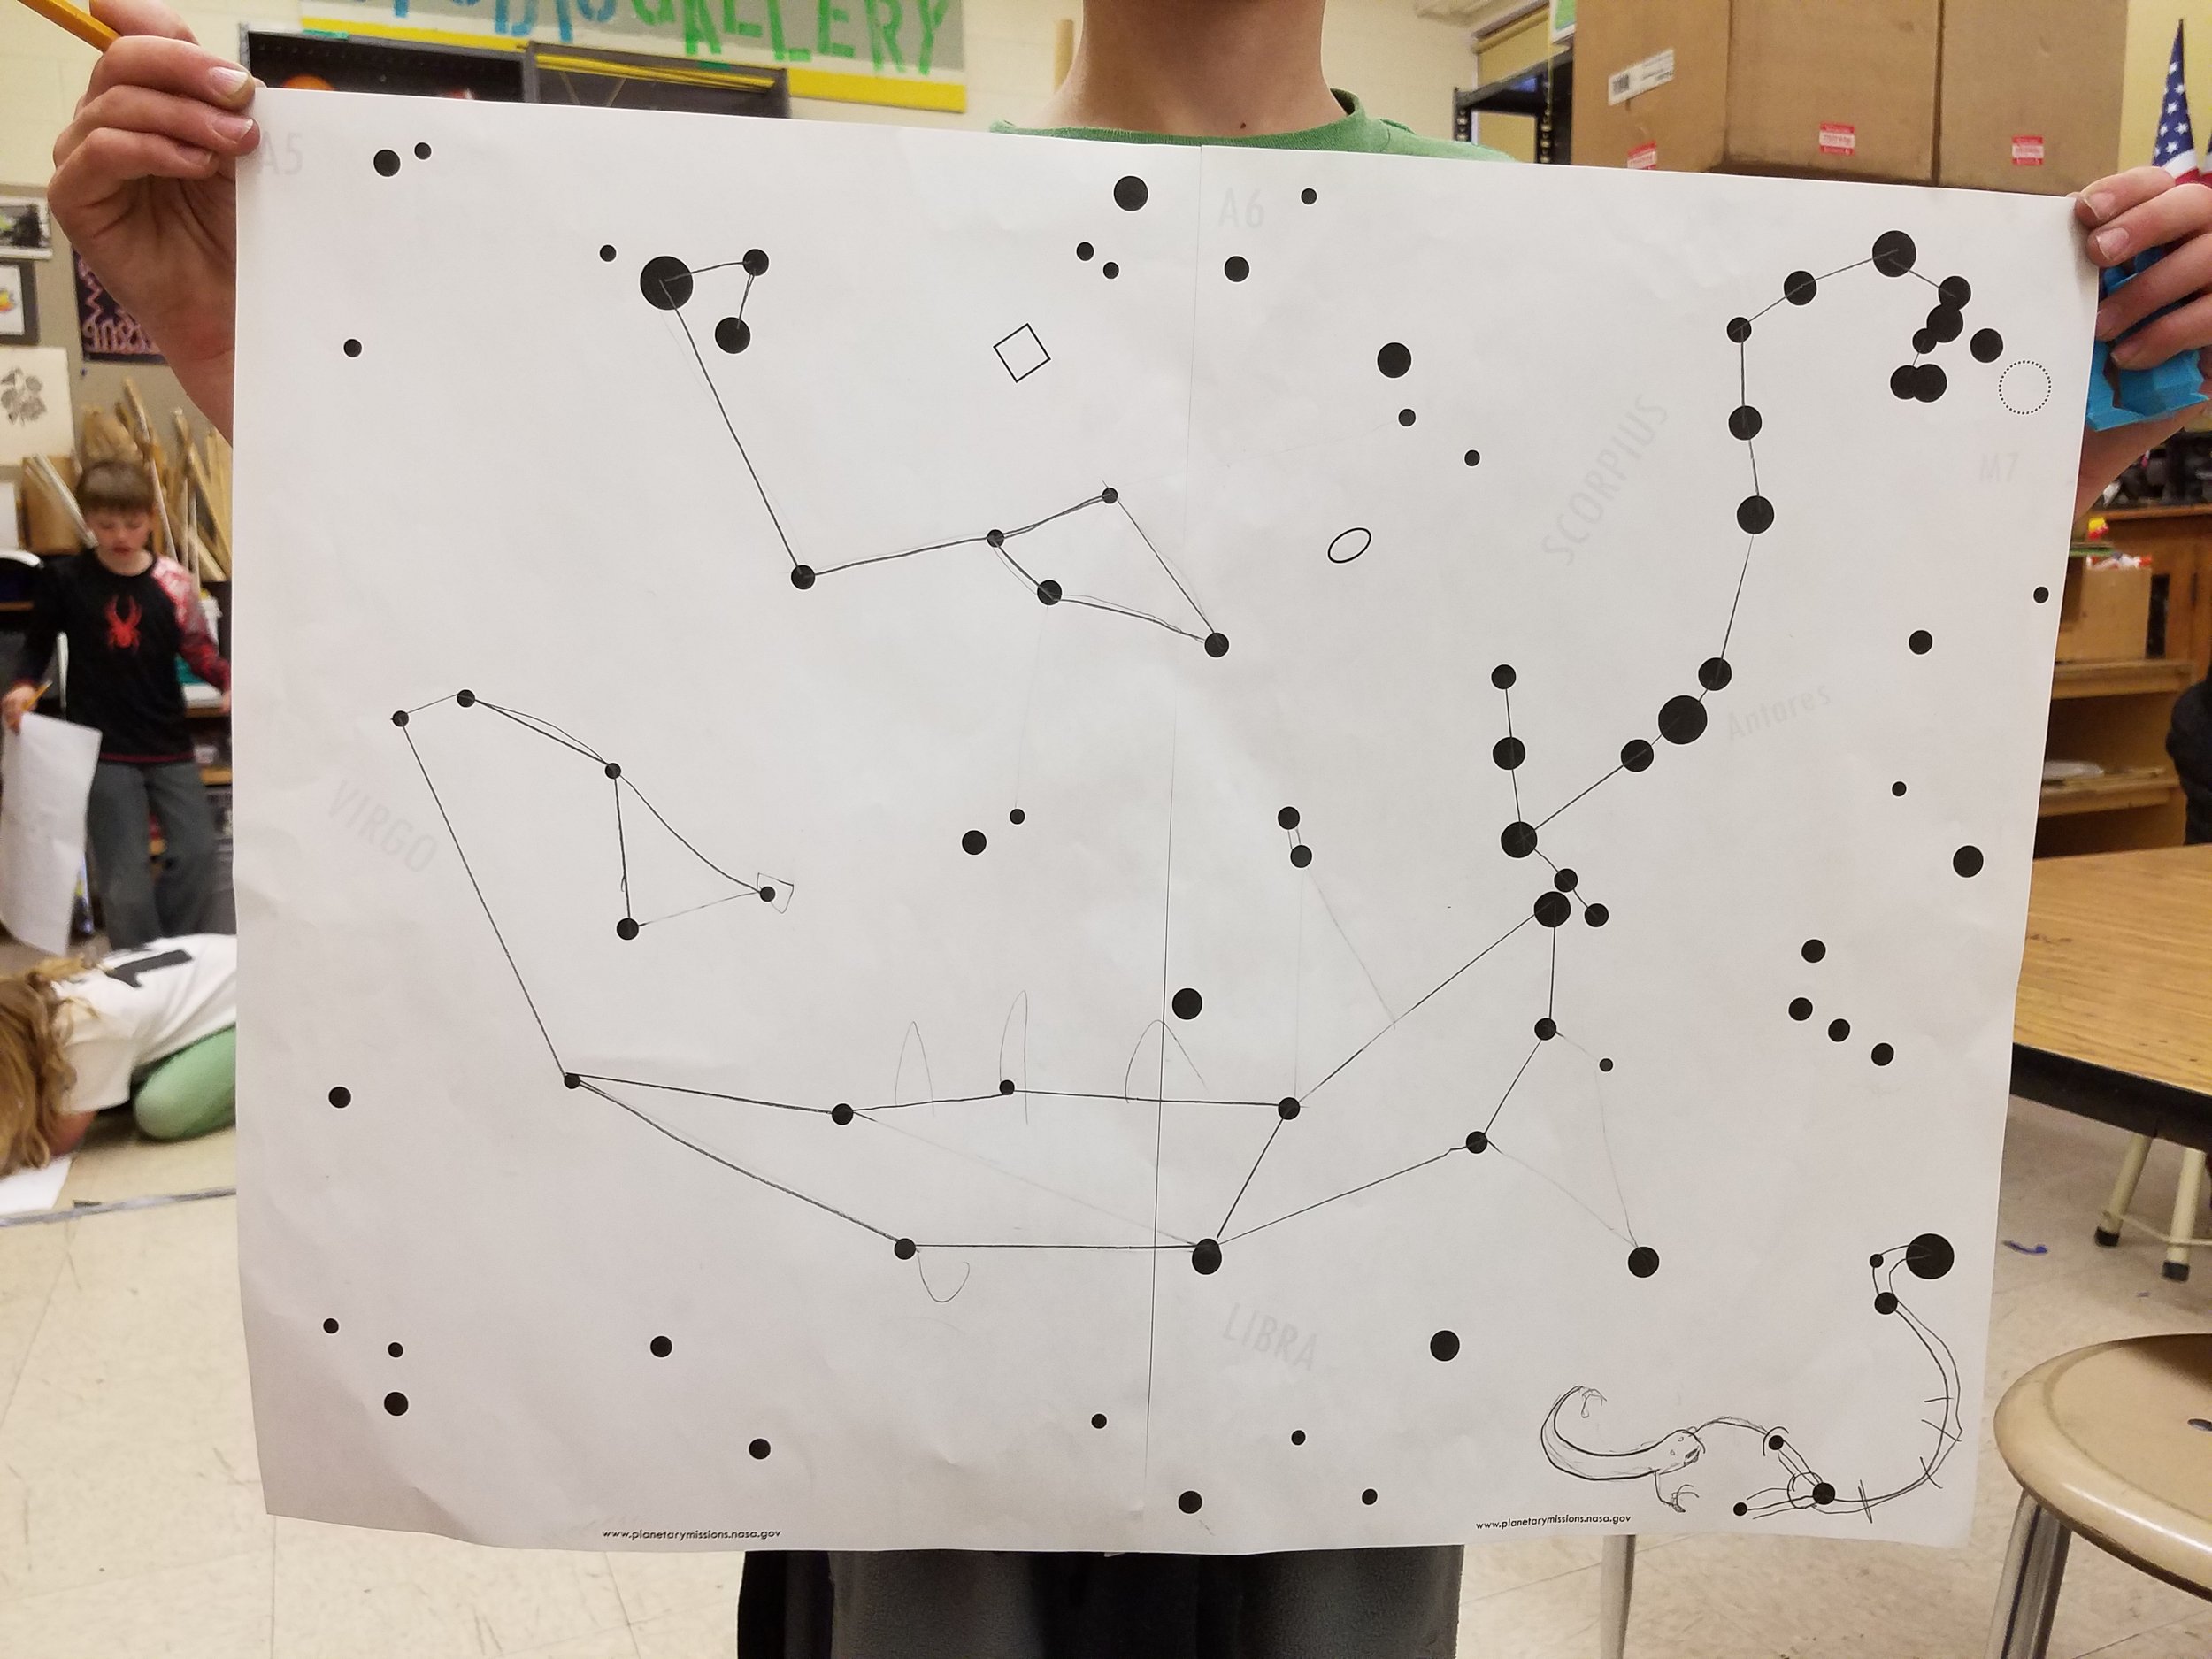
Or, you can prompt them to use geometric shapes to reinforce 2D geometry ~ circles, rectangles, rhombuses, etc.

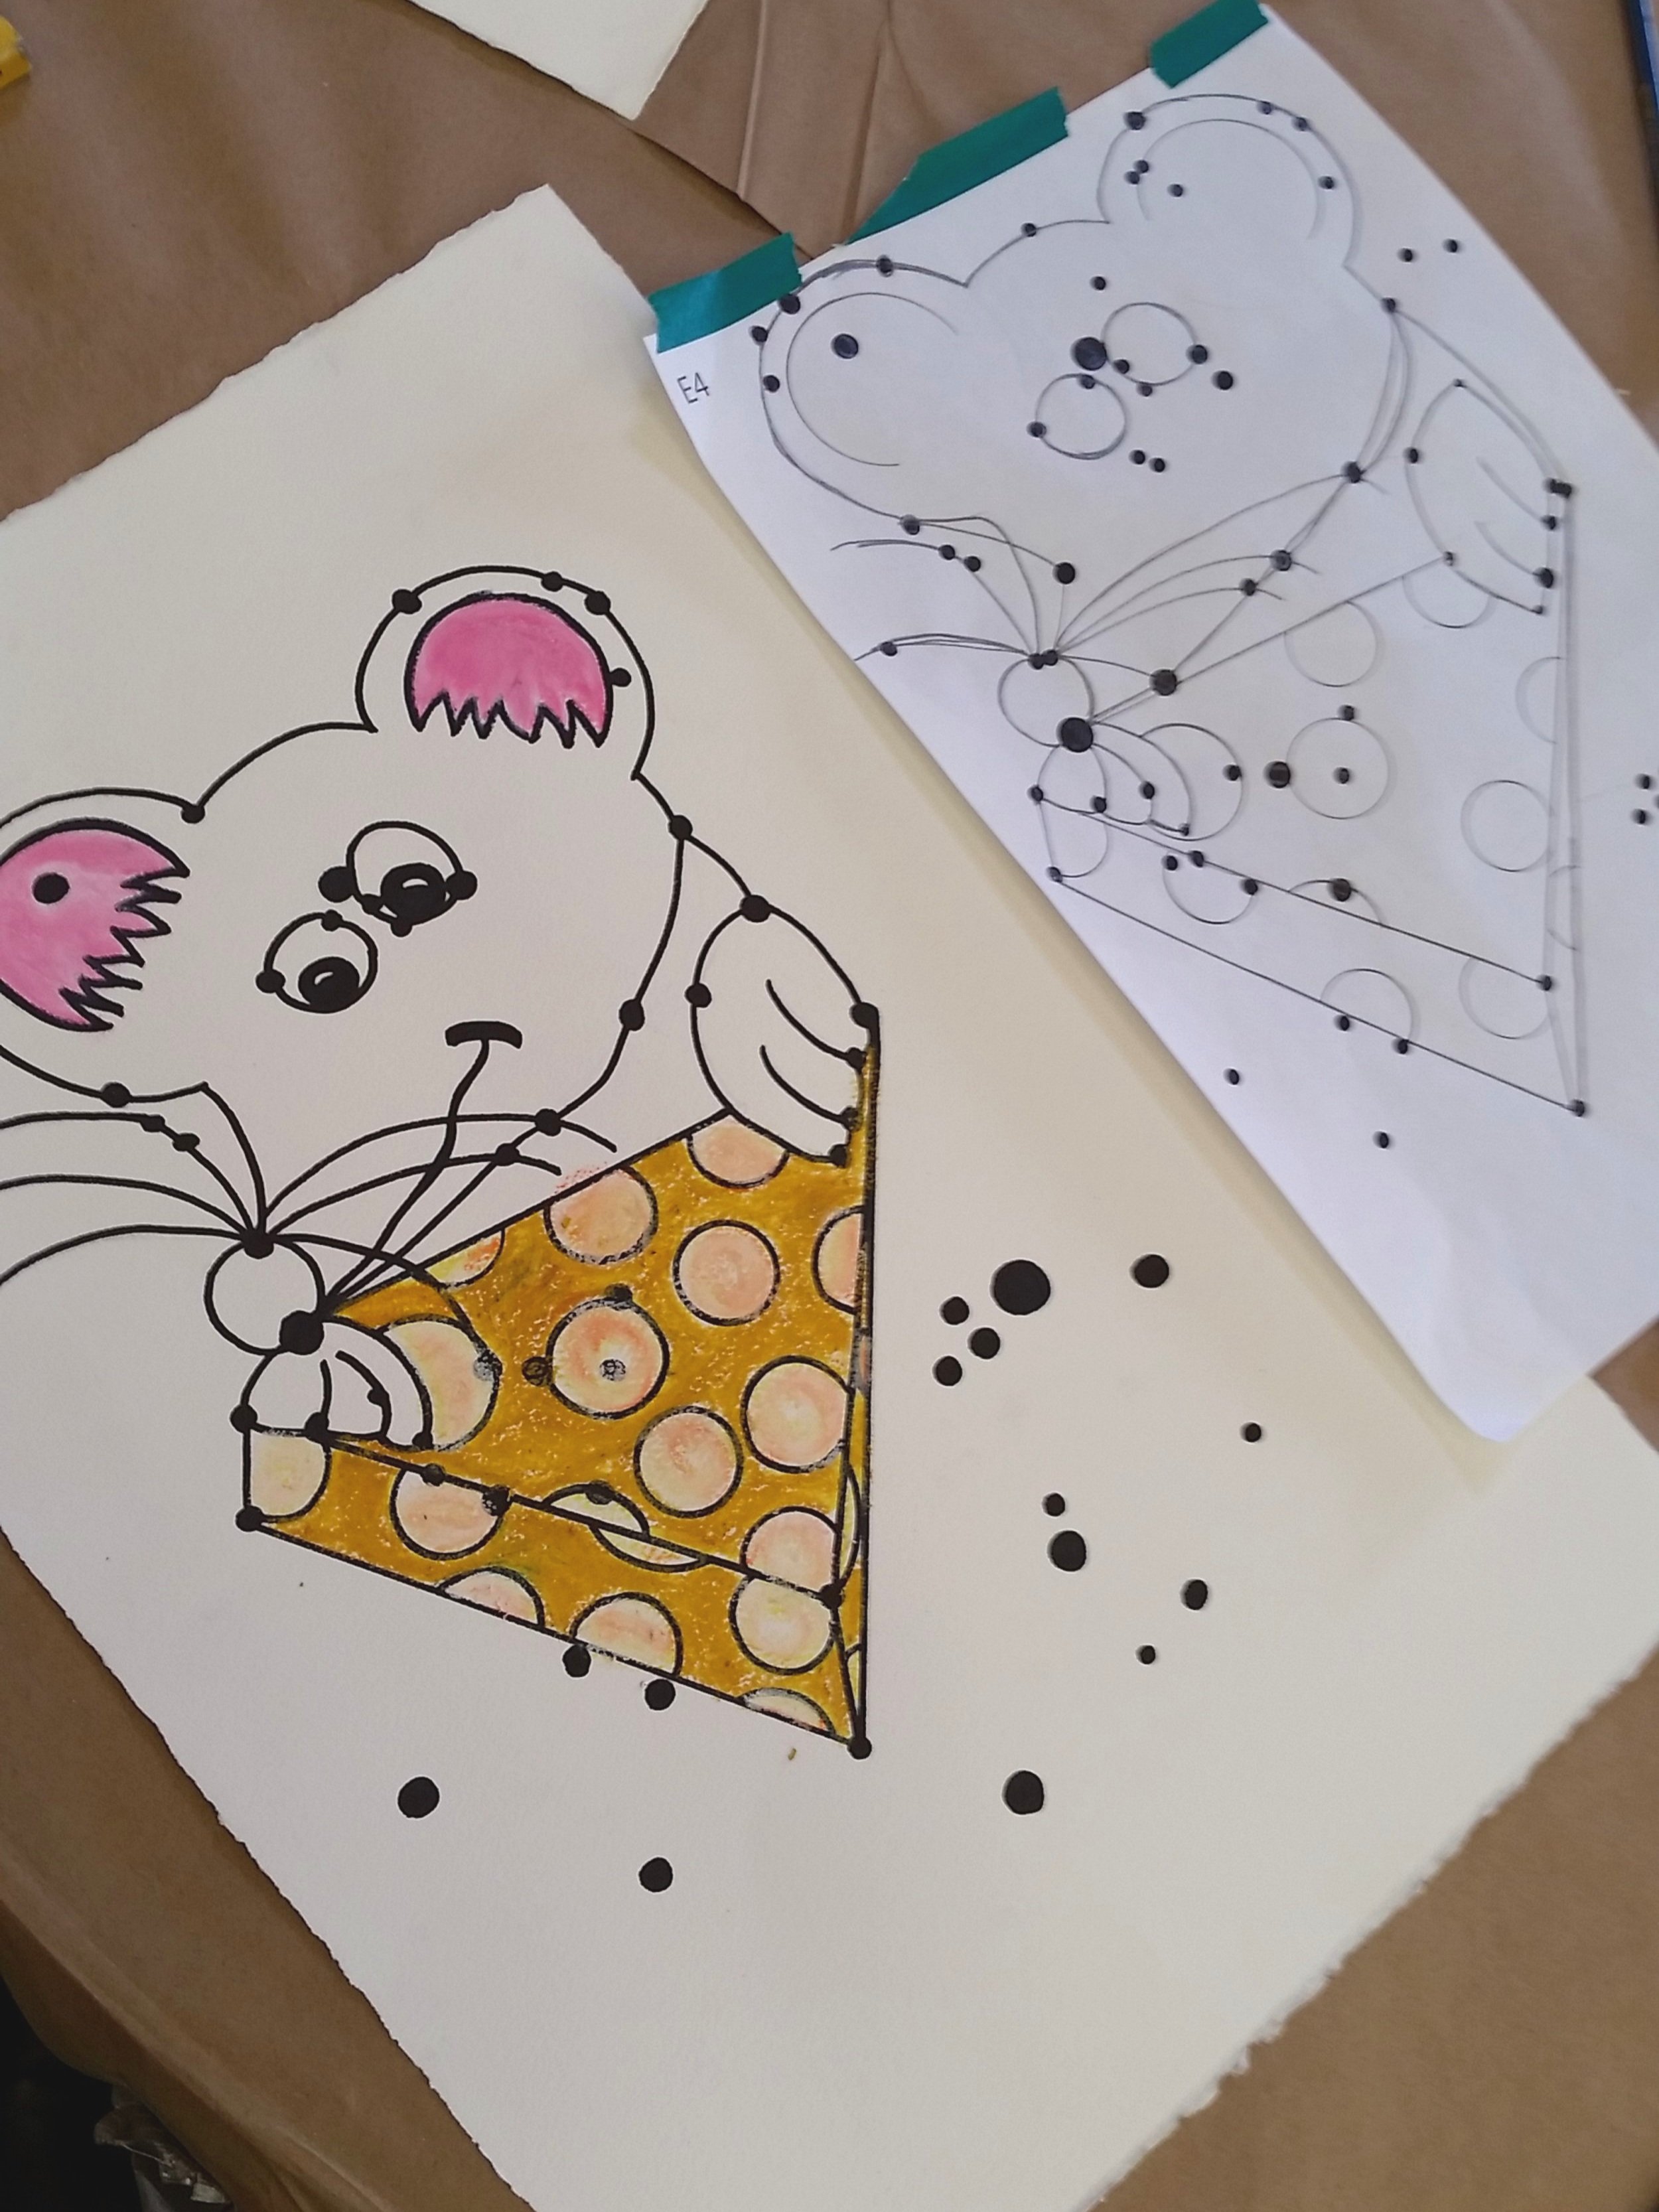
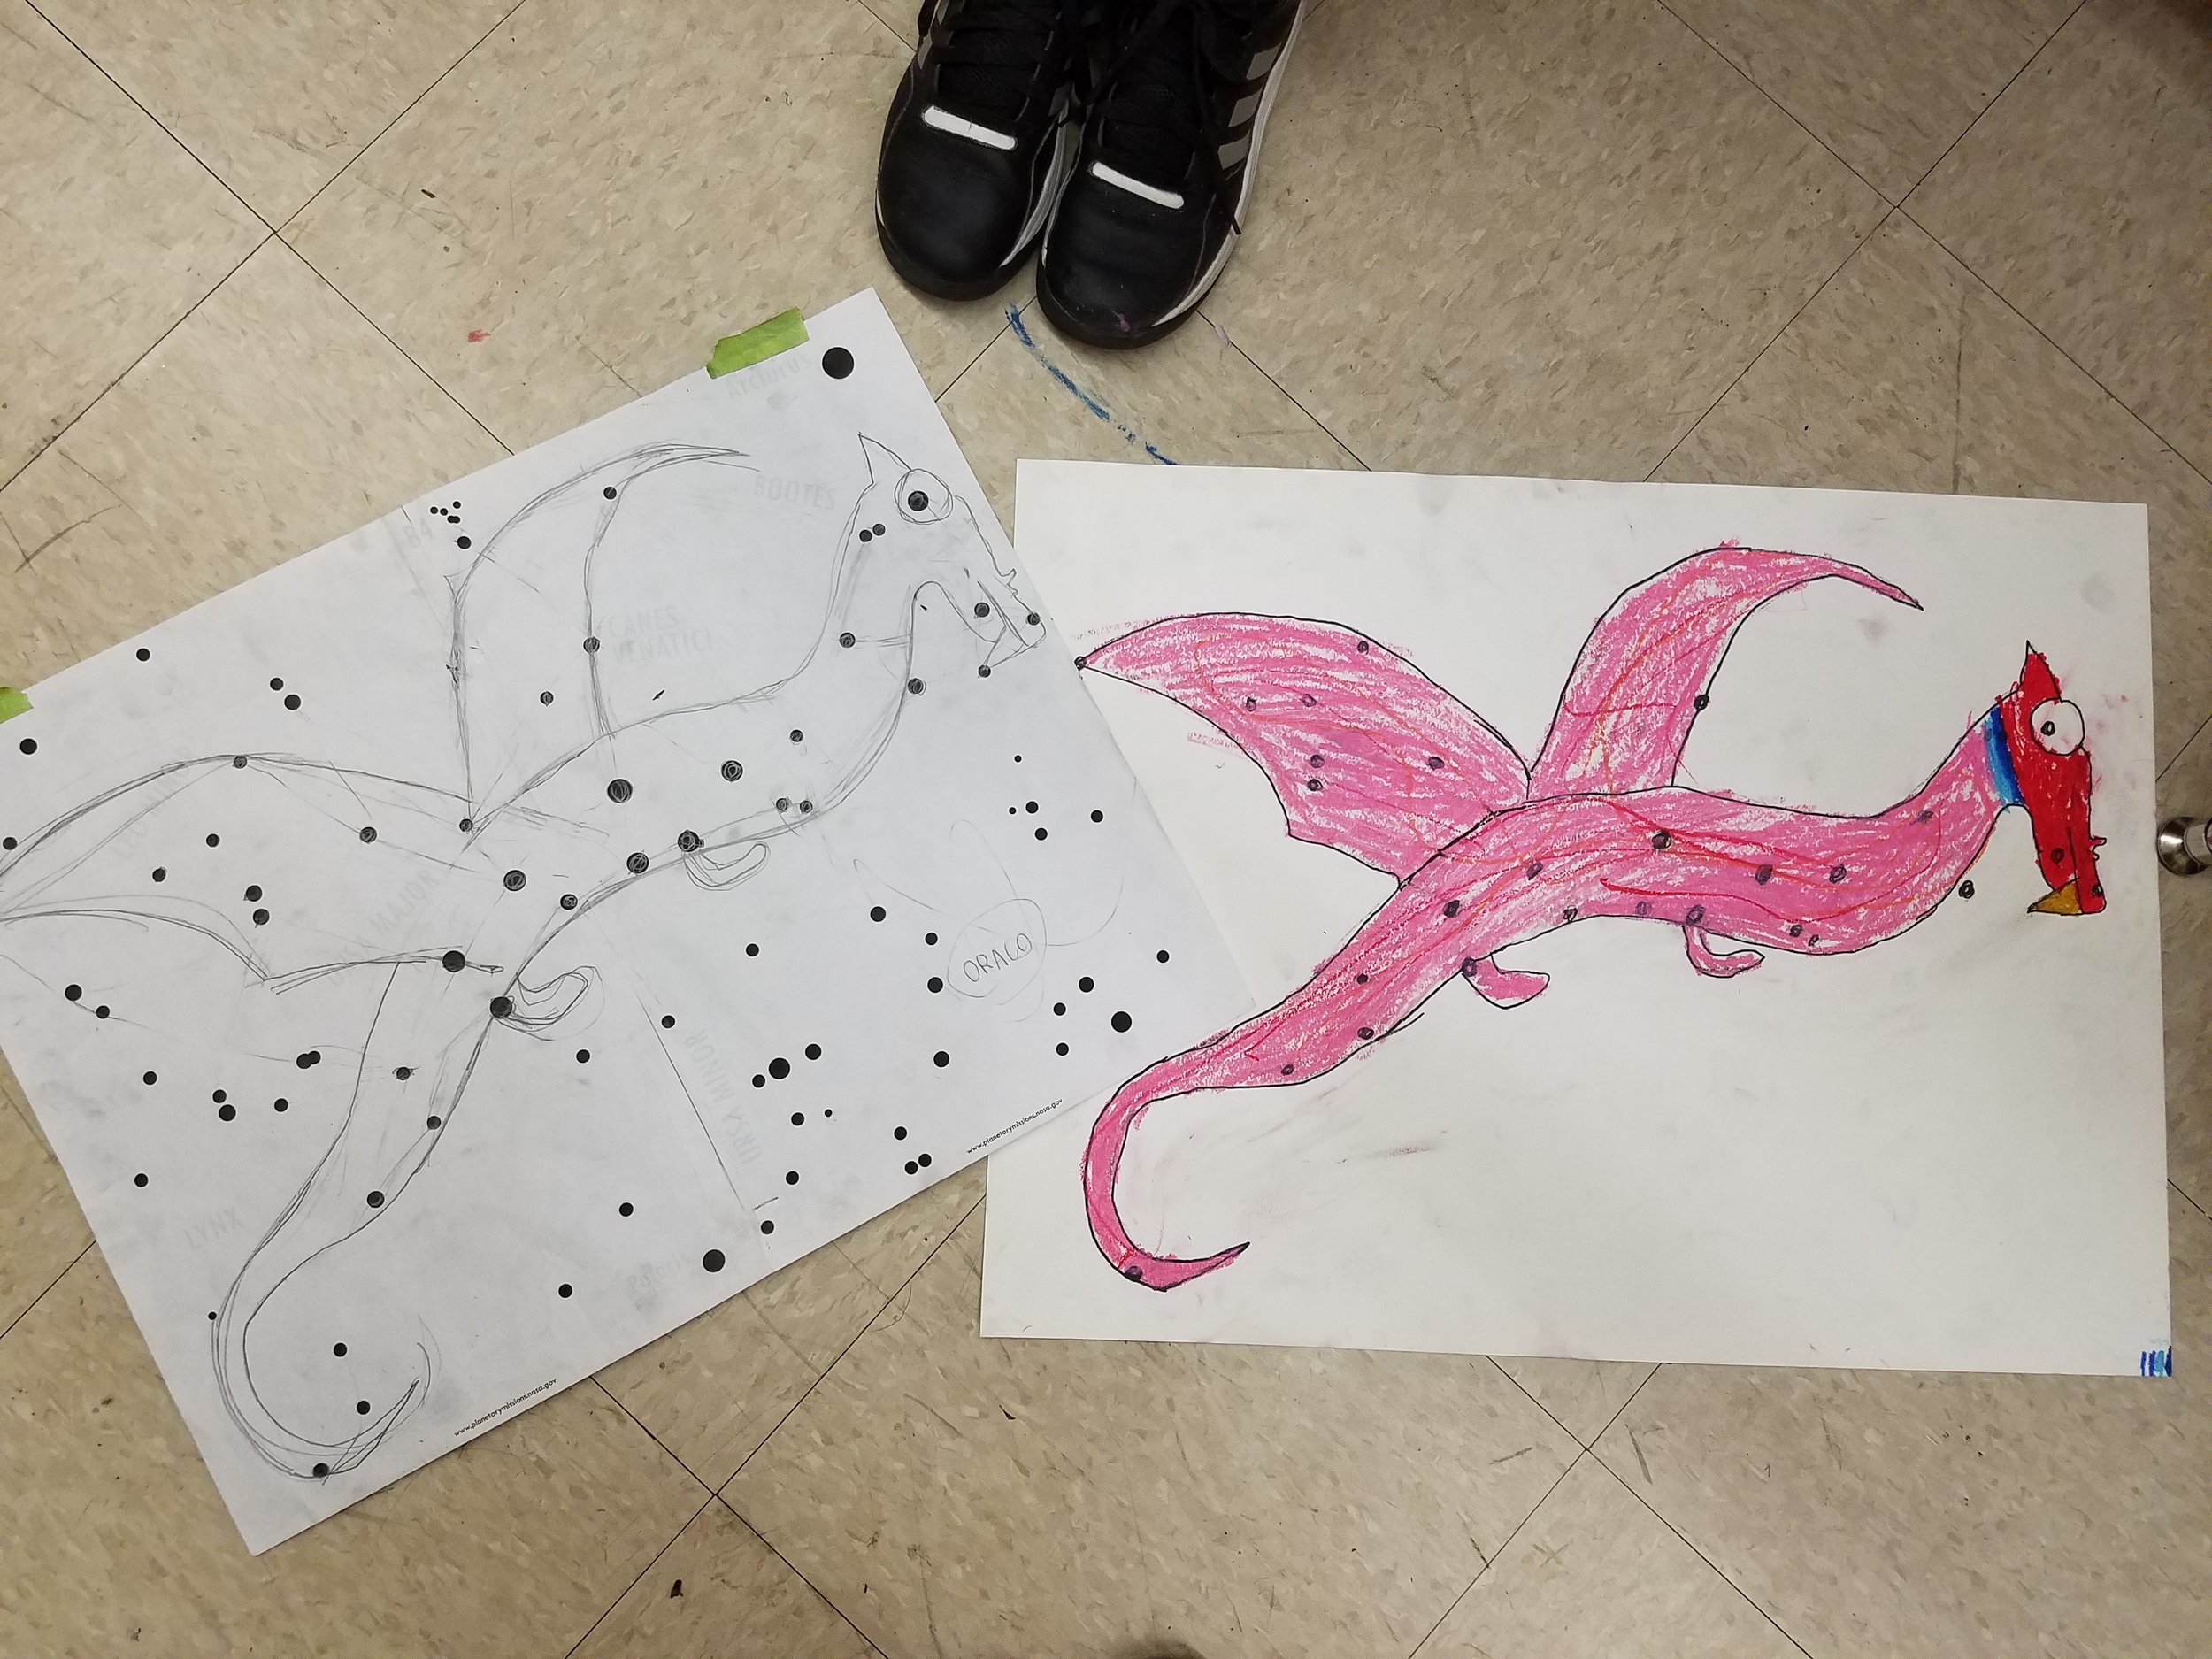
Once you've done sketching, it's time to transfer your drawing to watercolor or mixed-media paper. Use a nice grade for a special archival piece.

You can use transfer paper to copy your drawing. Tape the transfer paper and sketch onto your watercolor paper at the top. Then you can lift the bottom to check your progress.
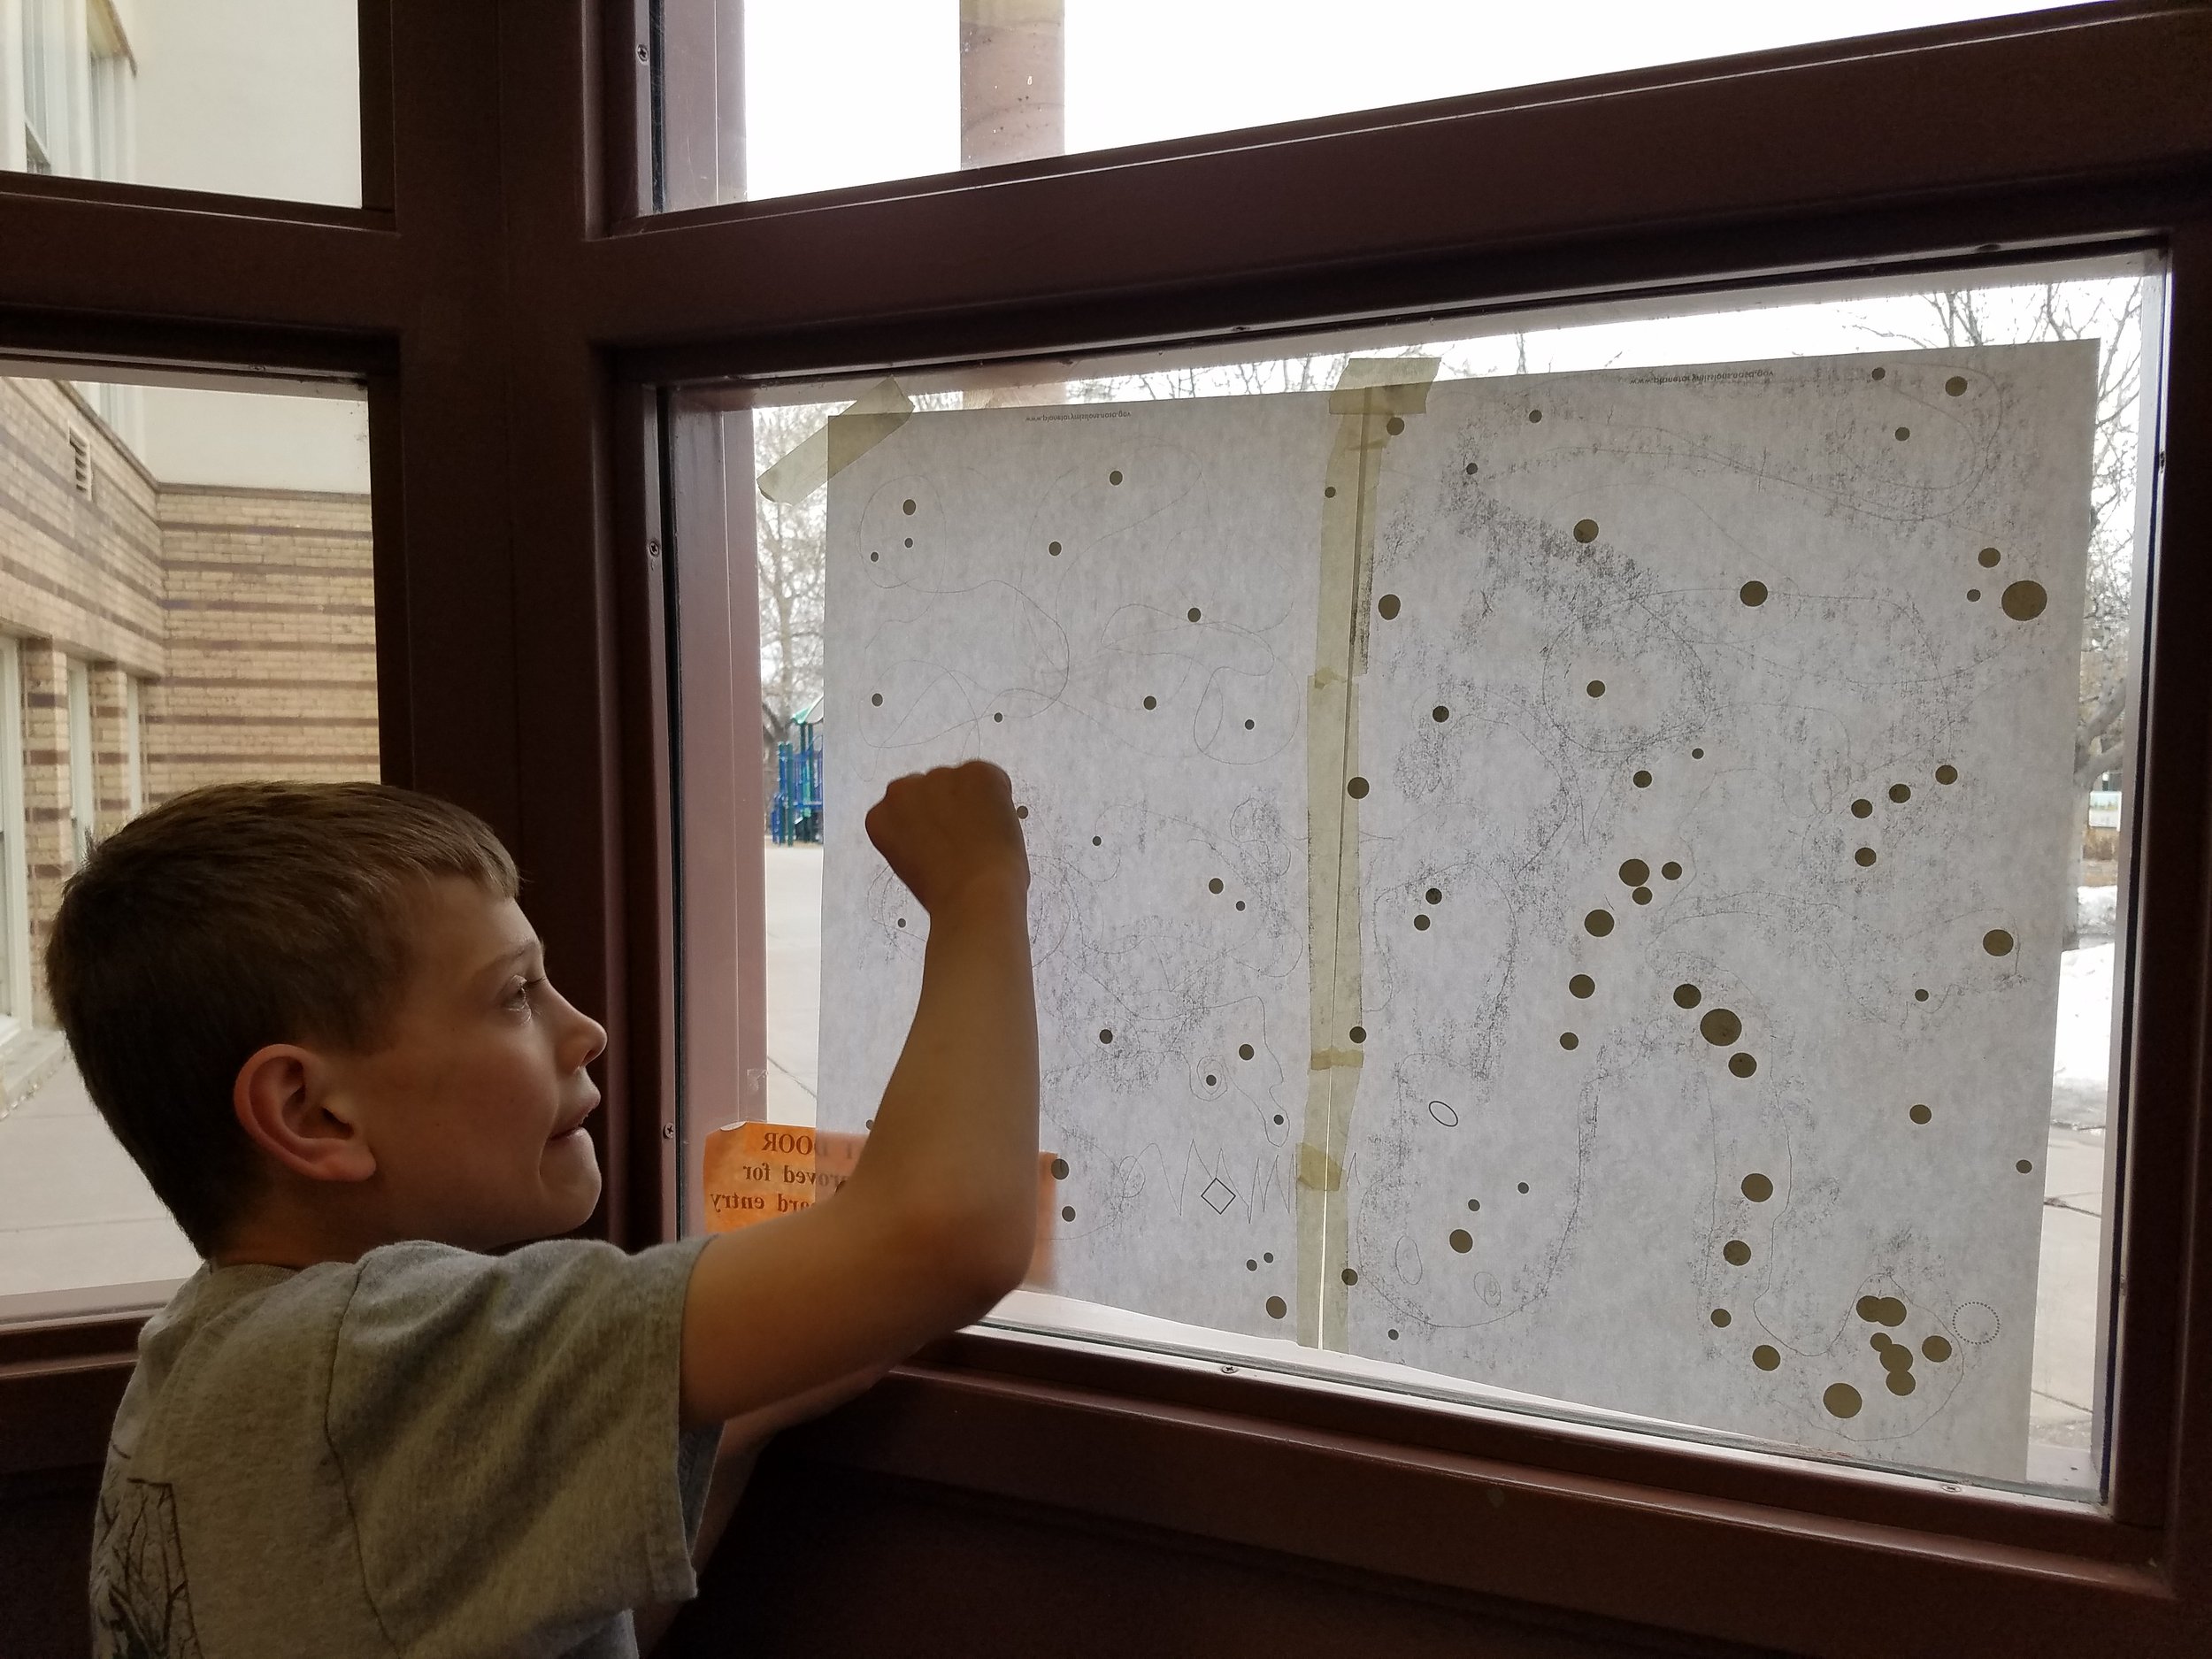
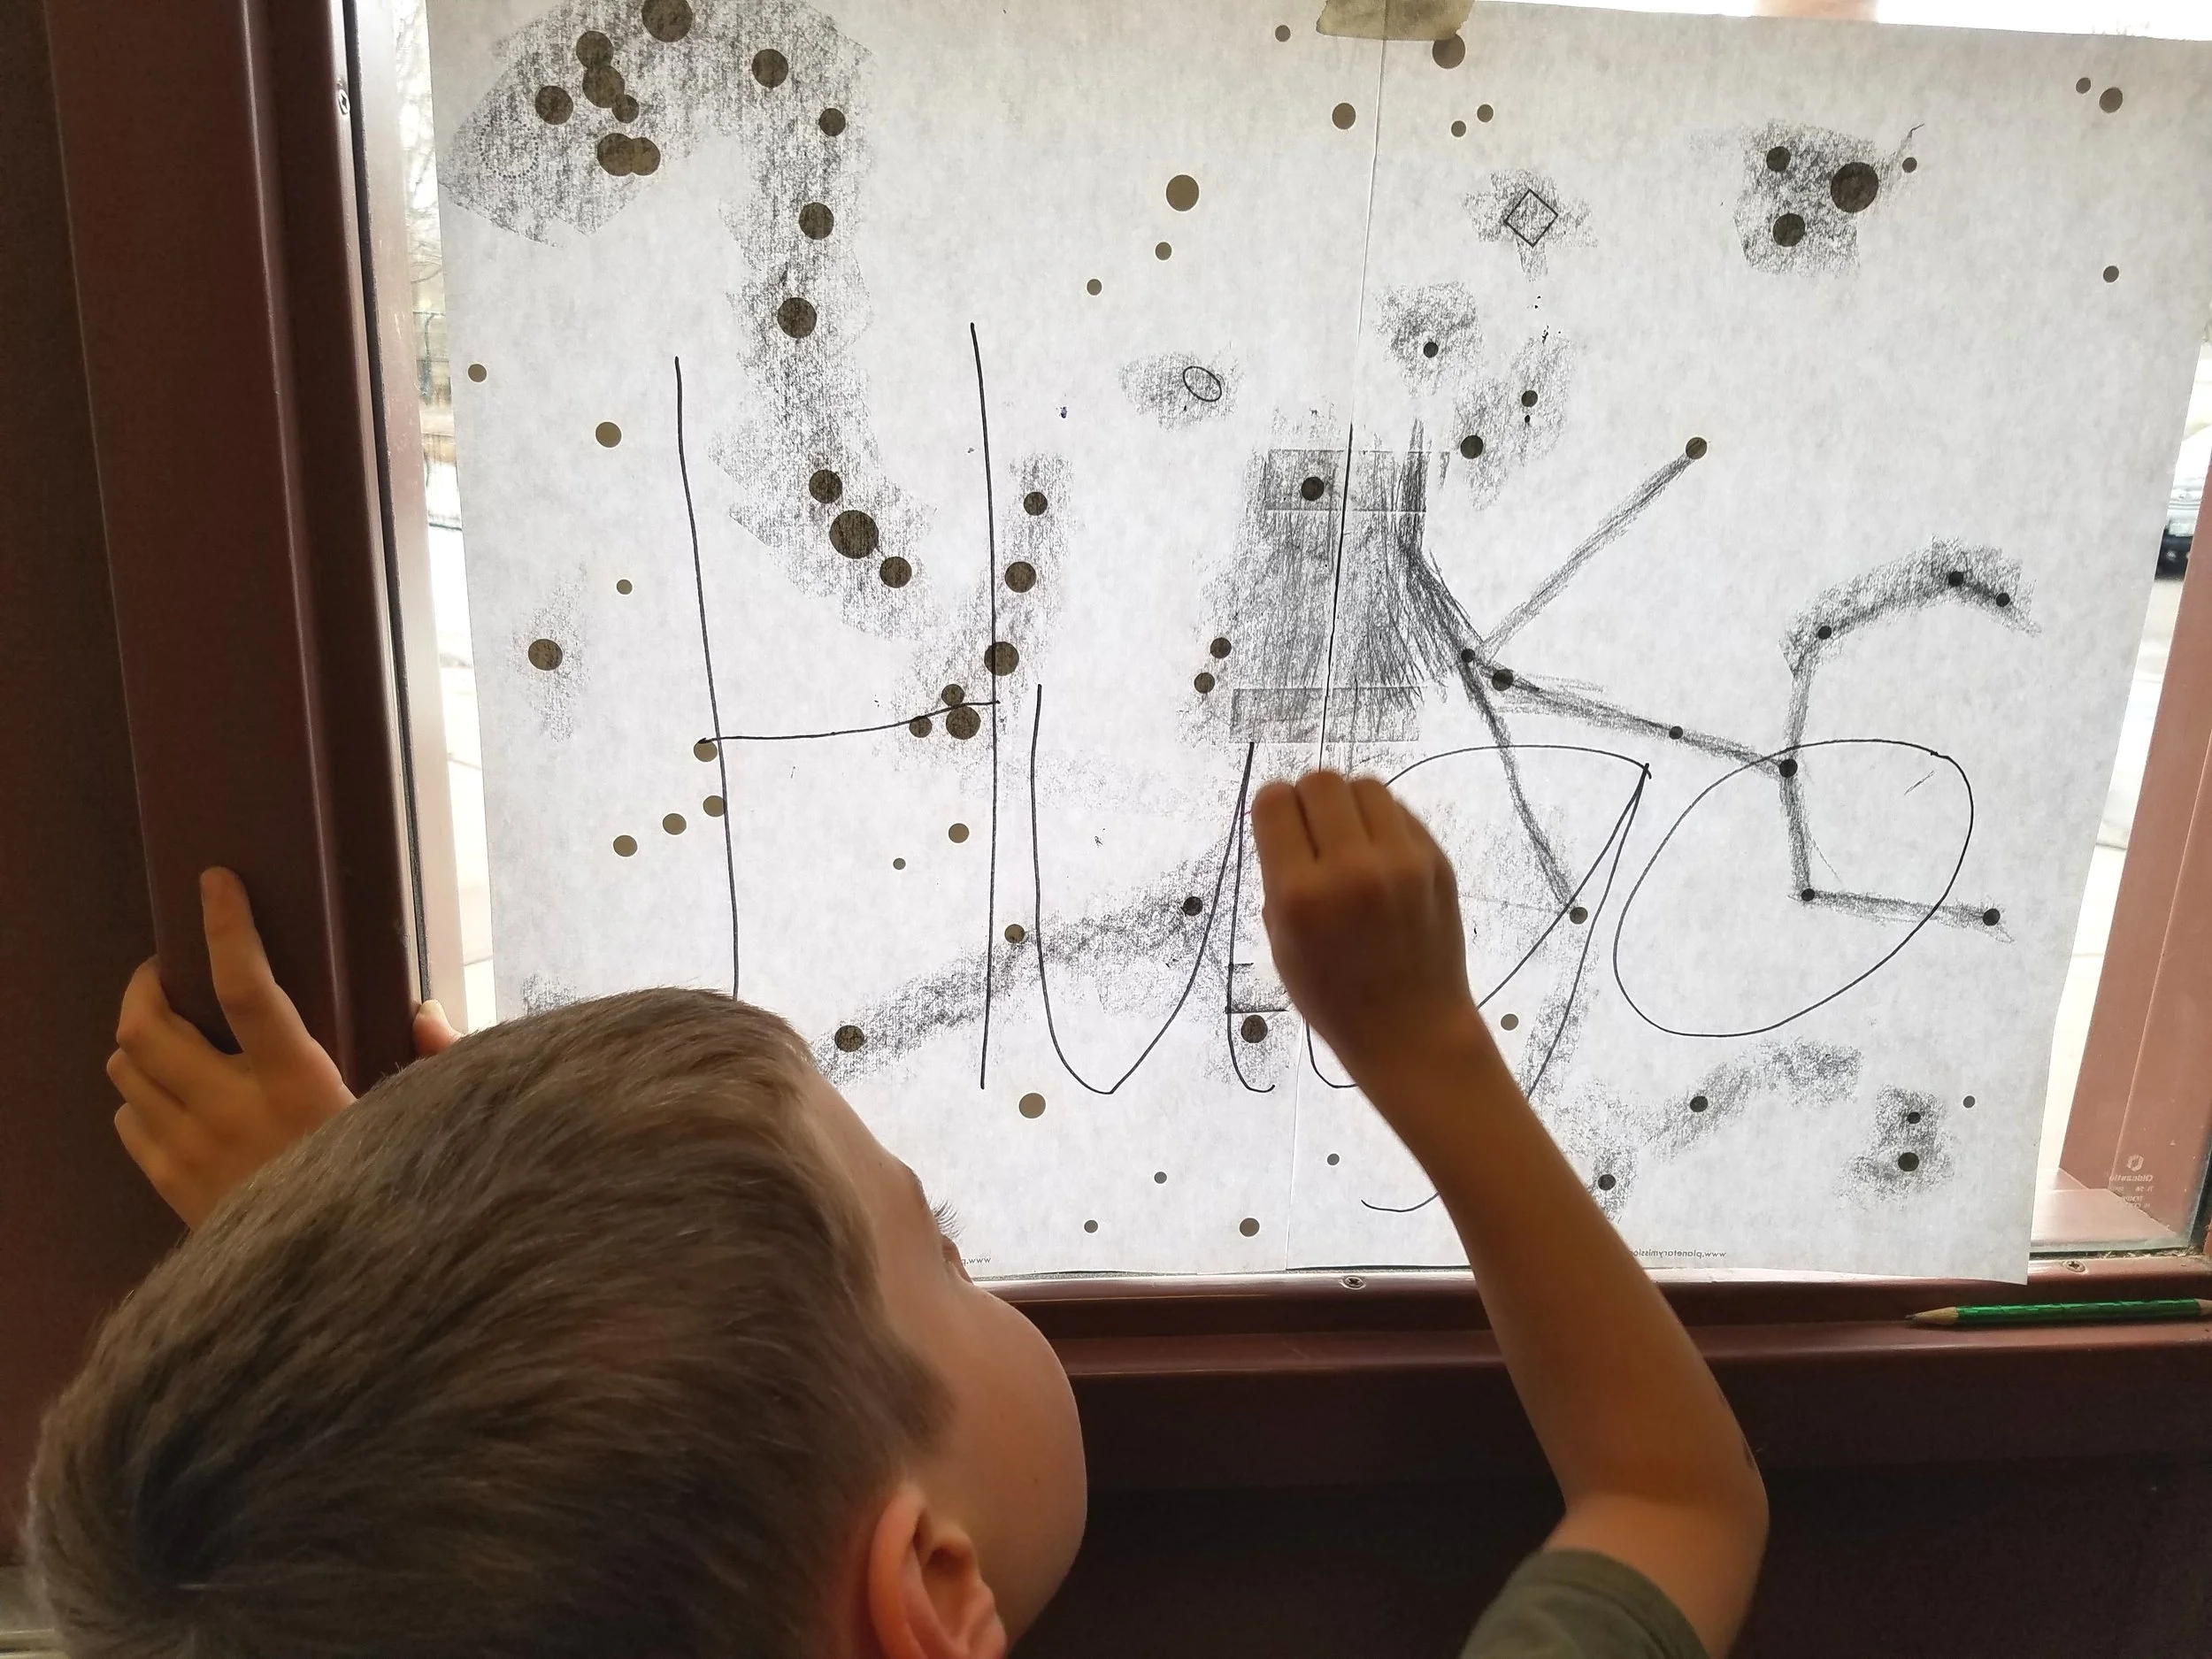
You can also use a window as a light box. Tape your sky chart sketch to the window. Then tape your watercolor paper over it.
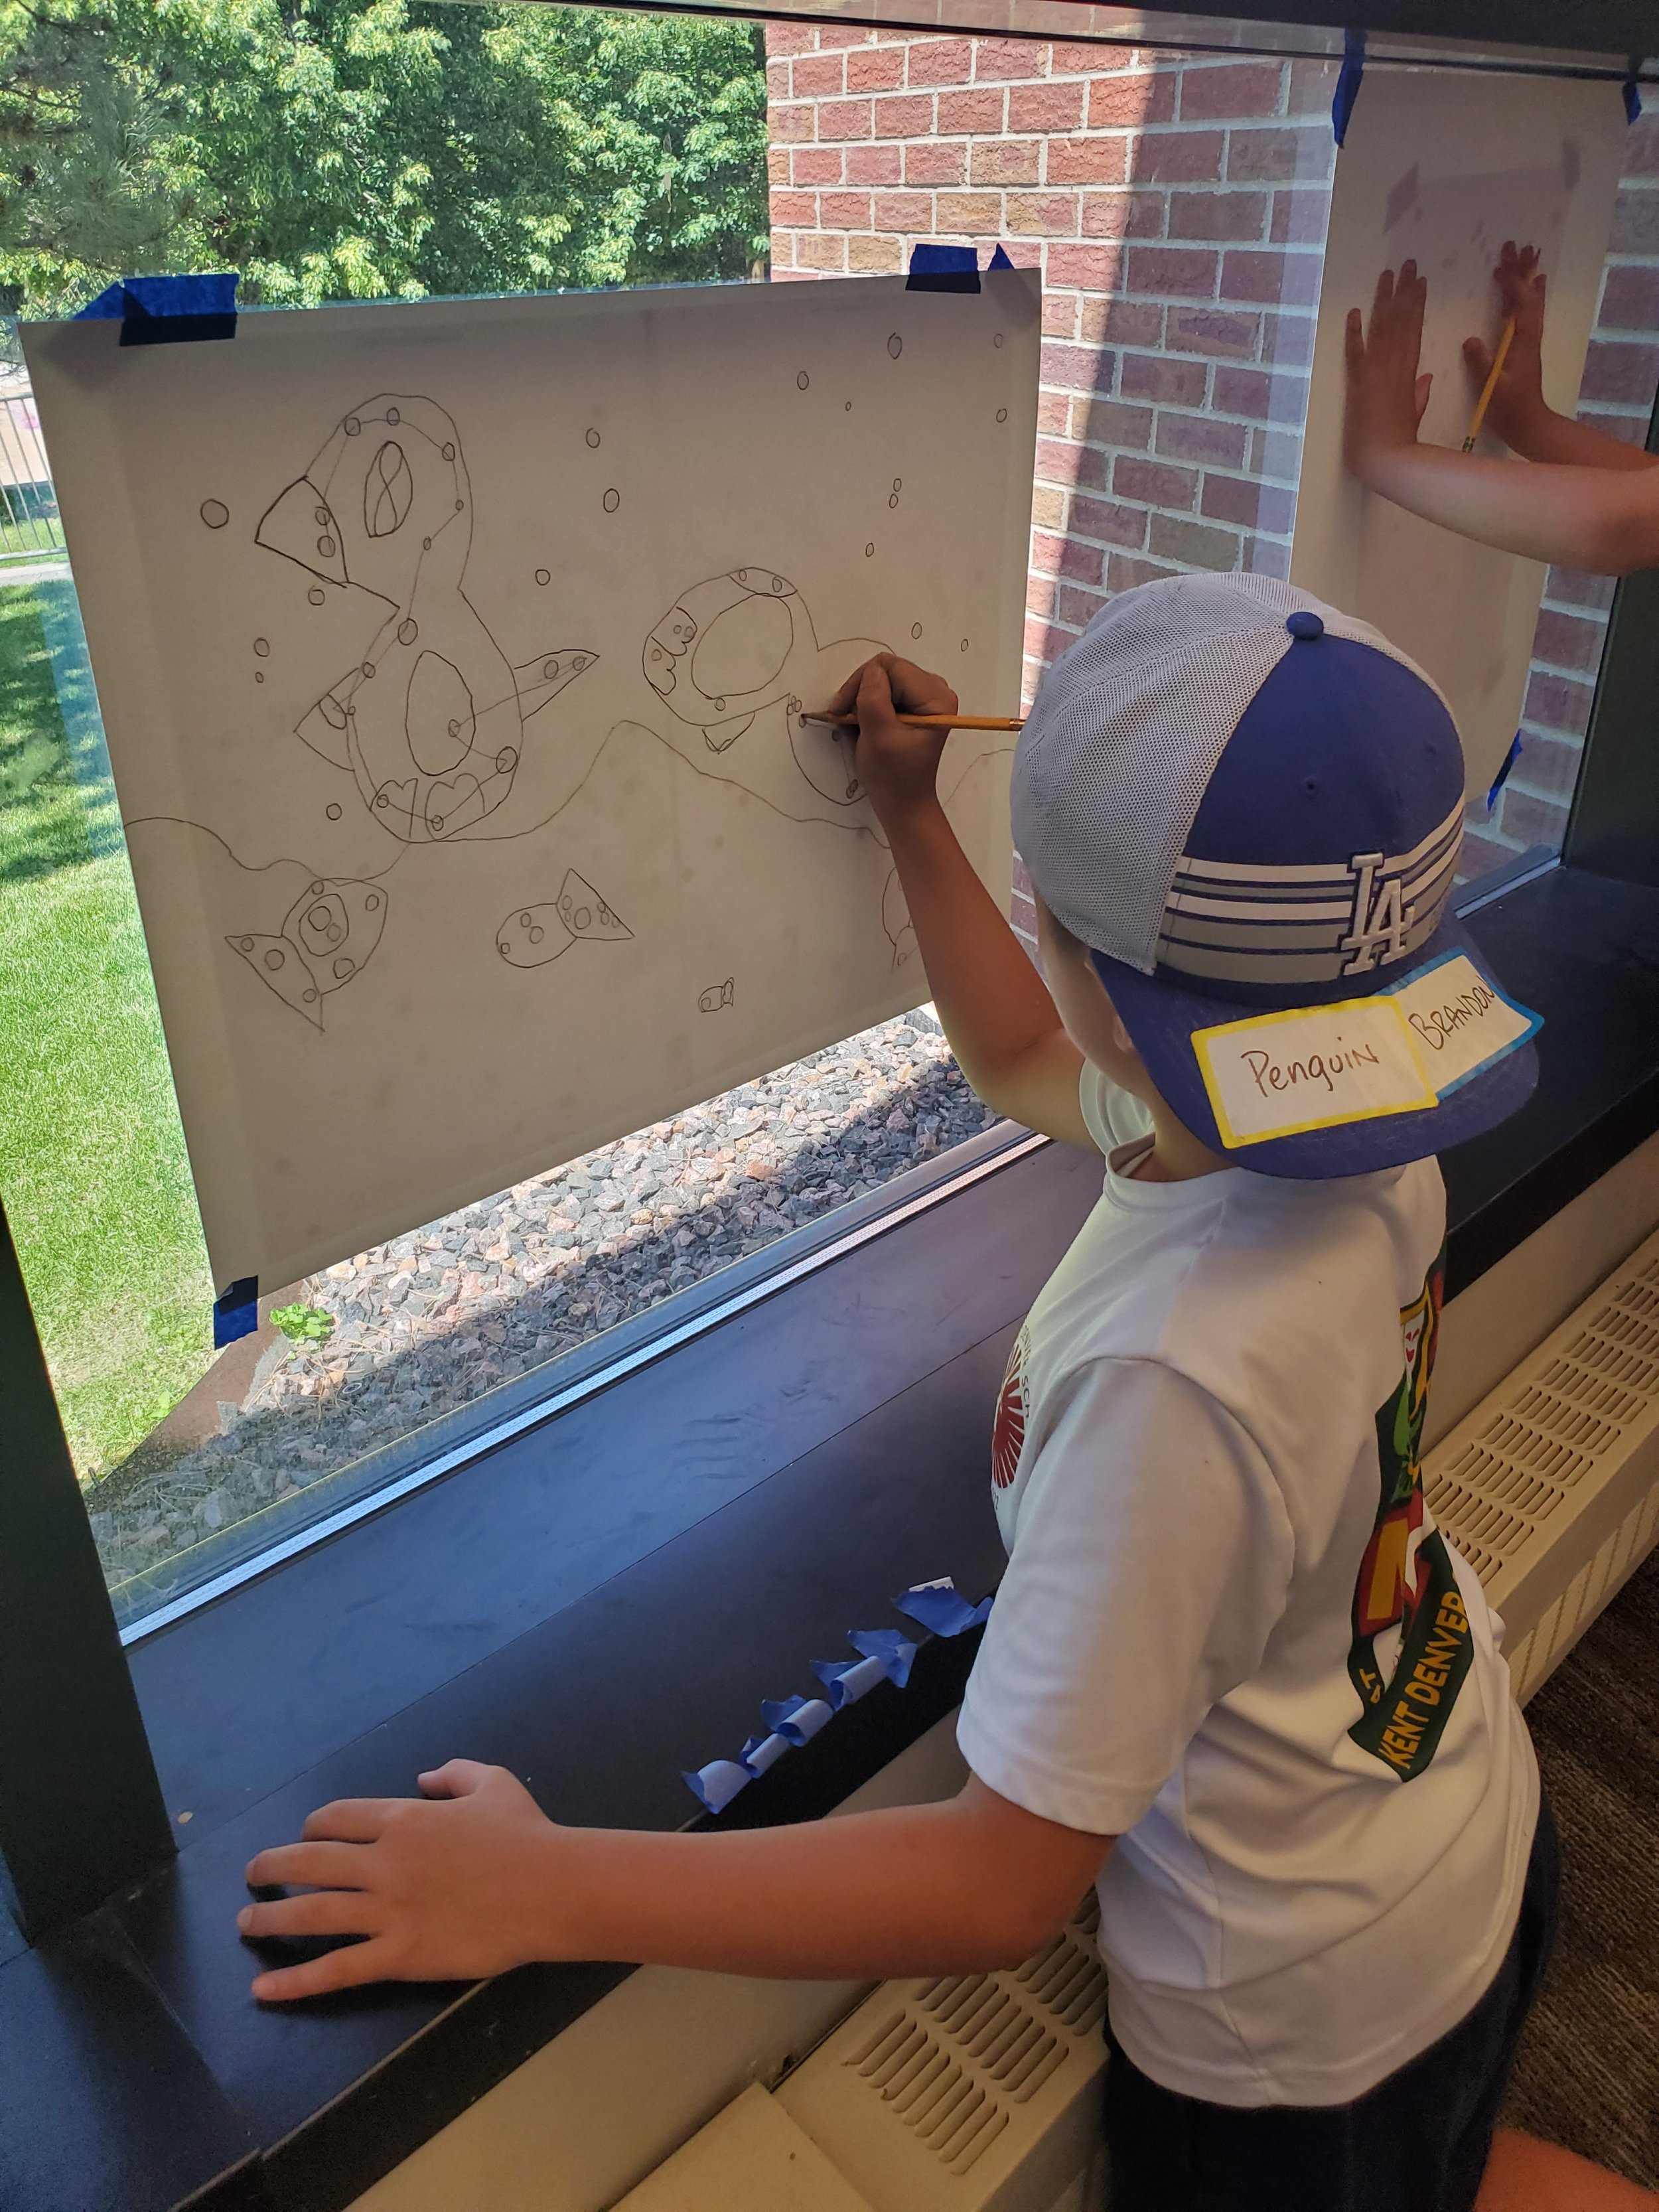
Trace your sketch onto the watercolor paper with a pencil or permanent marker. This is a fun and simple trick kids love!
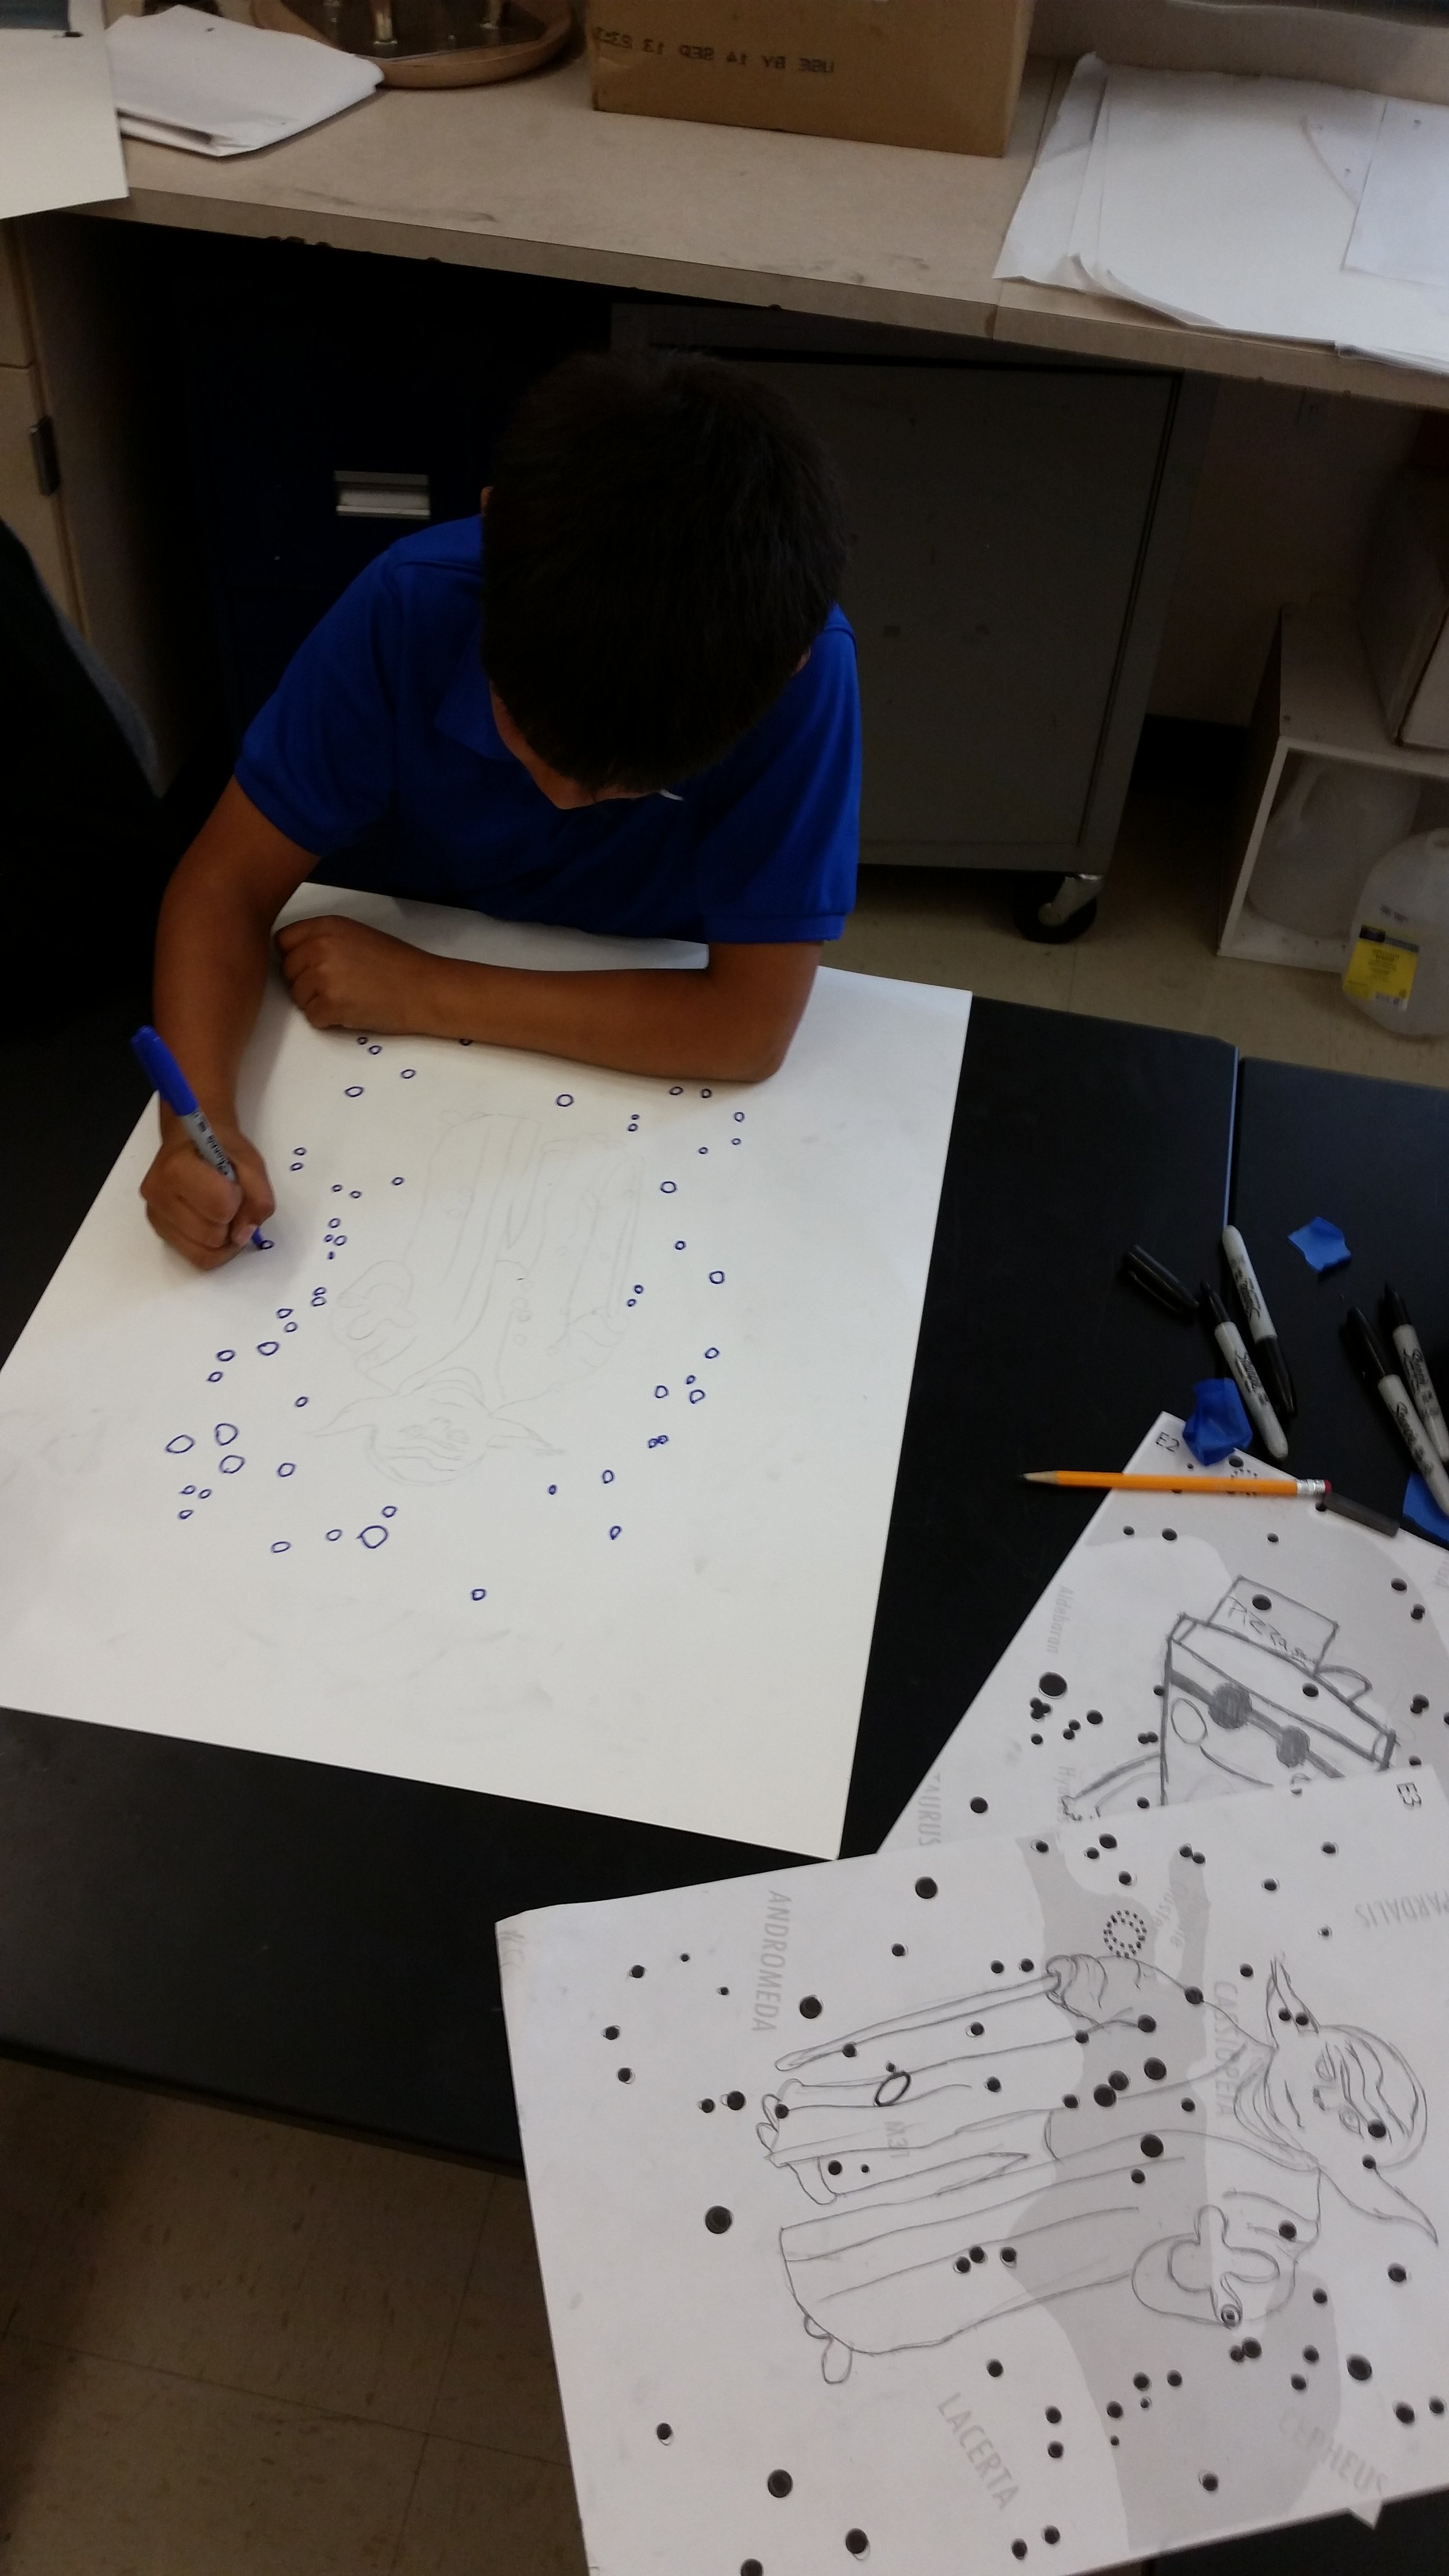
Make sure to draw both your constellation shapes and the major stars you would like to incorporate. You do not need to use all stars.
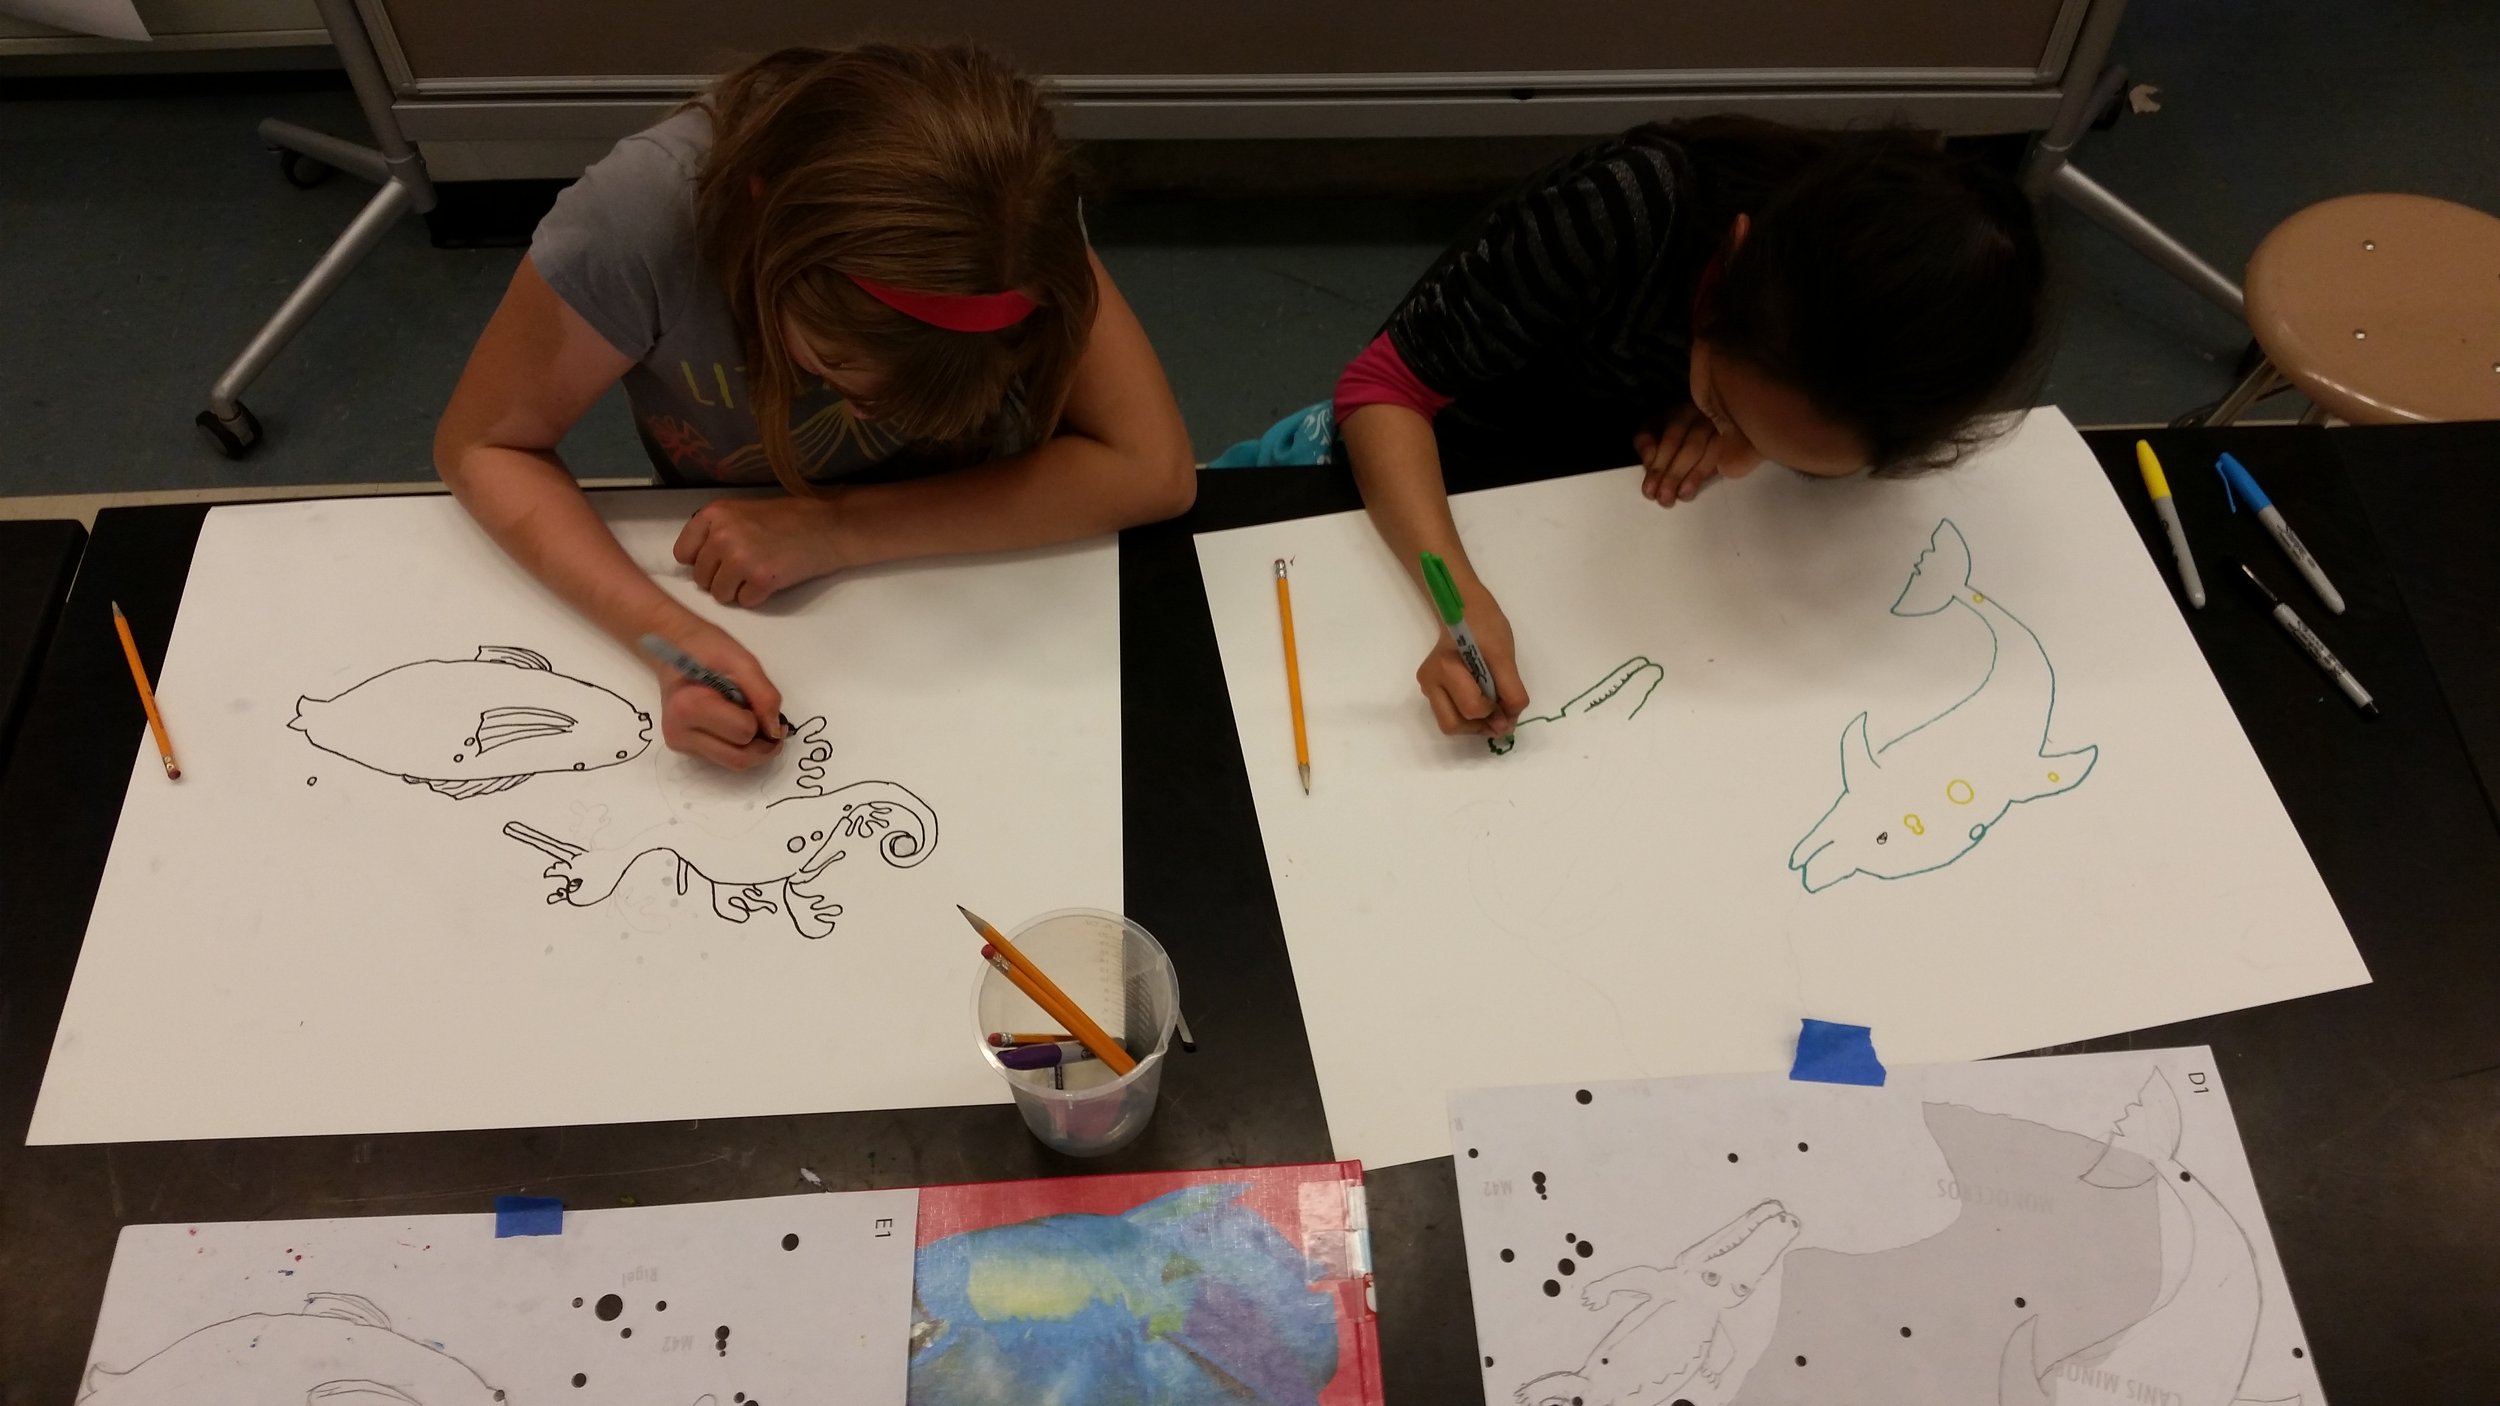
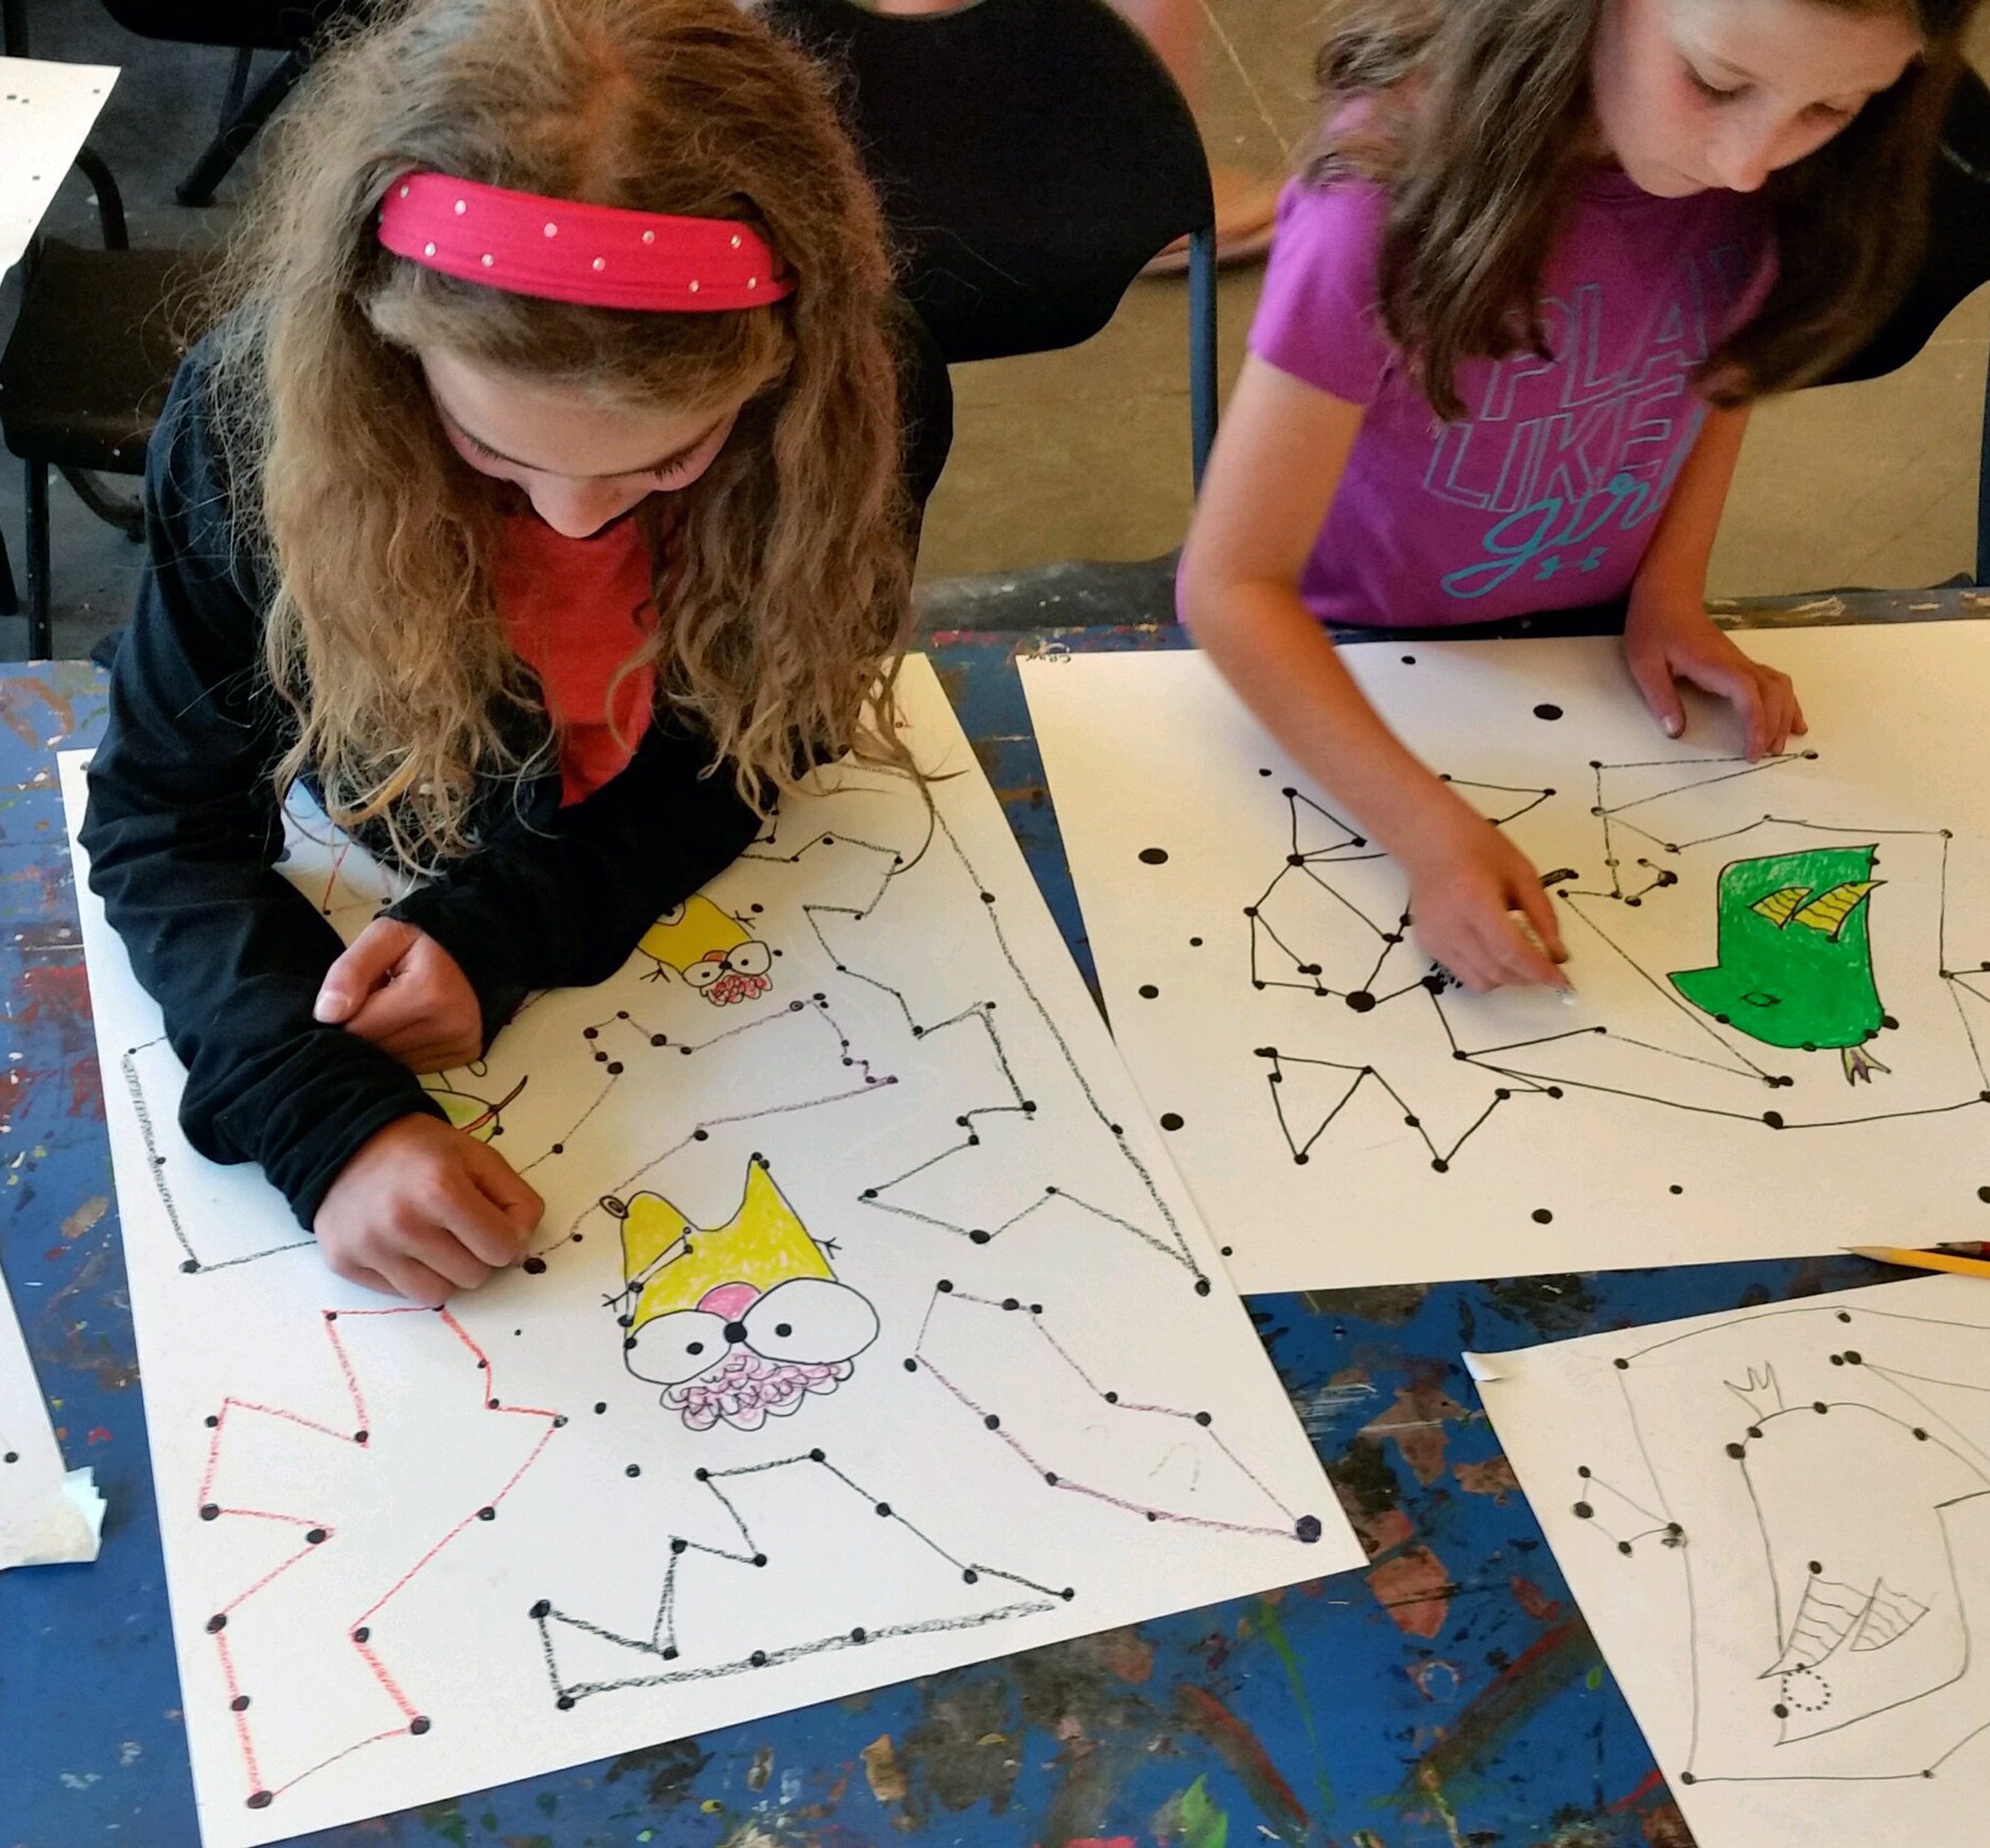
Once your transfer is complete, outline the constellation and stars with Sharpies or permanent markers. This will make your creations pop when you add your watercolor & ink washes.
You can erase any pencil or graphite lines and smudges with big white erasers.

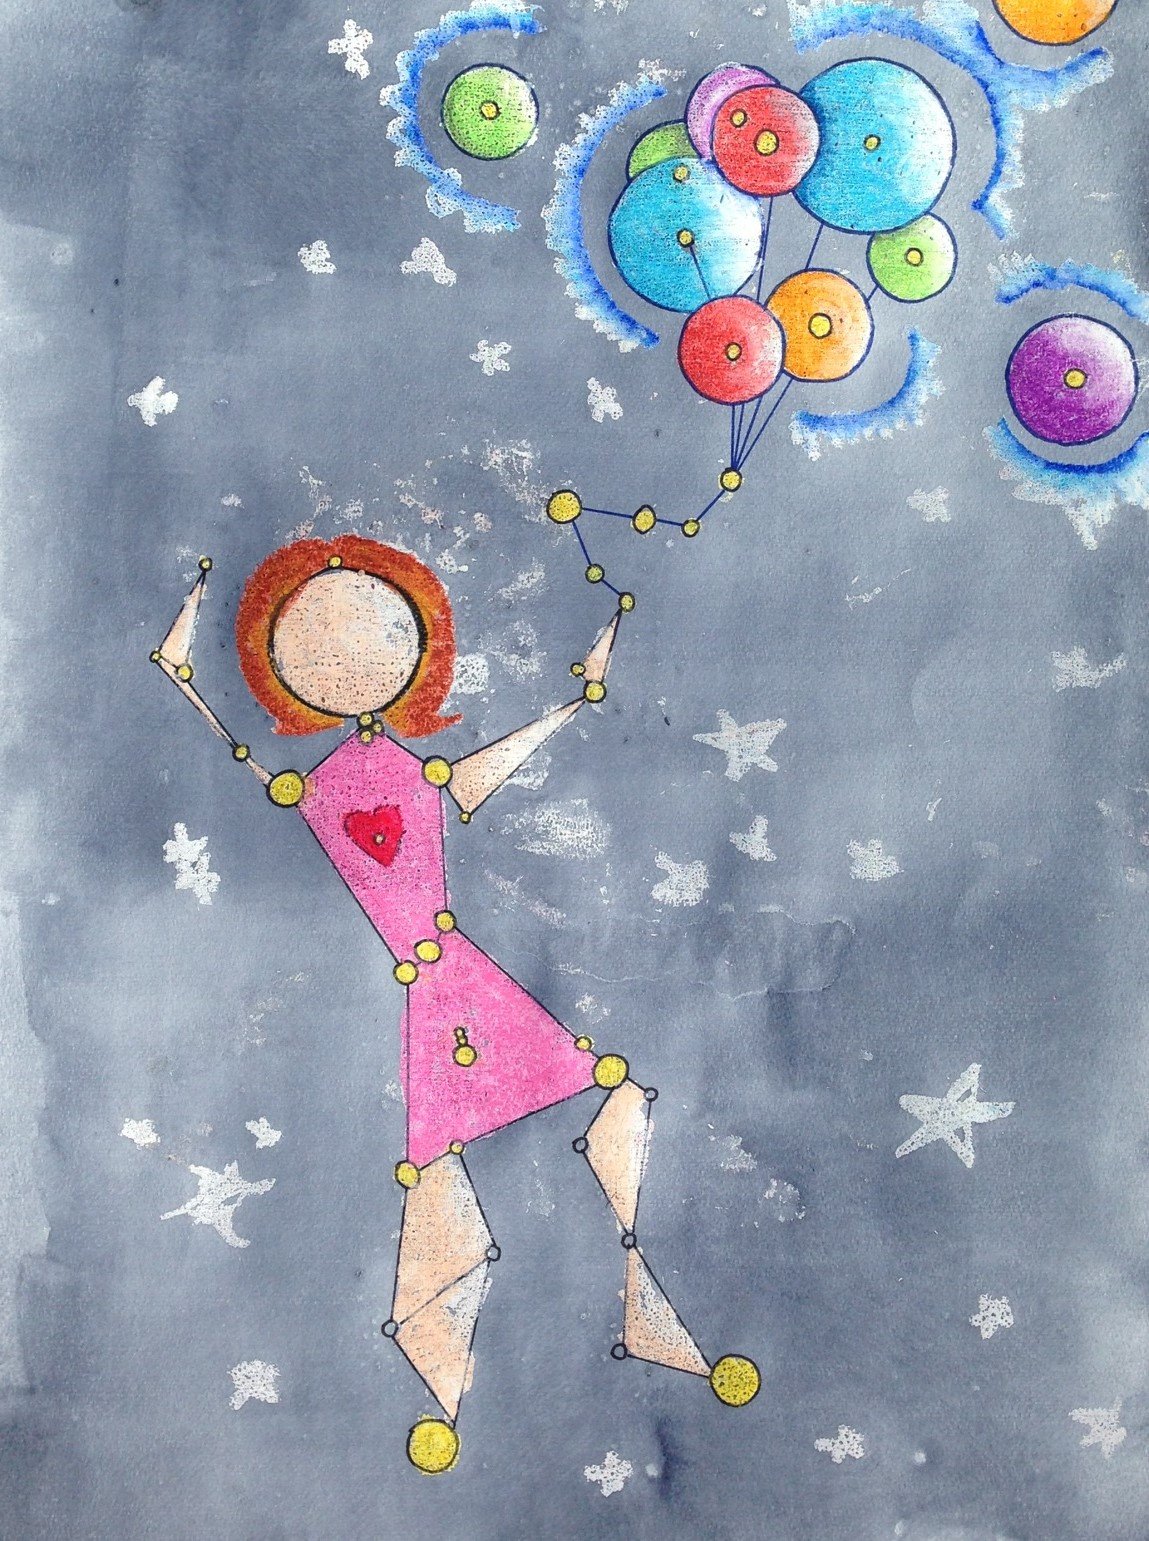
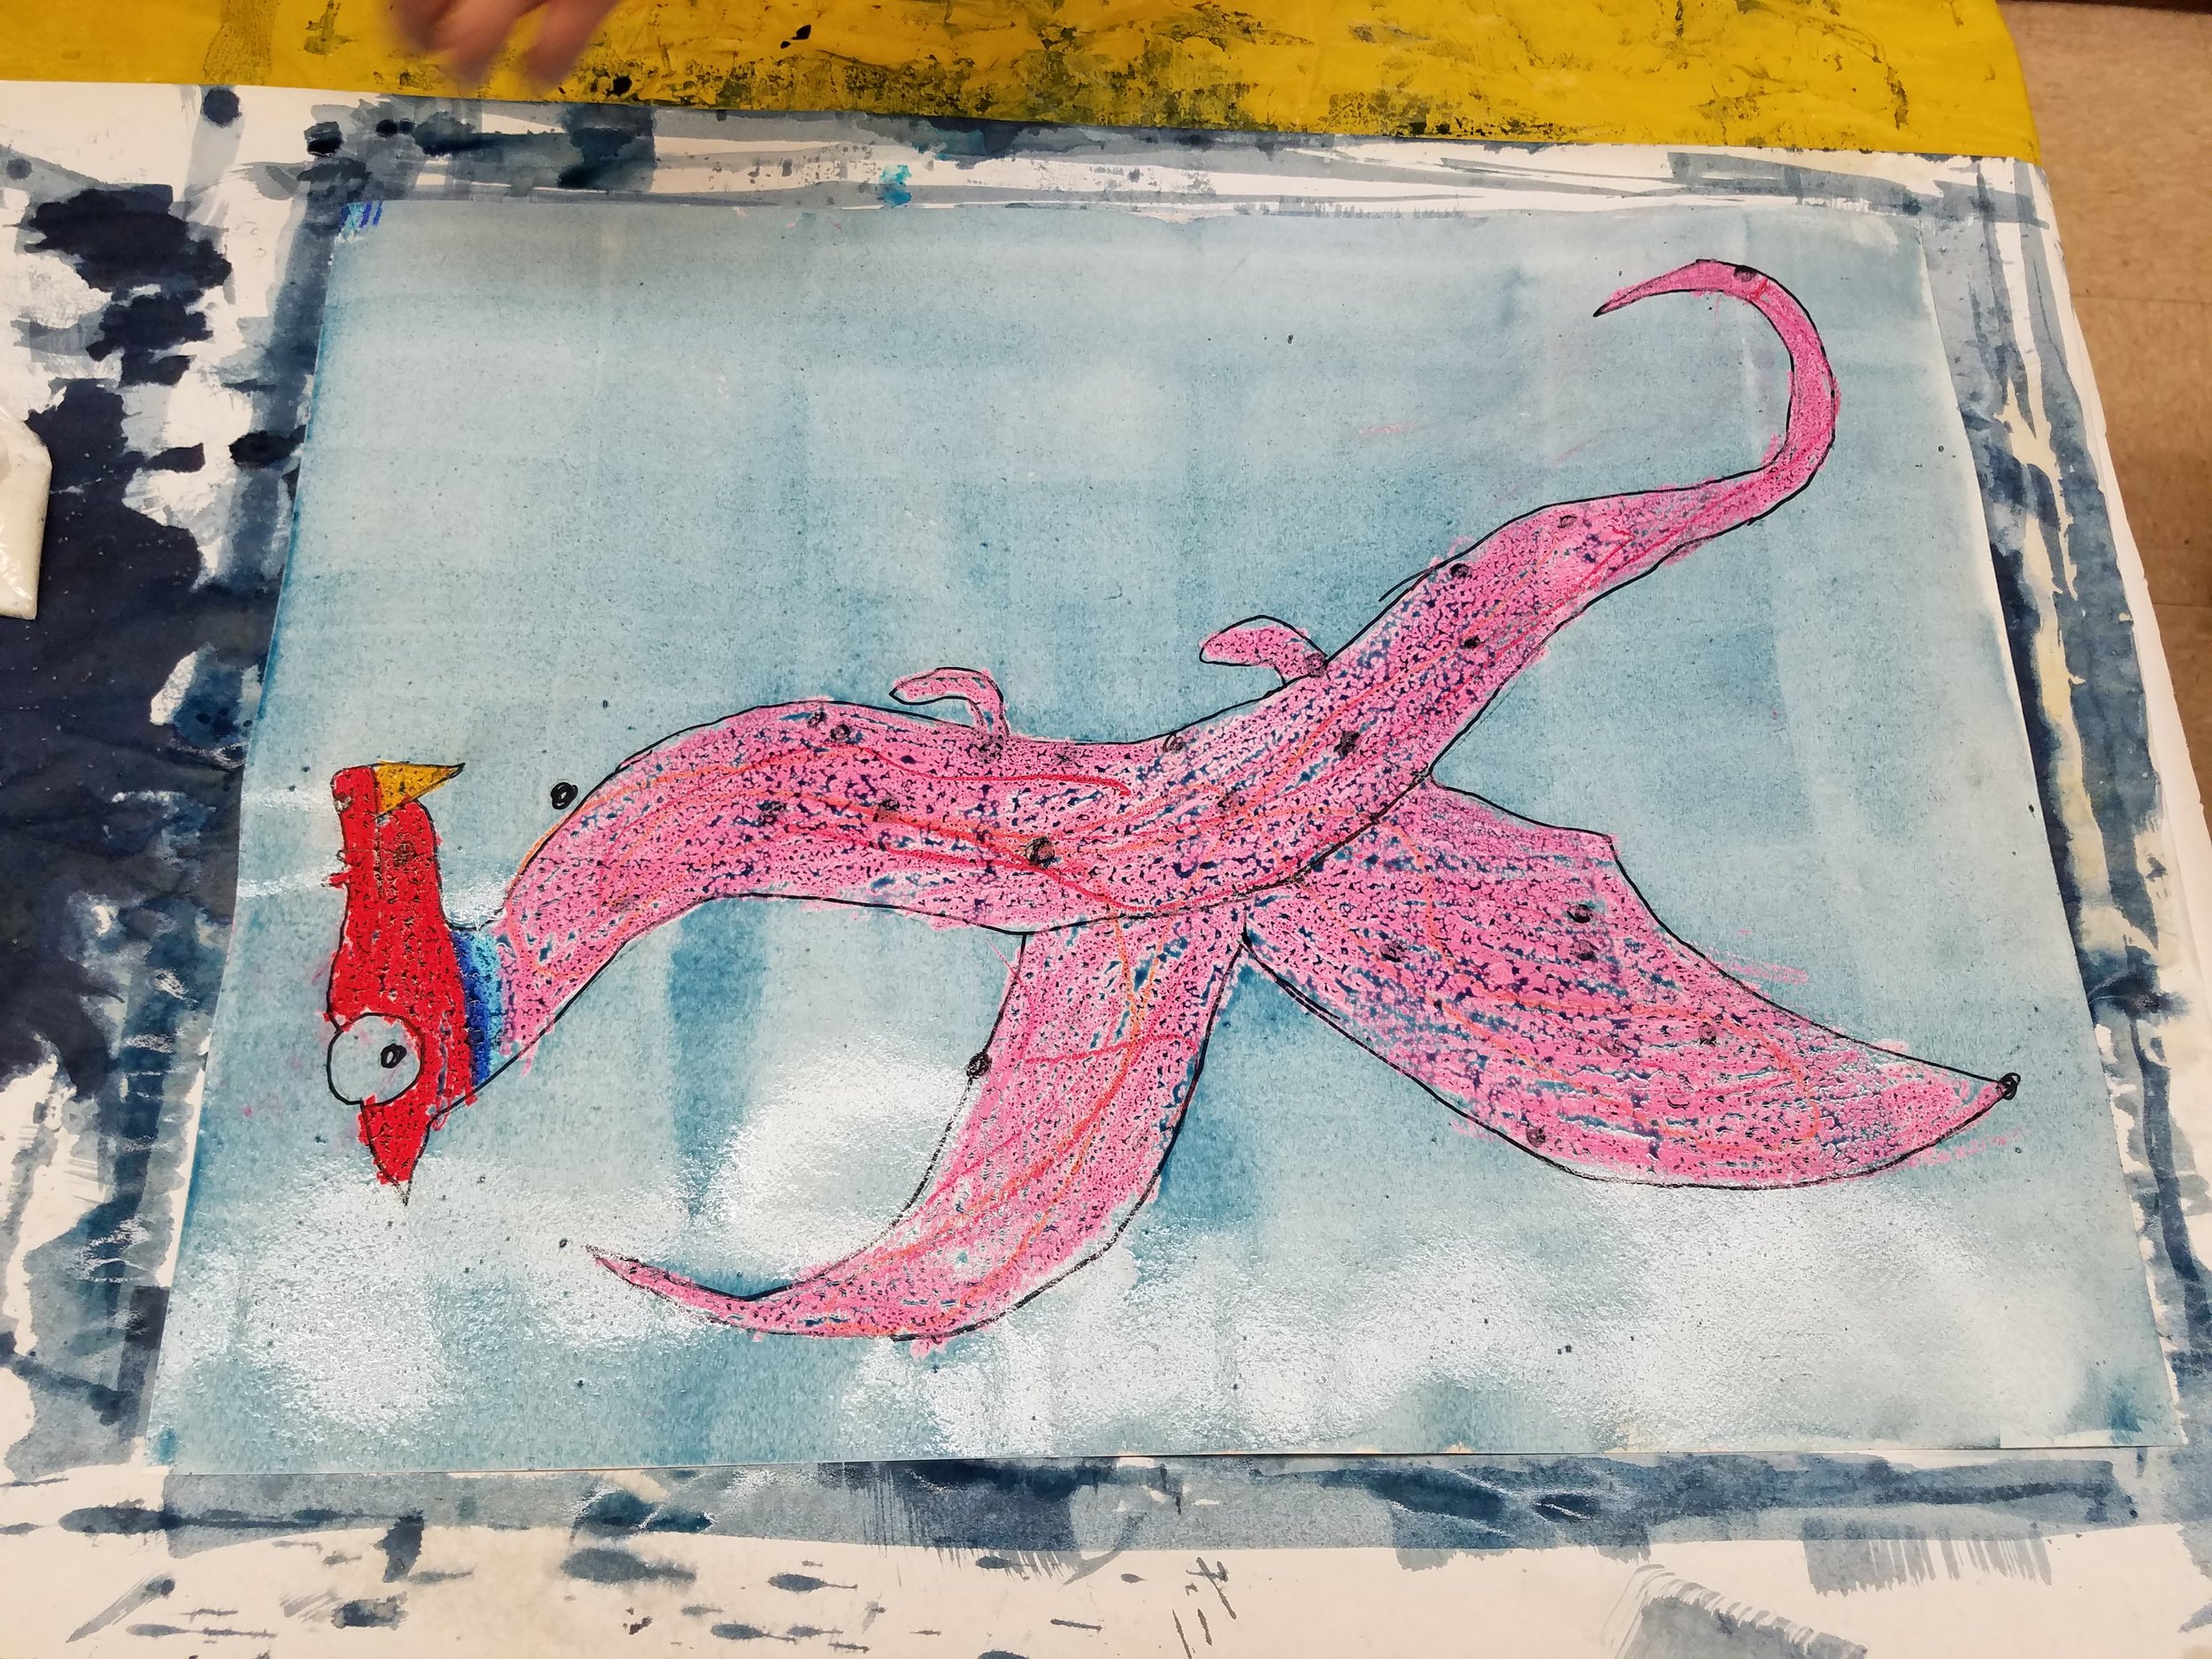
Make sure your drawing is clean of smudges. Then color your designs with cray-pas or oil pastels.
The cray-pas will repel your watercolor and create awesome color and texture. Adding white will make super cool effects.
Add decorations until you are happy with your piece.

You will coat your drawing with a transparent water-media wash. Oil and water do not mix so your designs will pop!
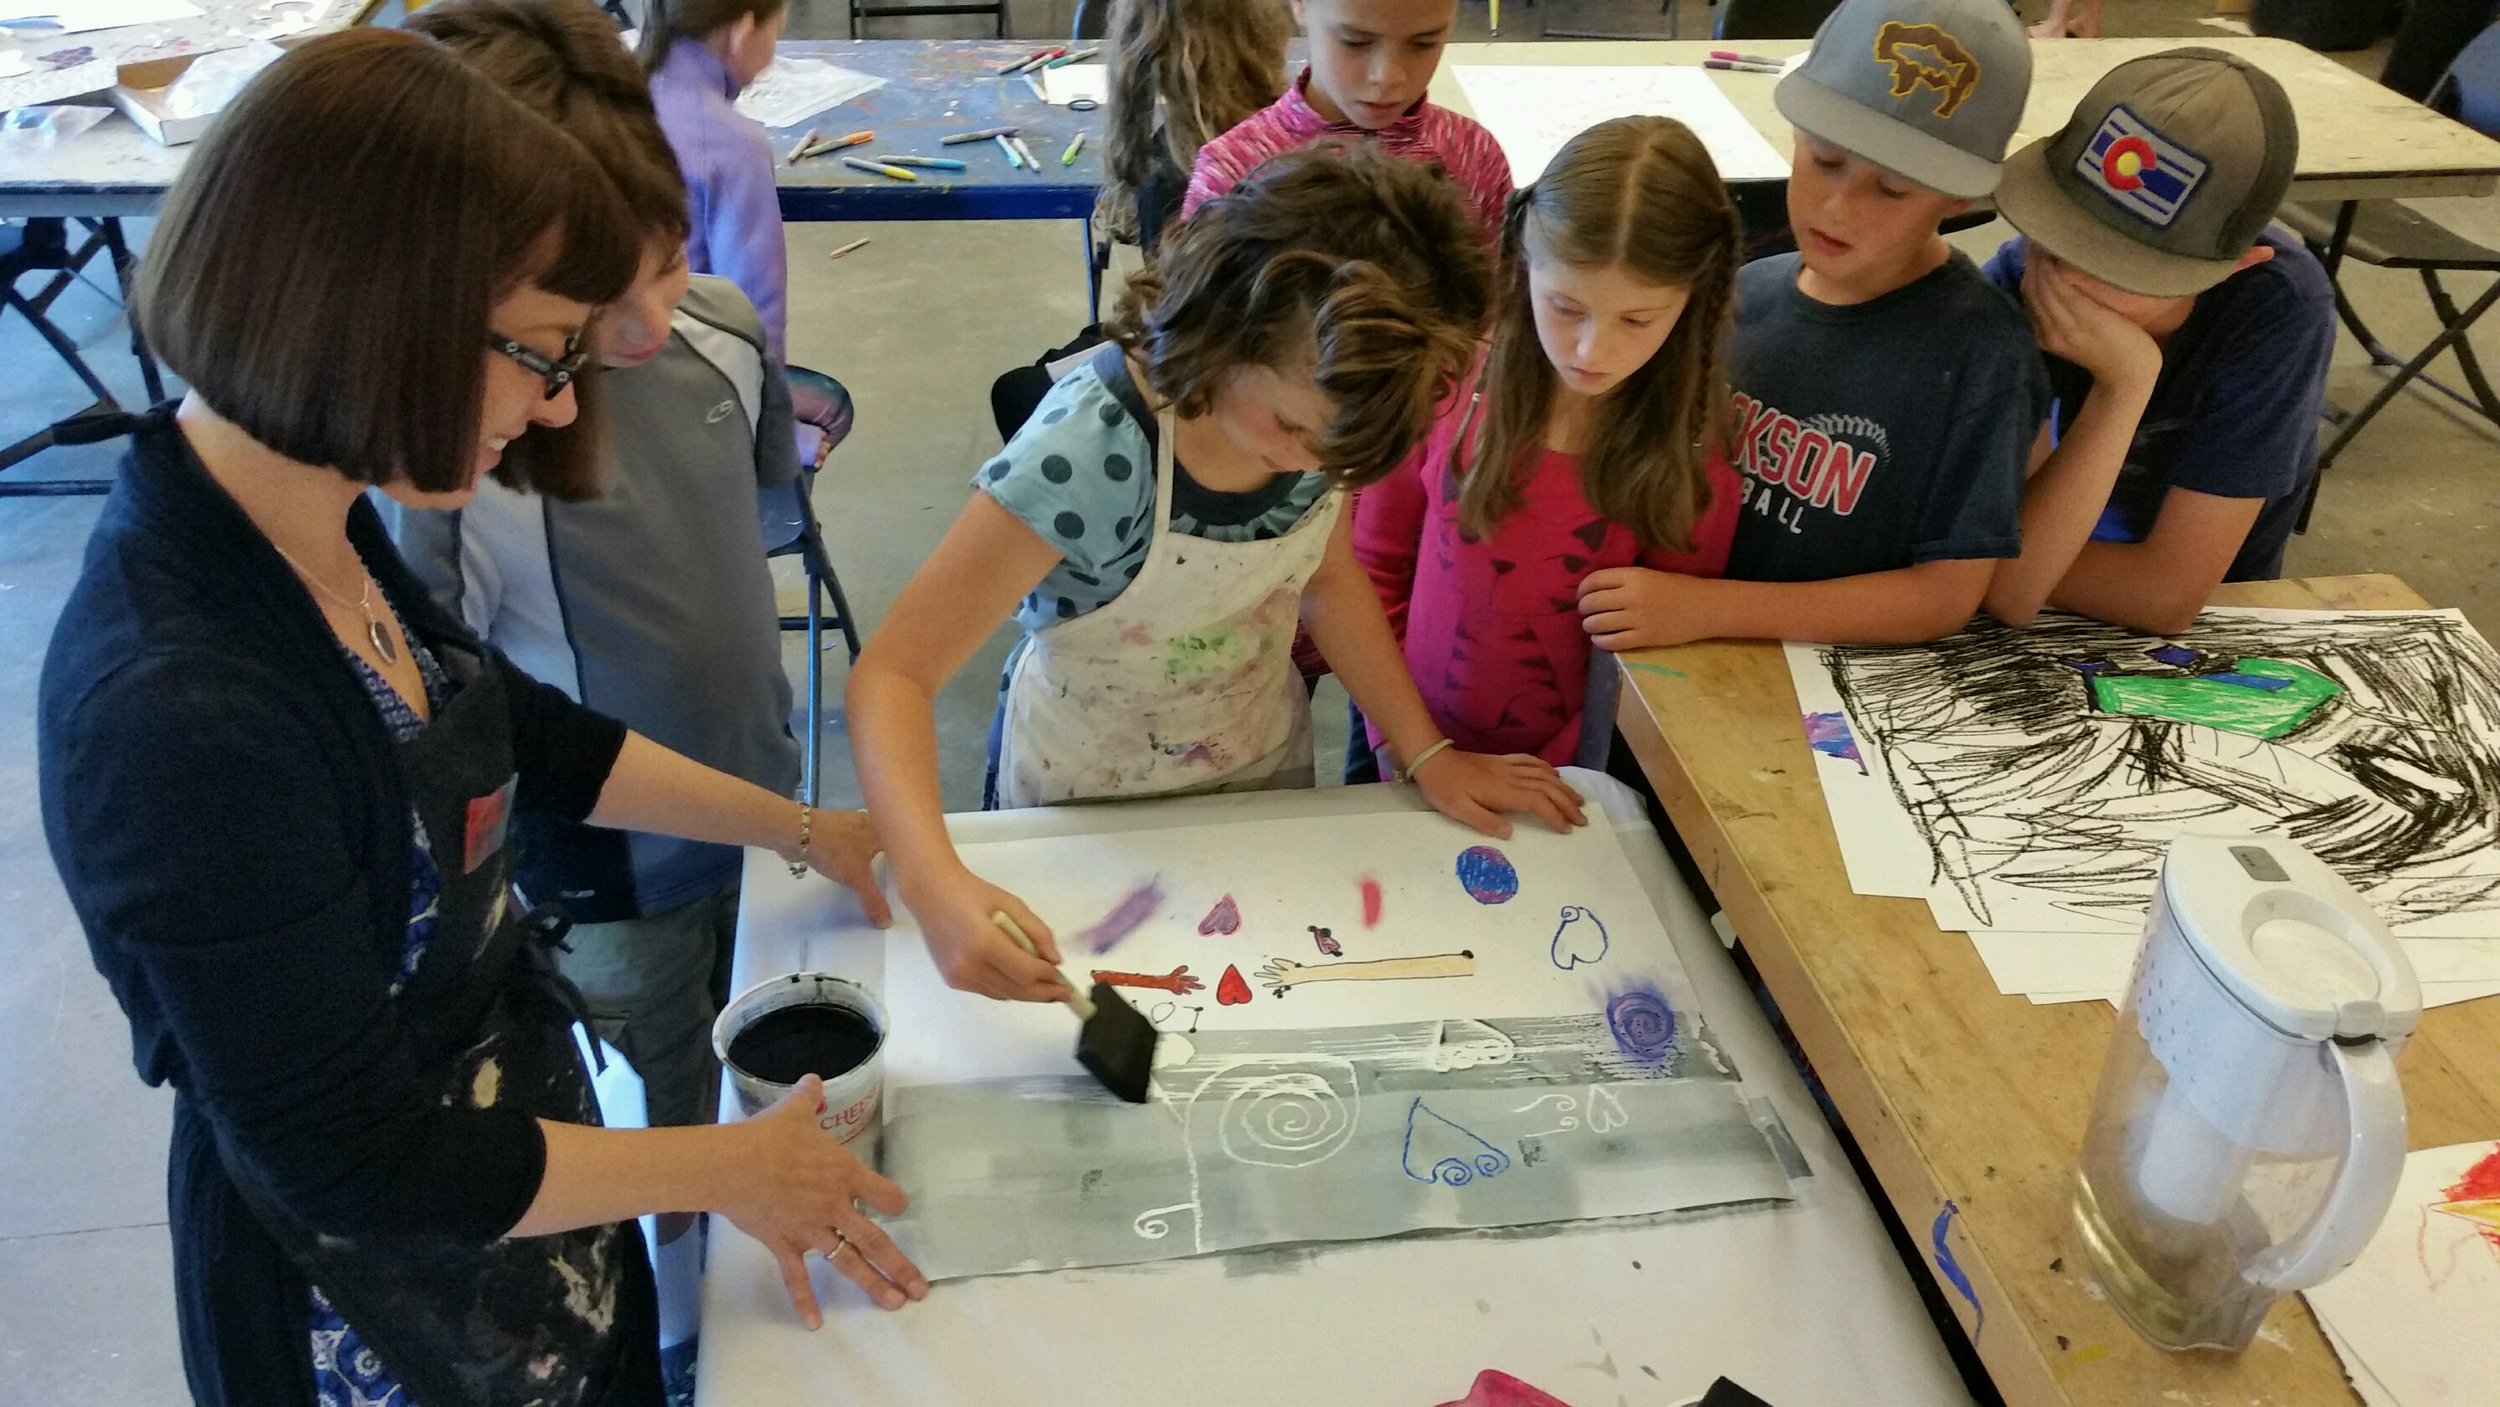
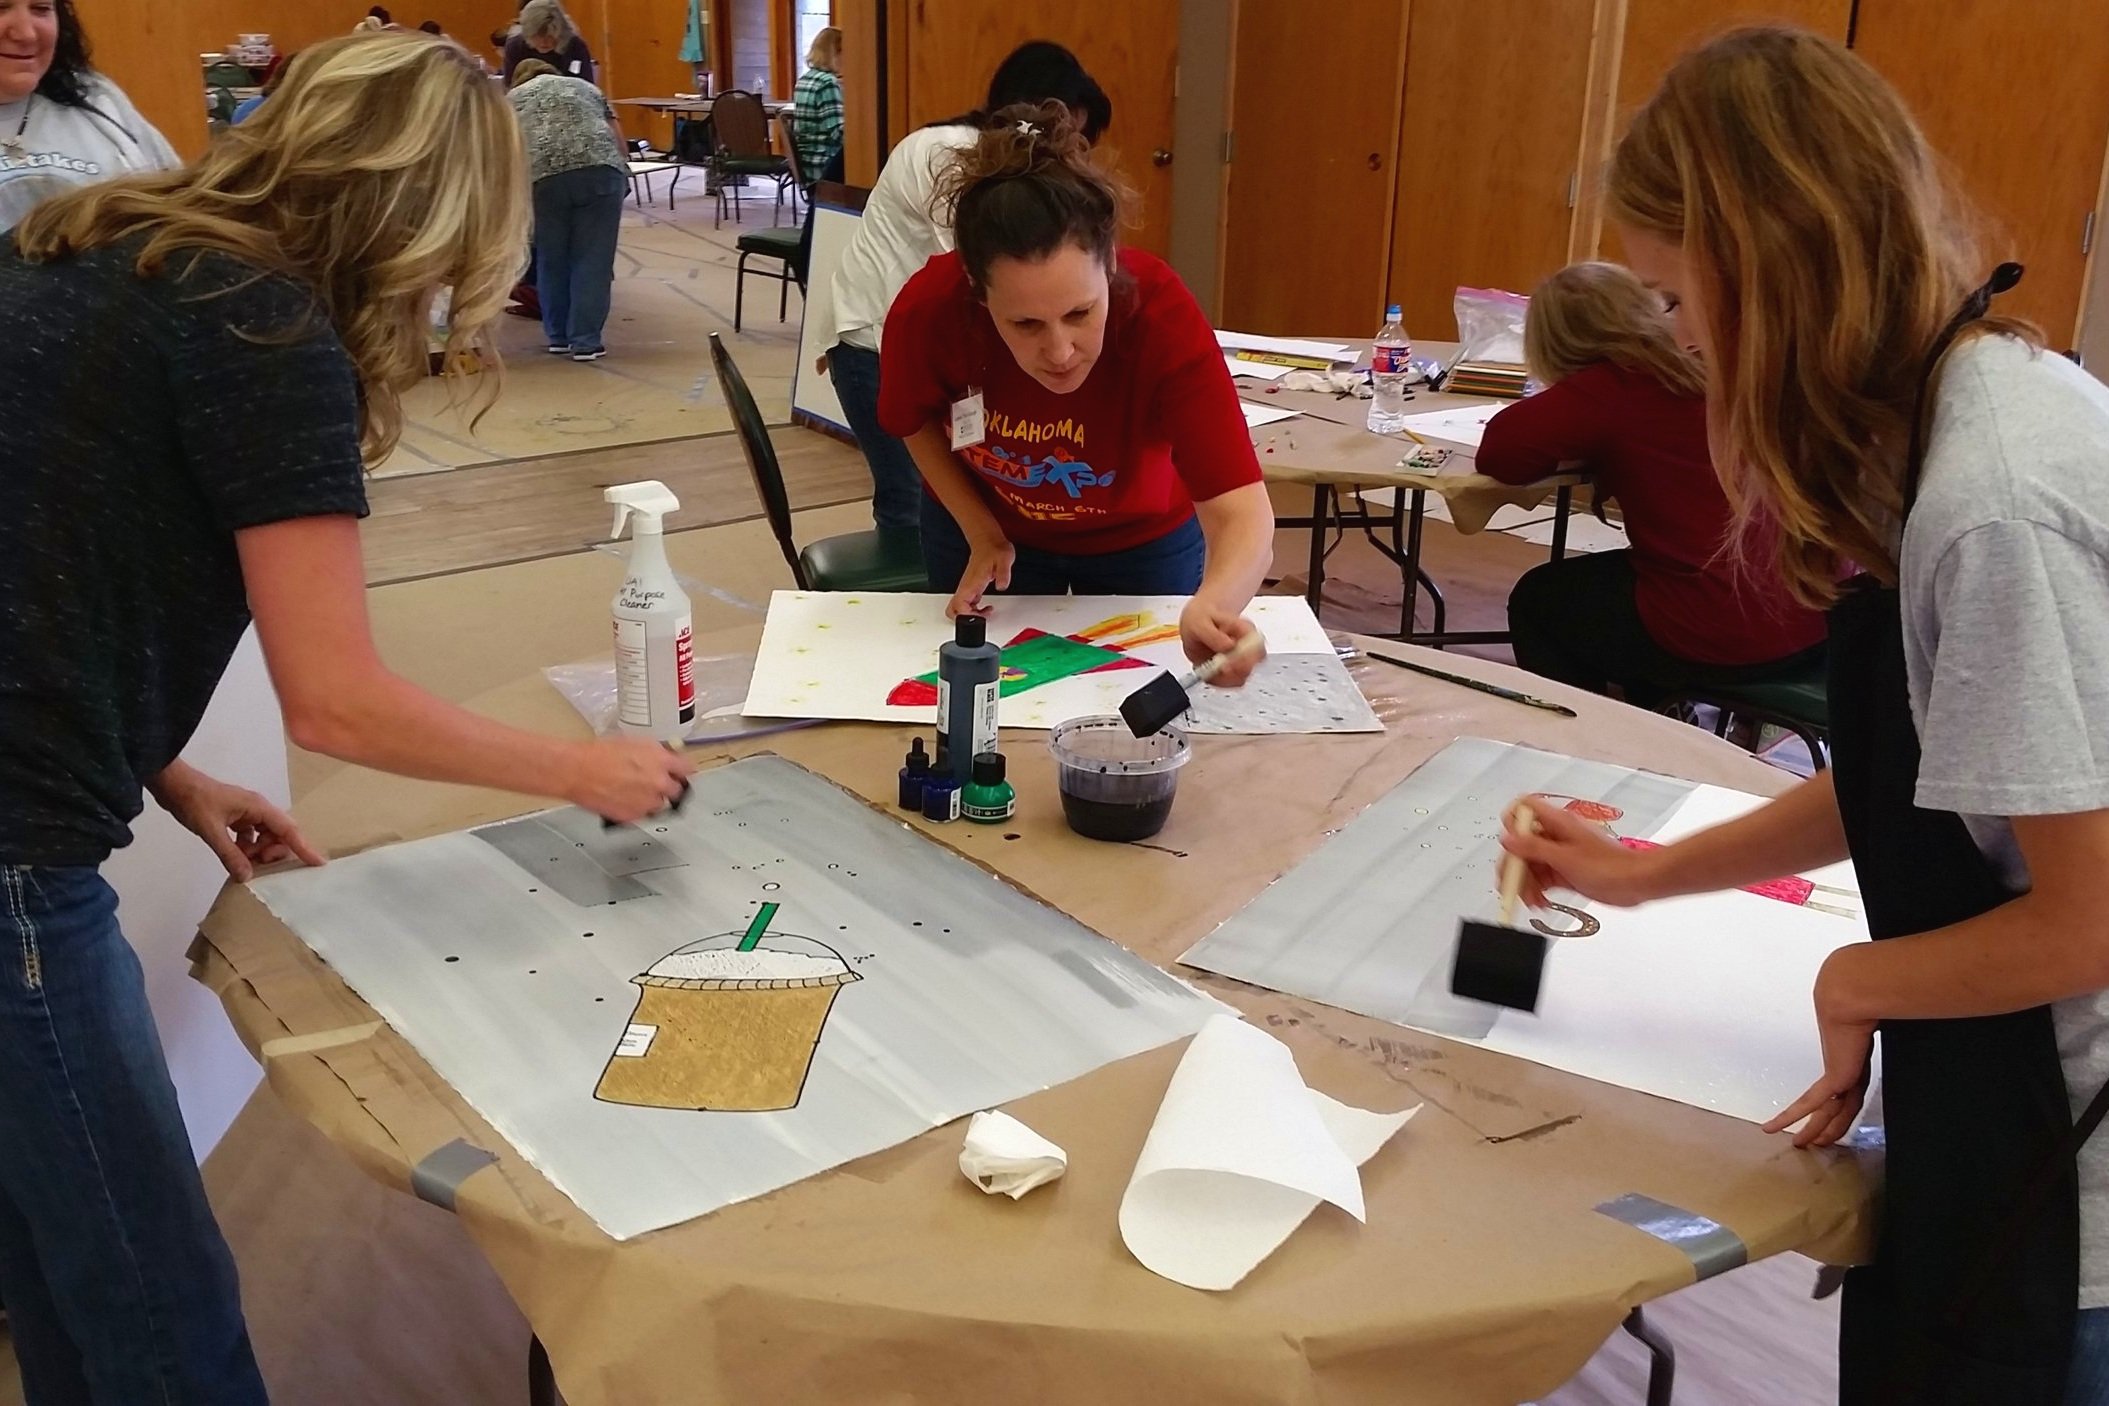
Mix a transparent wash with watercolor or acrylic ink. Test until you are happy with the color. Cover a table to make a painting station.
Spritz your drawings with a water bottle to get your paper moist. Then add your color wash with a wide foam brush.
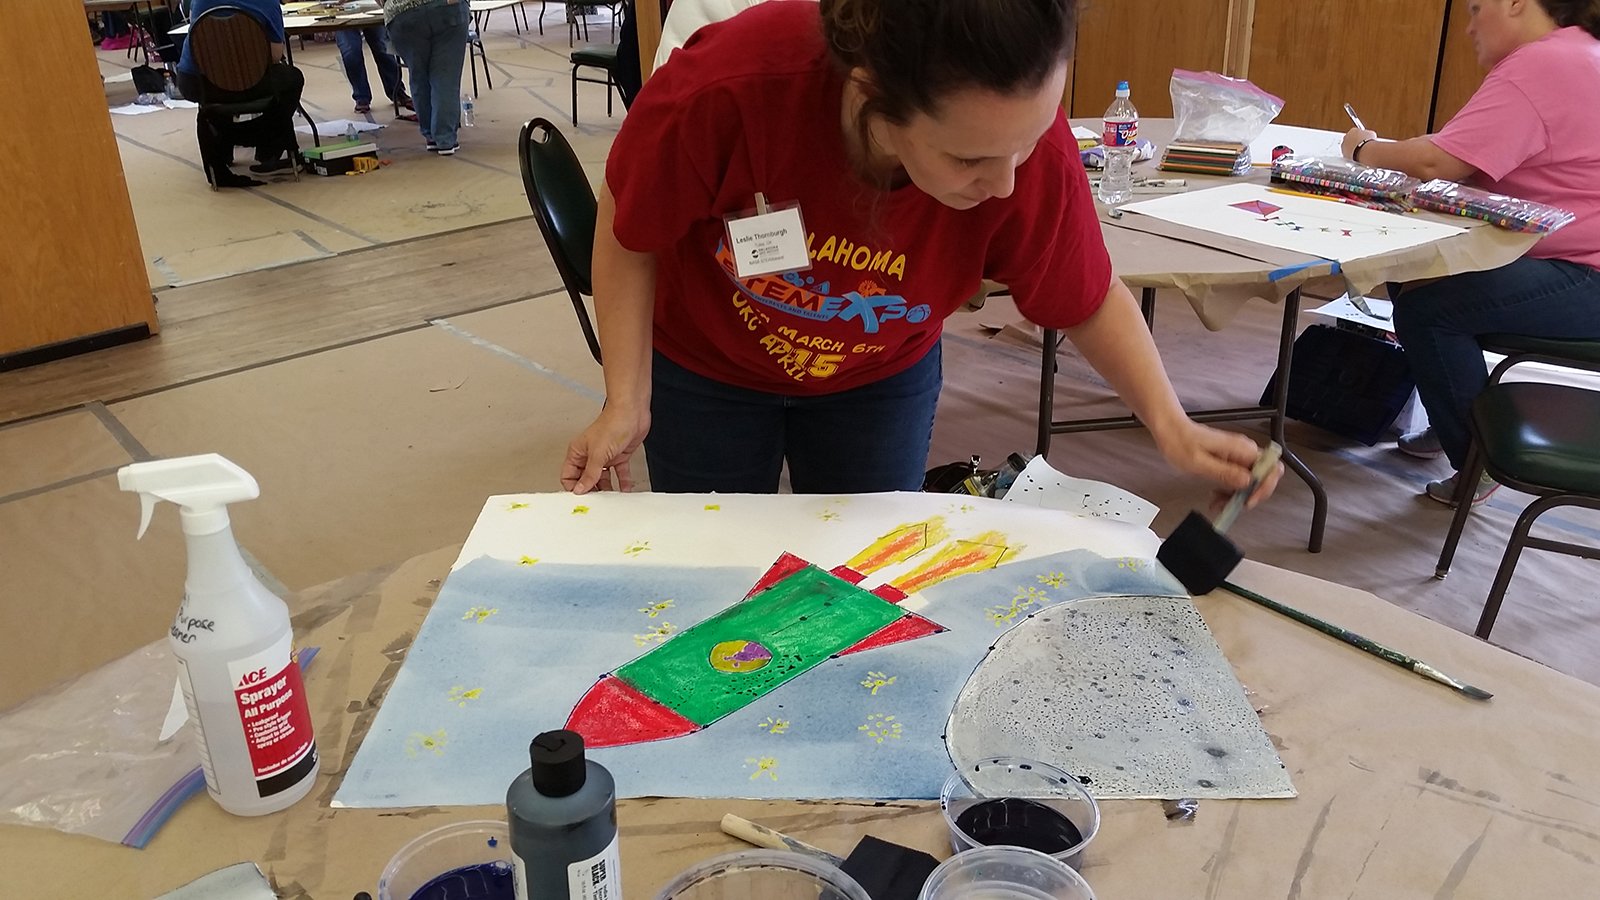
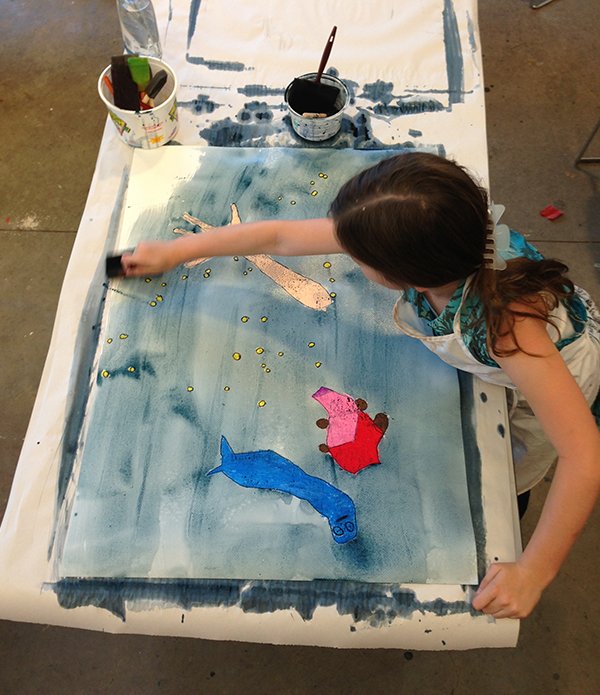
Work in broad strokes across the paper. Mist your drawing with water to help blend. You can even sprinkle salt on the drawing to make cool textures.
Add washes until you have the desired effects.

Place drawings in a safe place to dry. You can also flatten the drawings when dry.
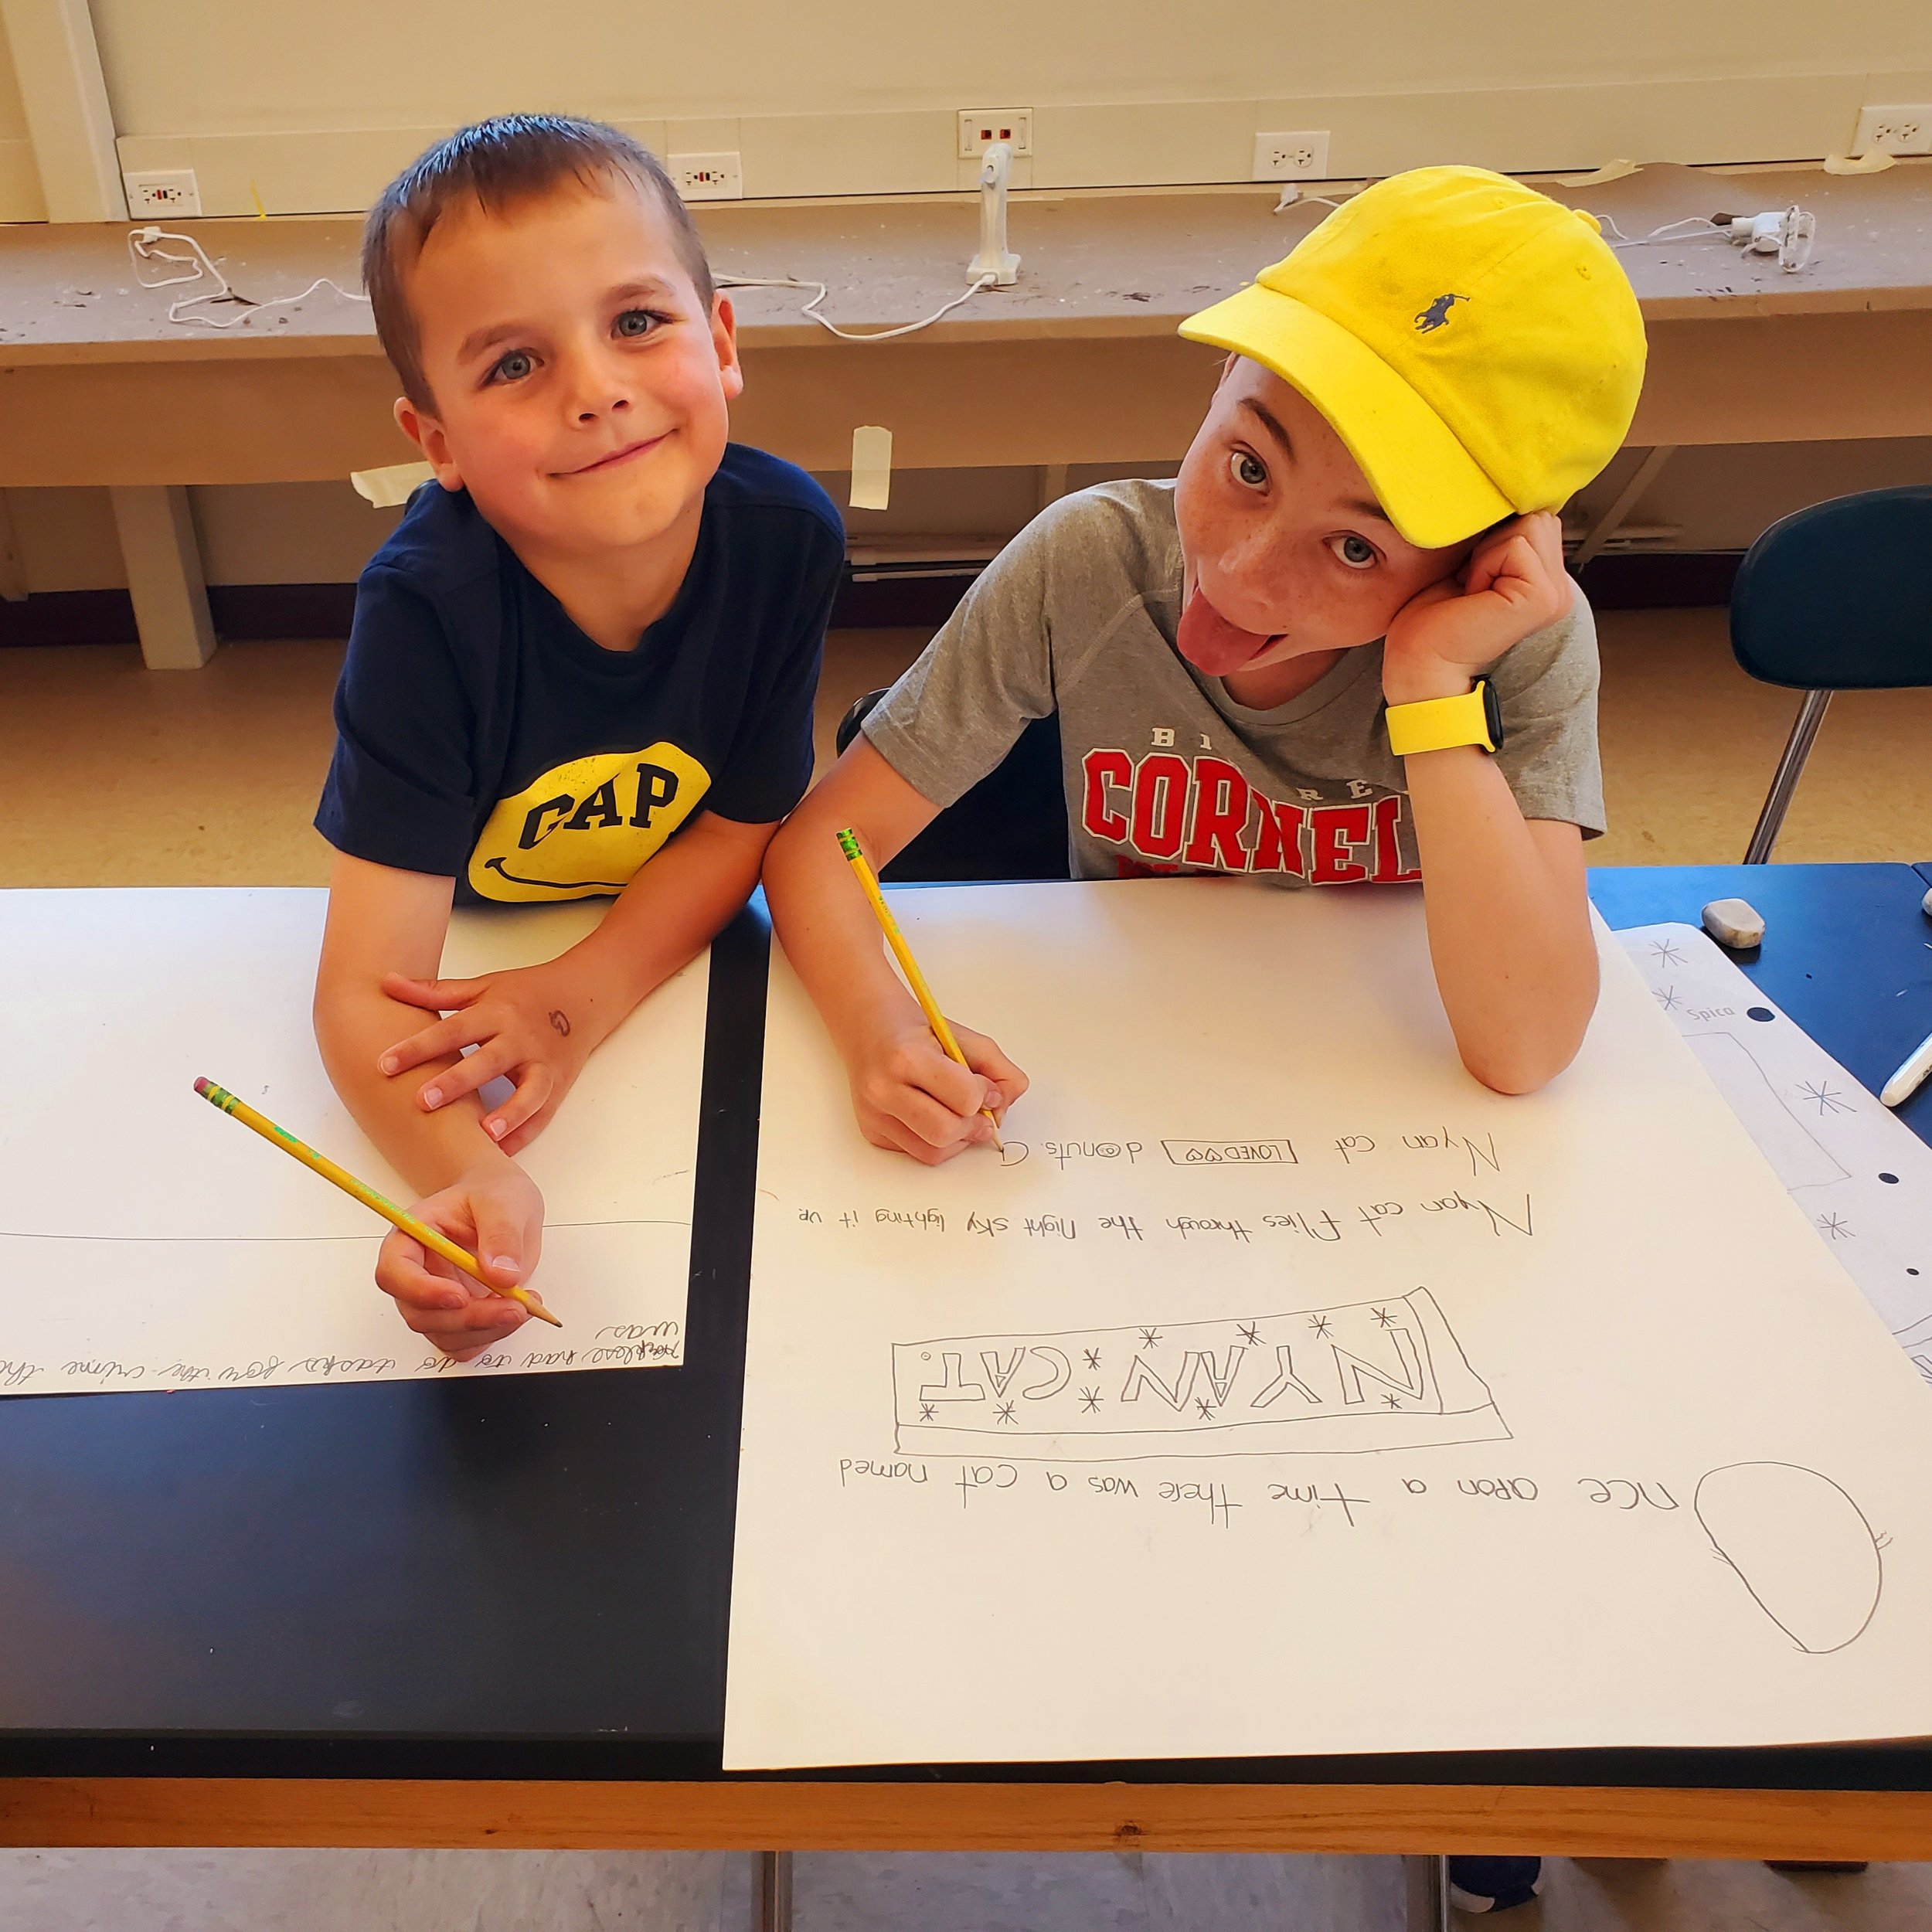
You can also write student Constellation stories on the back of your drawings.
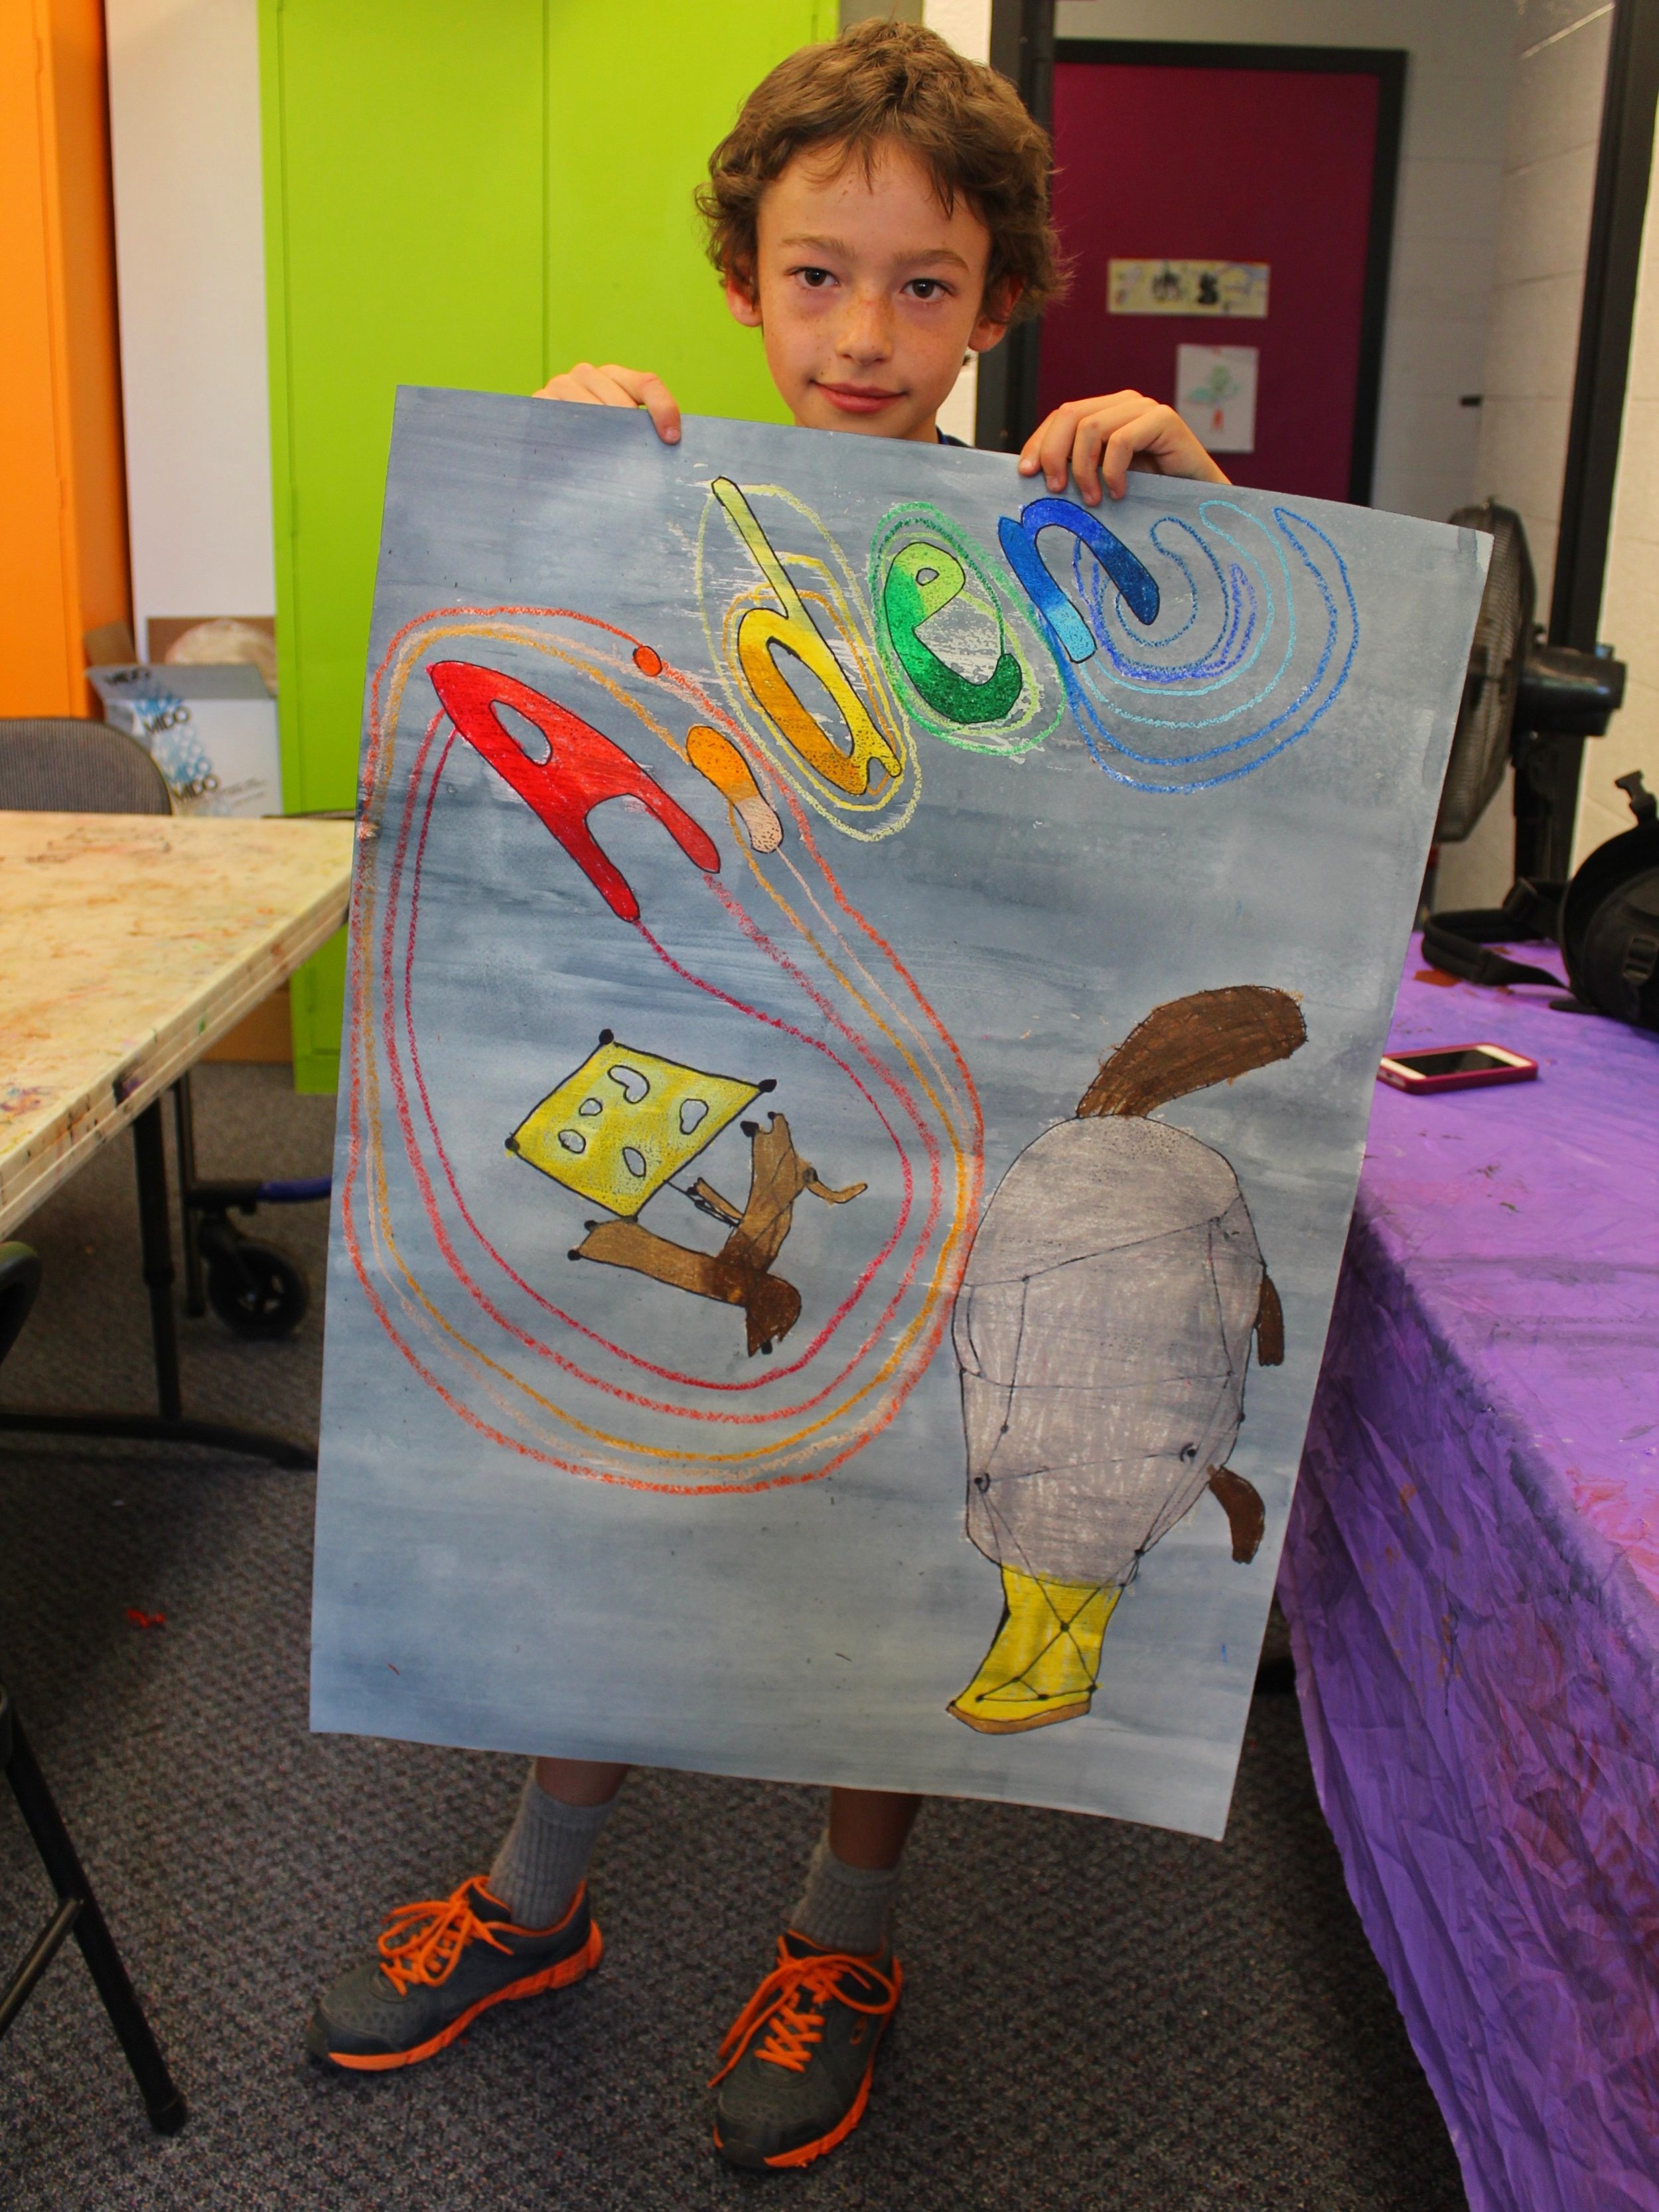
Show, share and celebrate your creations. Capture student stories in writing or presentations.

Make sure to keep the original sky charts, too!
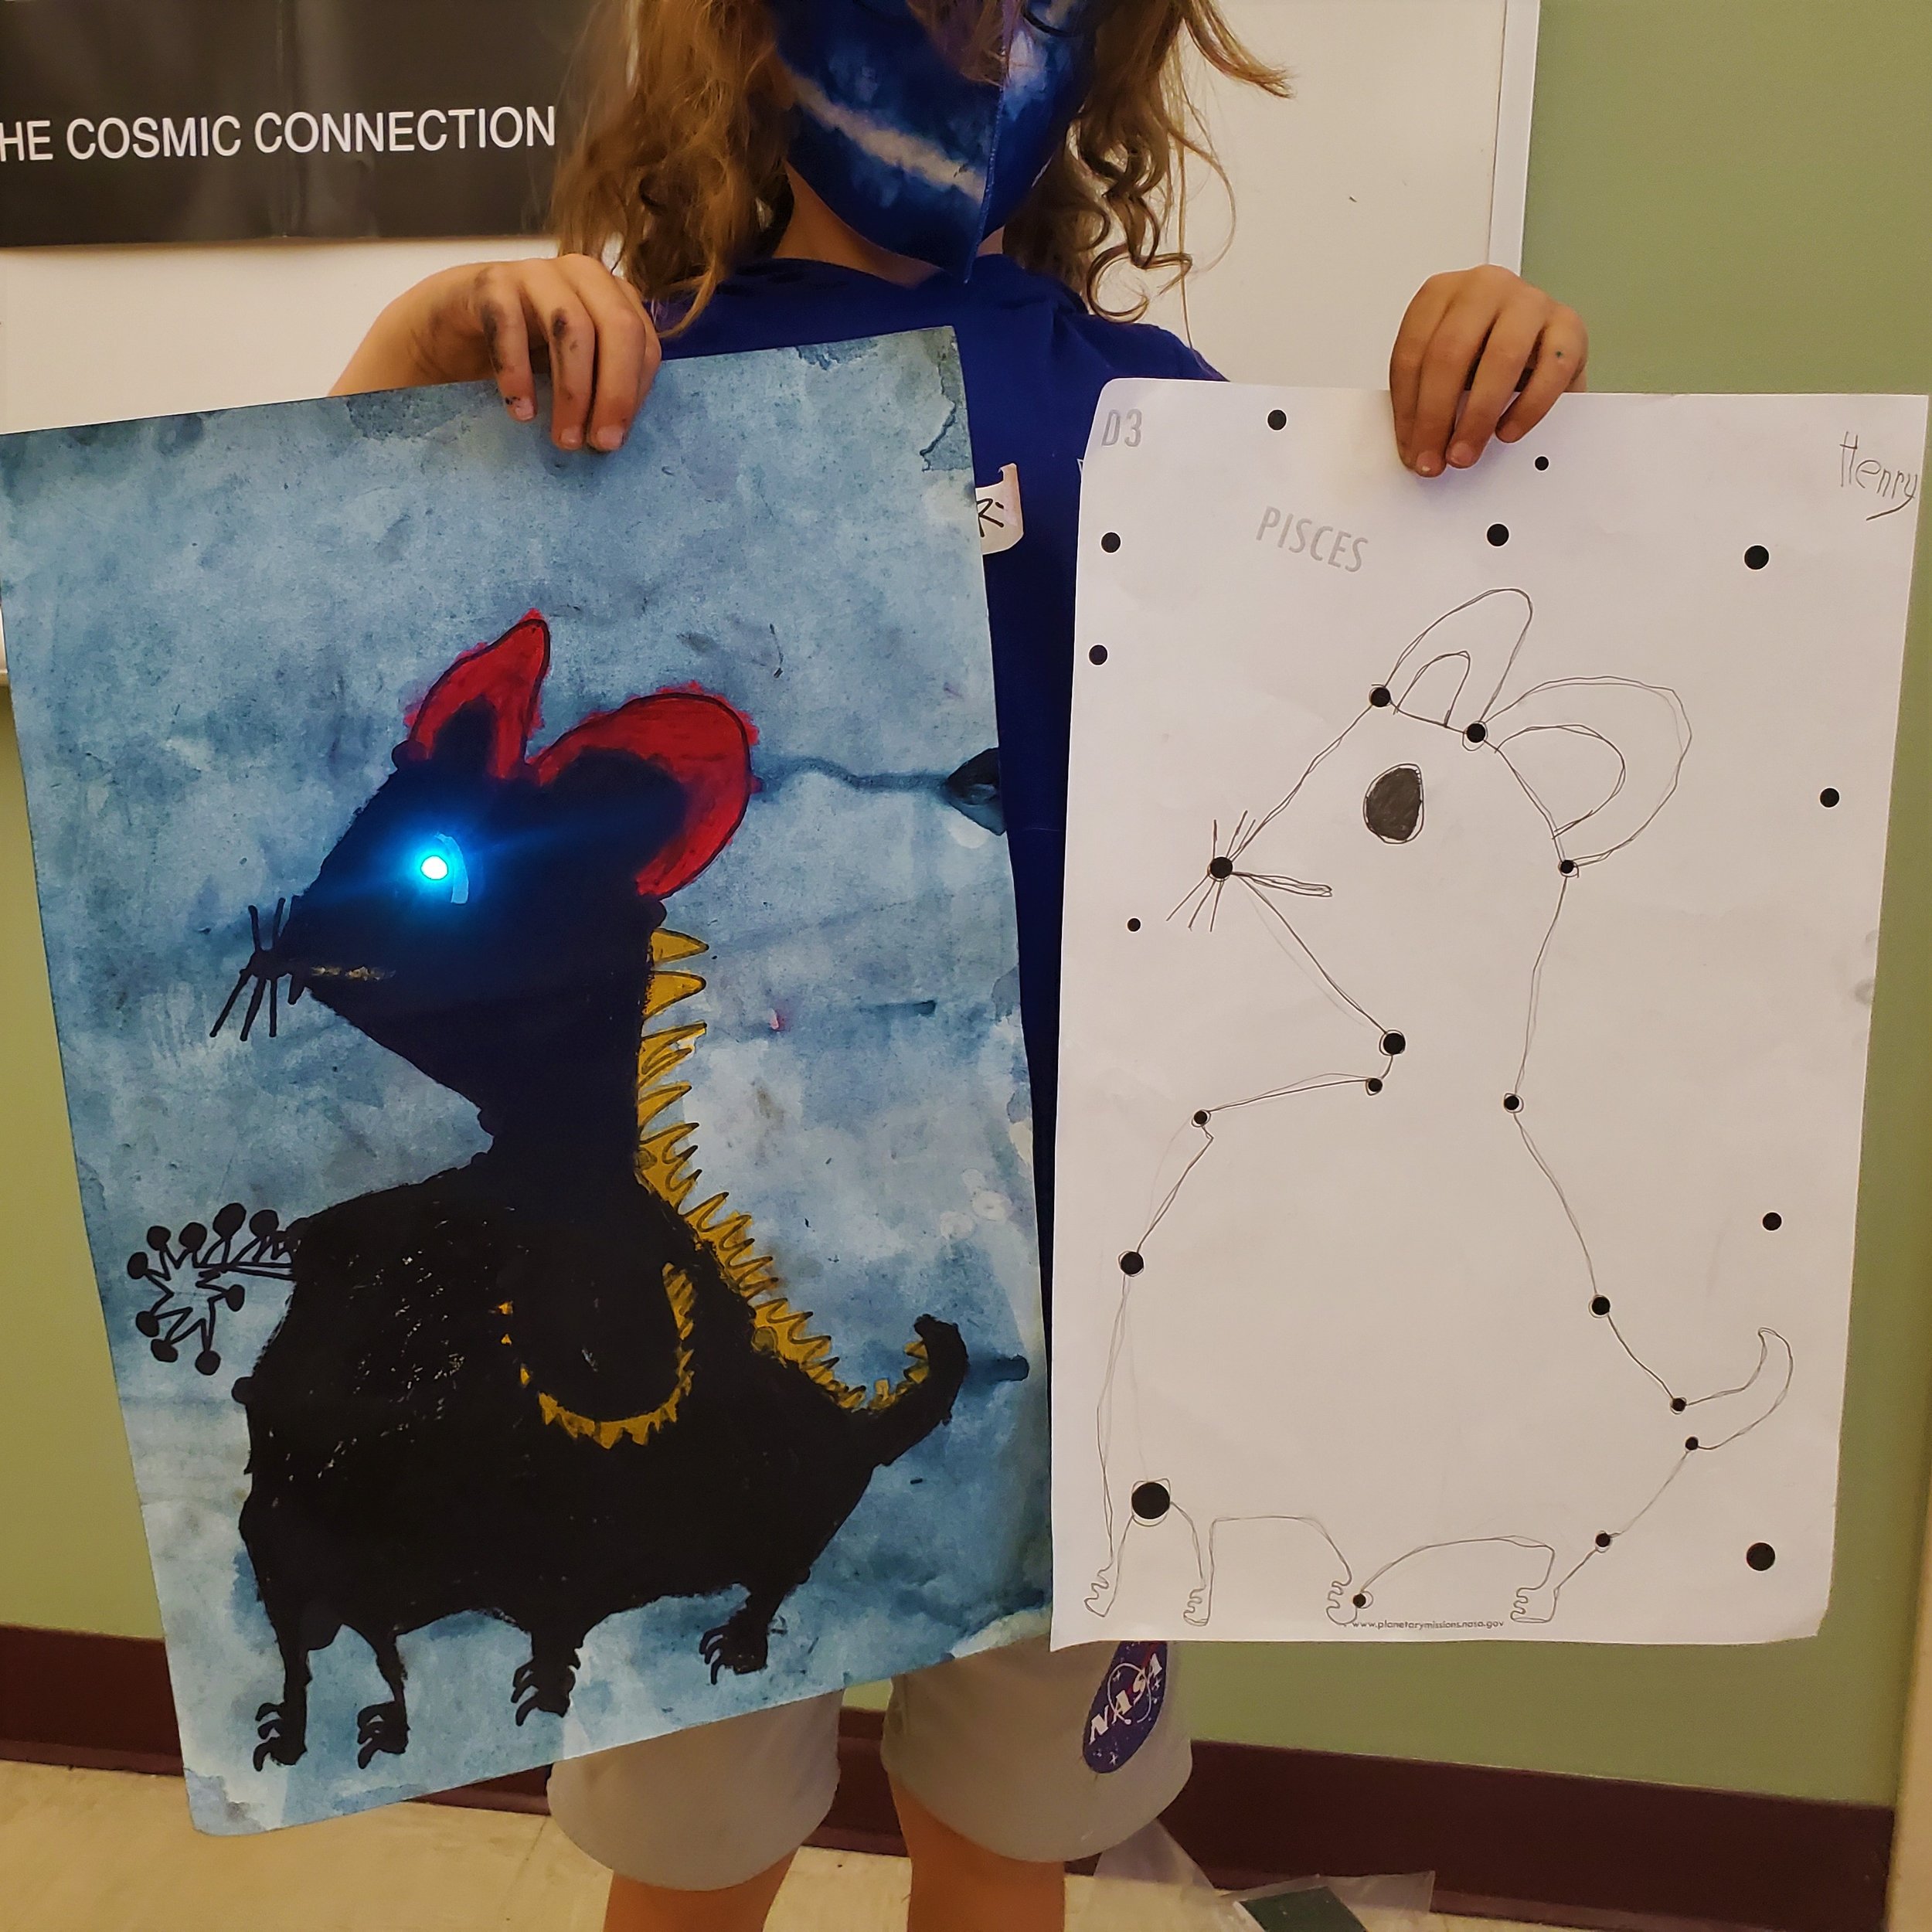
You can even make one of our Circuit Cards to light-up a major star with LEDs.
Check out our LED Circuit Cards to add sparkle to your creations.
PD Video Tutorials
Enjoy the following videos from our virtual training with Texas Libraries. With our lead partners at Tom Green County Libraries, educators from across the state explore Cosmic Constellations to customize for exciting youth and family programming.
Part of a 3 Year STEAM grant with Eurekus & rural libraries made possible by the Texas State Library & Archives Commission and the Institute for Museum & Library Services.
1) Program Introducations
2) Steps & Resources
3) Sketching & Drawing
4) Add Water Media
5) Add An LED Circuit Card
Tech Extension